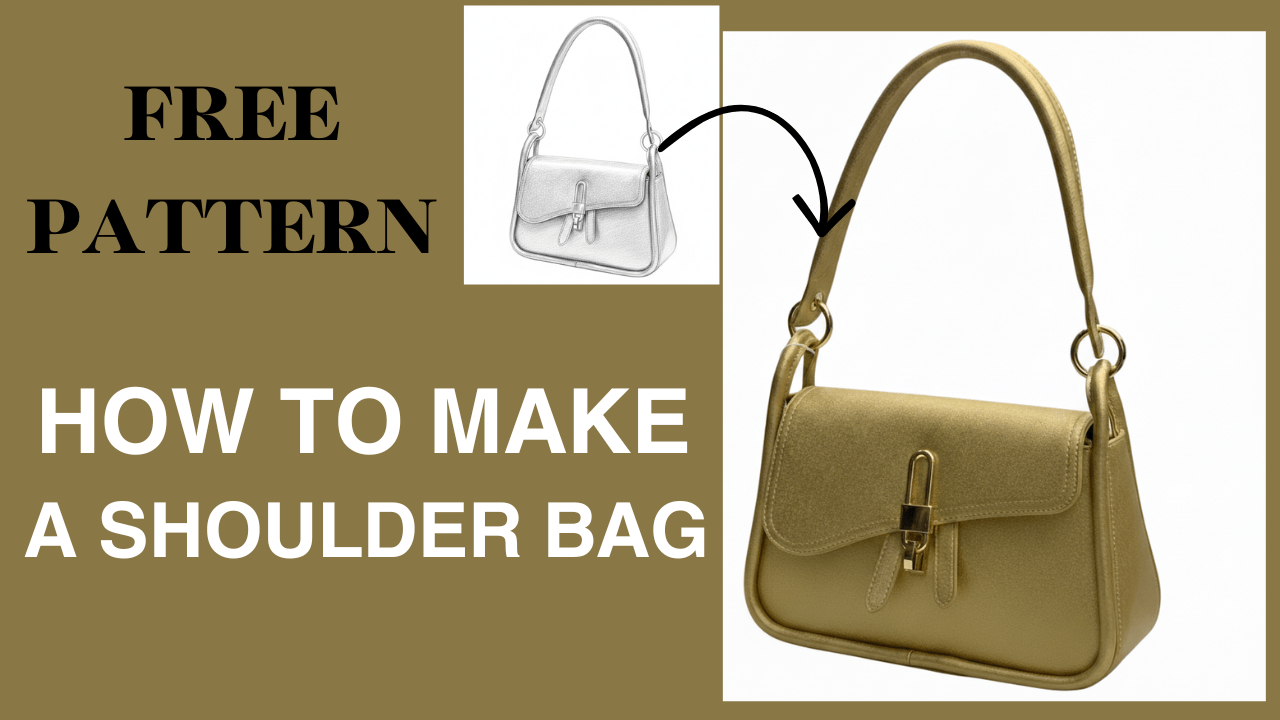
Welcome! To make your simple shoulder Bag, read the following sewing instructions. On this page, you will find the free file containing the pattern pieces, cutting list, and list of materials needed.
Note: This pattern is designed for double-sided faux leather or materials that do not fray, as it uses raw-edge construction and edge-coating techniques.
Continue reading to download the free pattern. Please note that reading these sewing instructions goes hand in hand with watching the YouTube tutorial. Find the tutorial here.
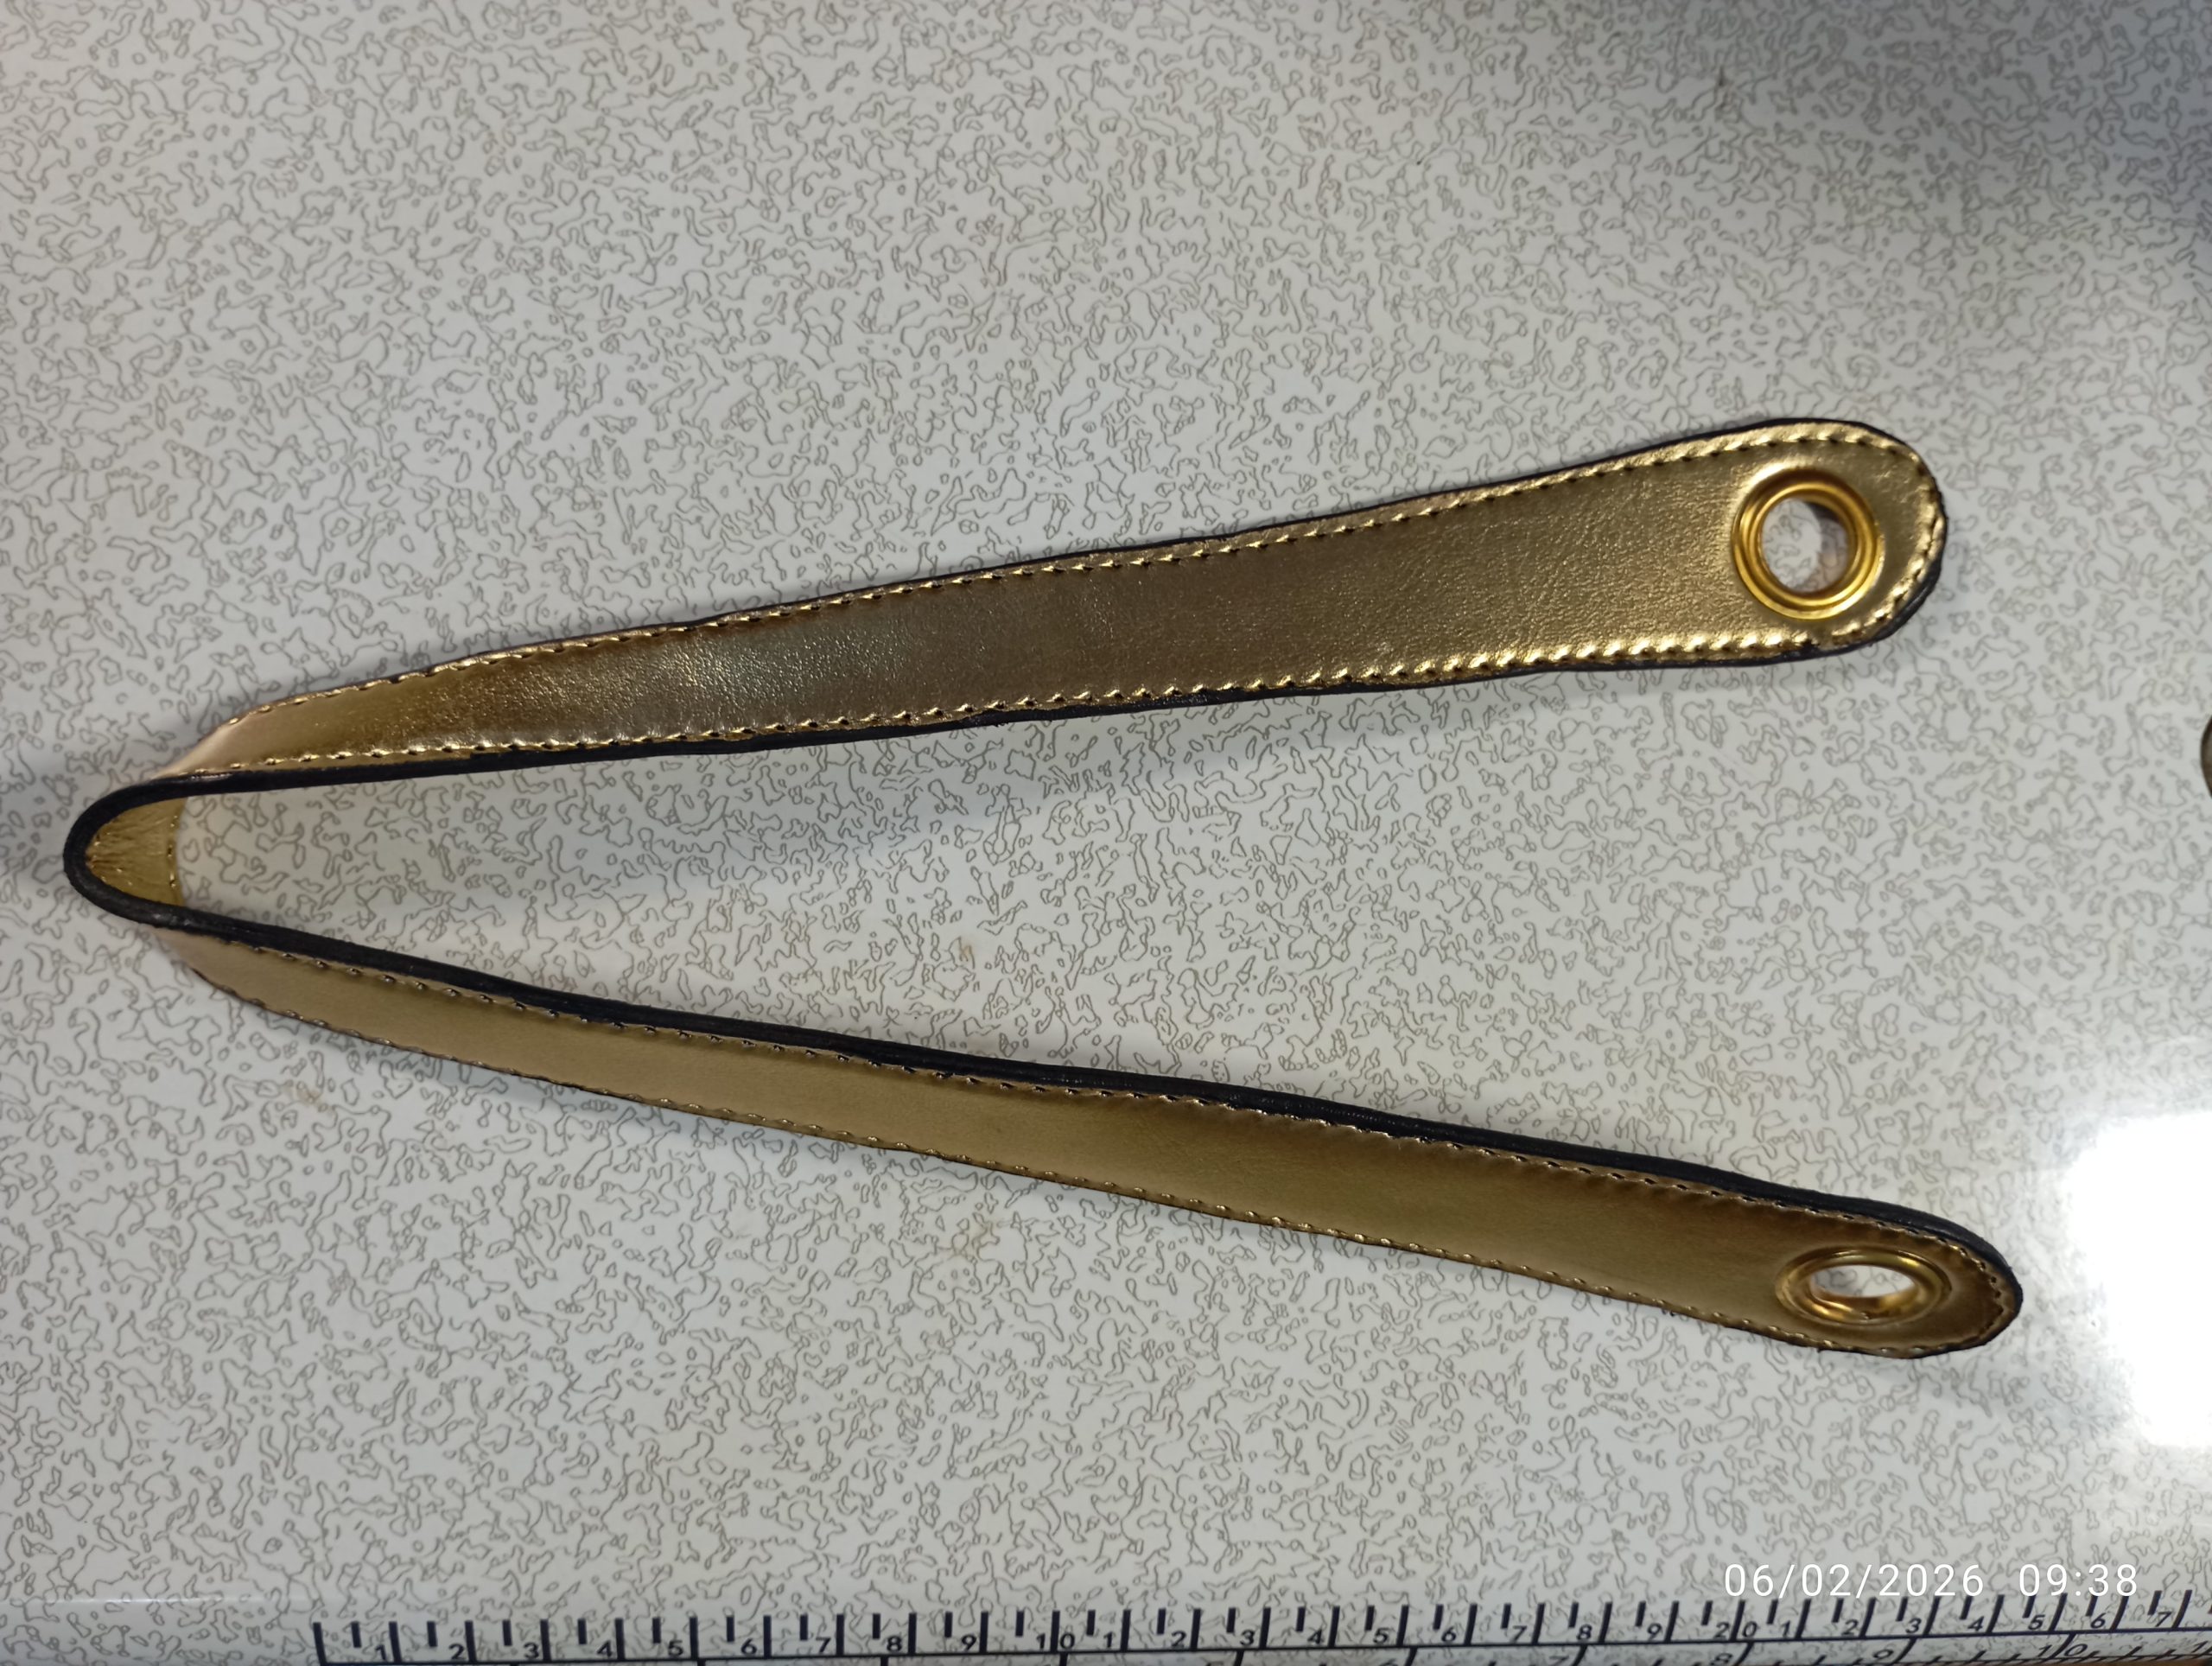
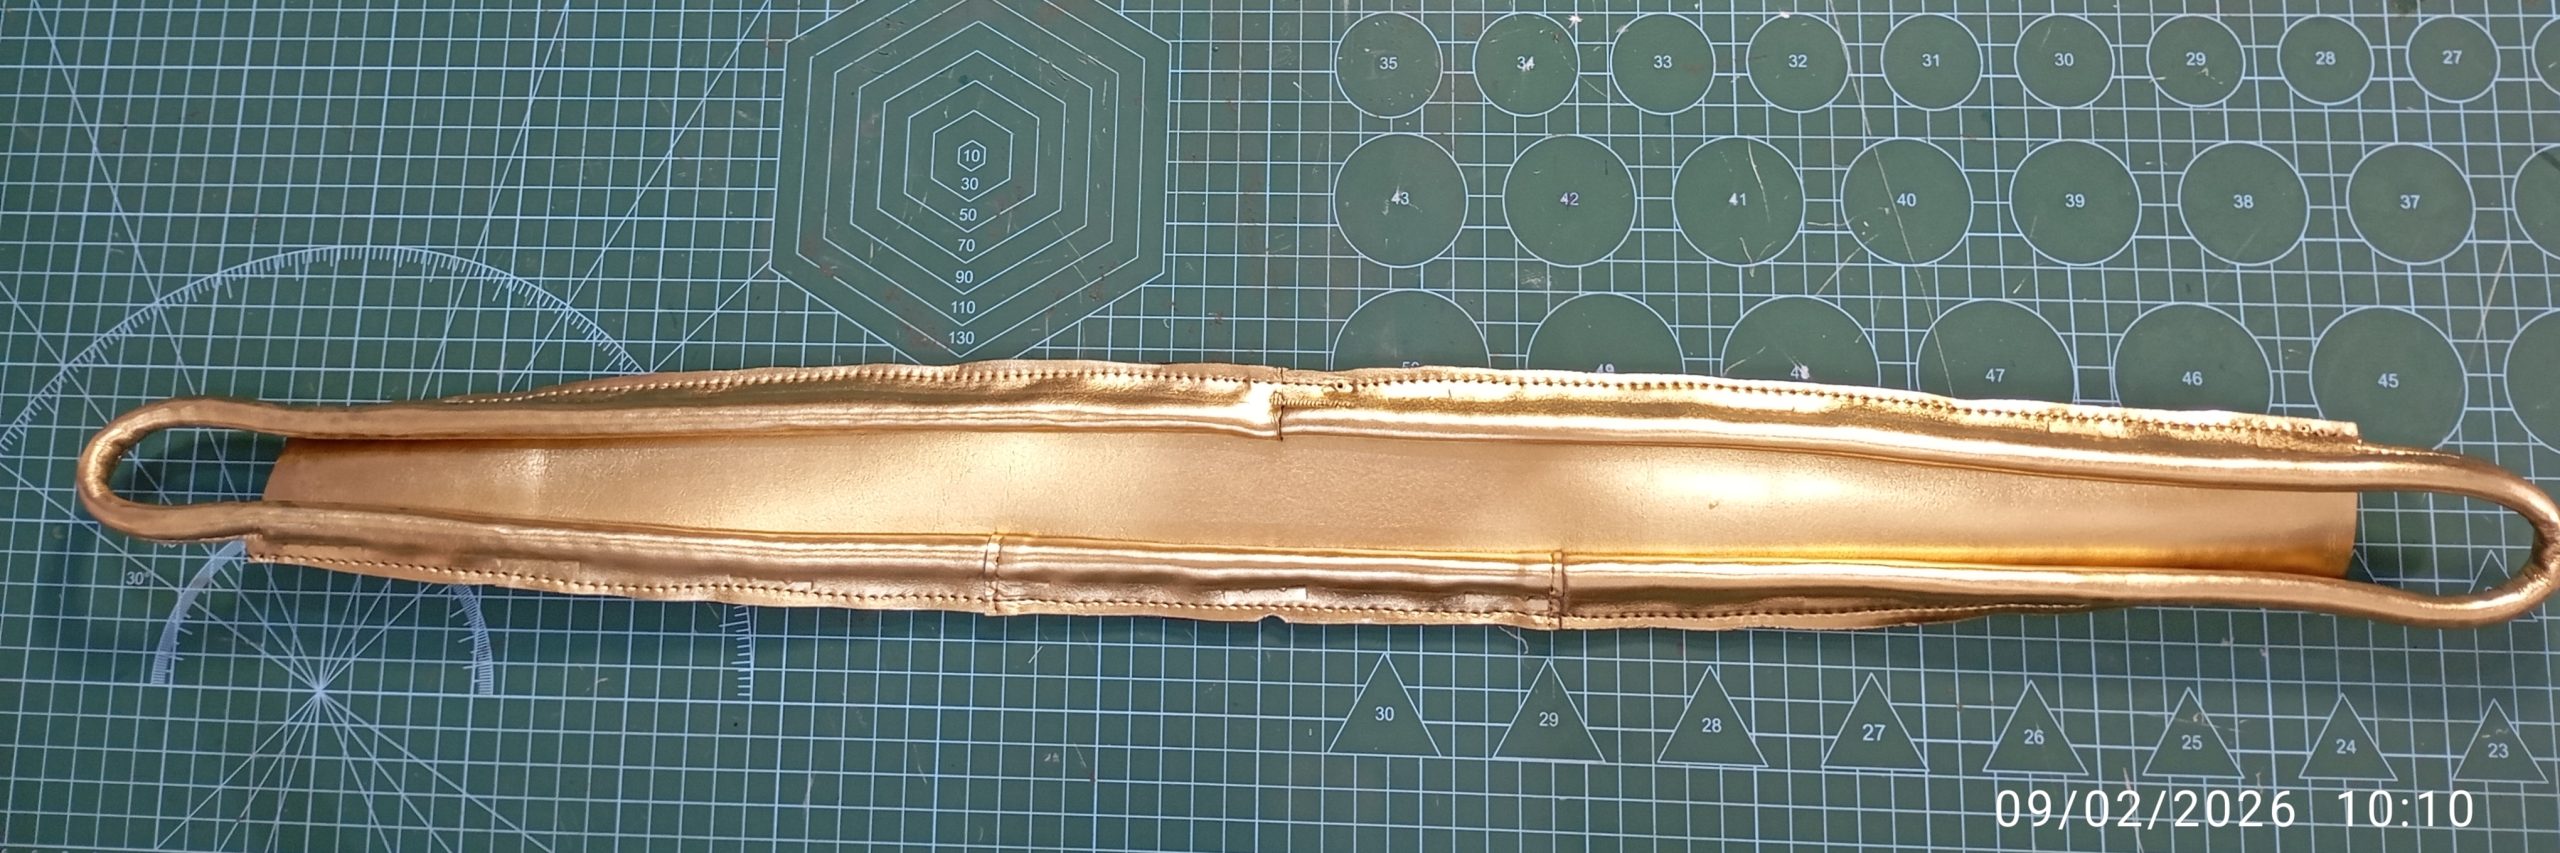
STEP 1: Sew The Handle Panel
- Place the Handle Panel, wrong sides together, with the Handle Rectangle centered, and use glue to hold it in place.
- Sew around the Handle Panel with a ⅛” seam allowance.
- Trim the excess Handle Rectangle to the edge of the Handle Panel.
- Optionally: Use edge coat to give your Handle’s edge a professional look. Alternatively, if you do not have Edge Coat like me, [learn how to do Edge coating without using Edge Coat].
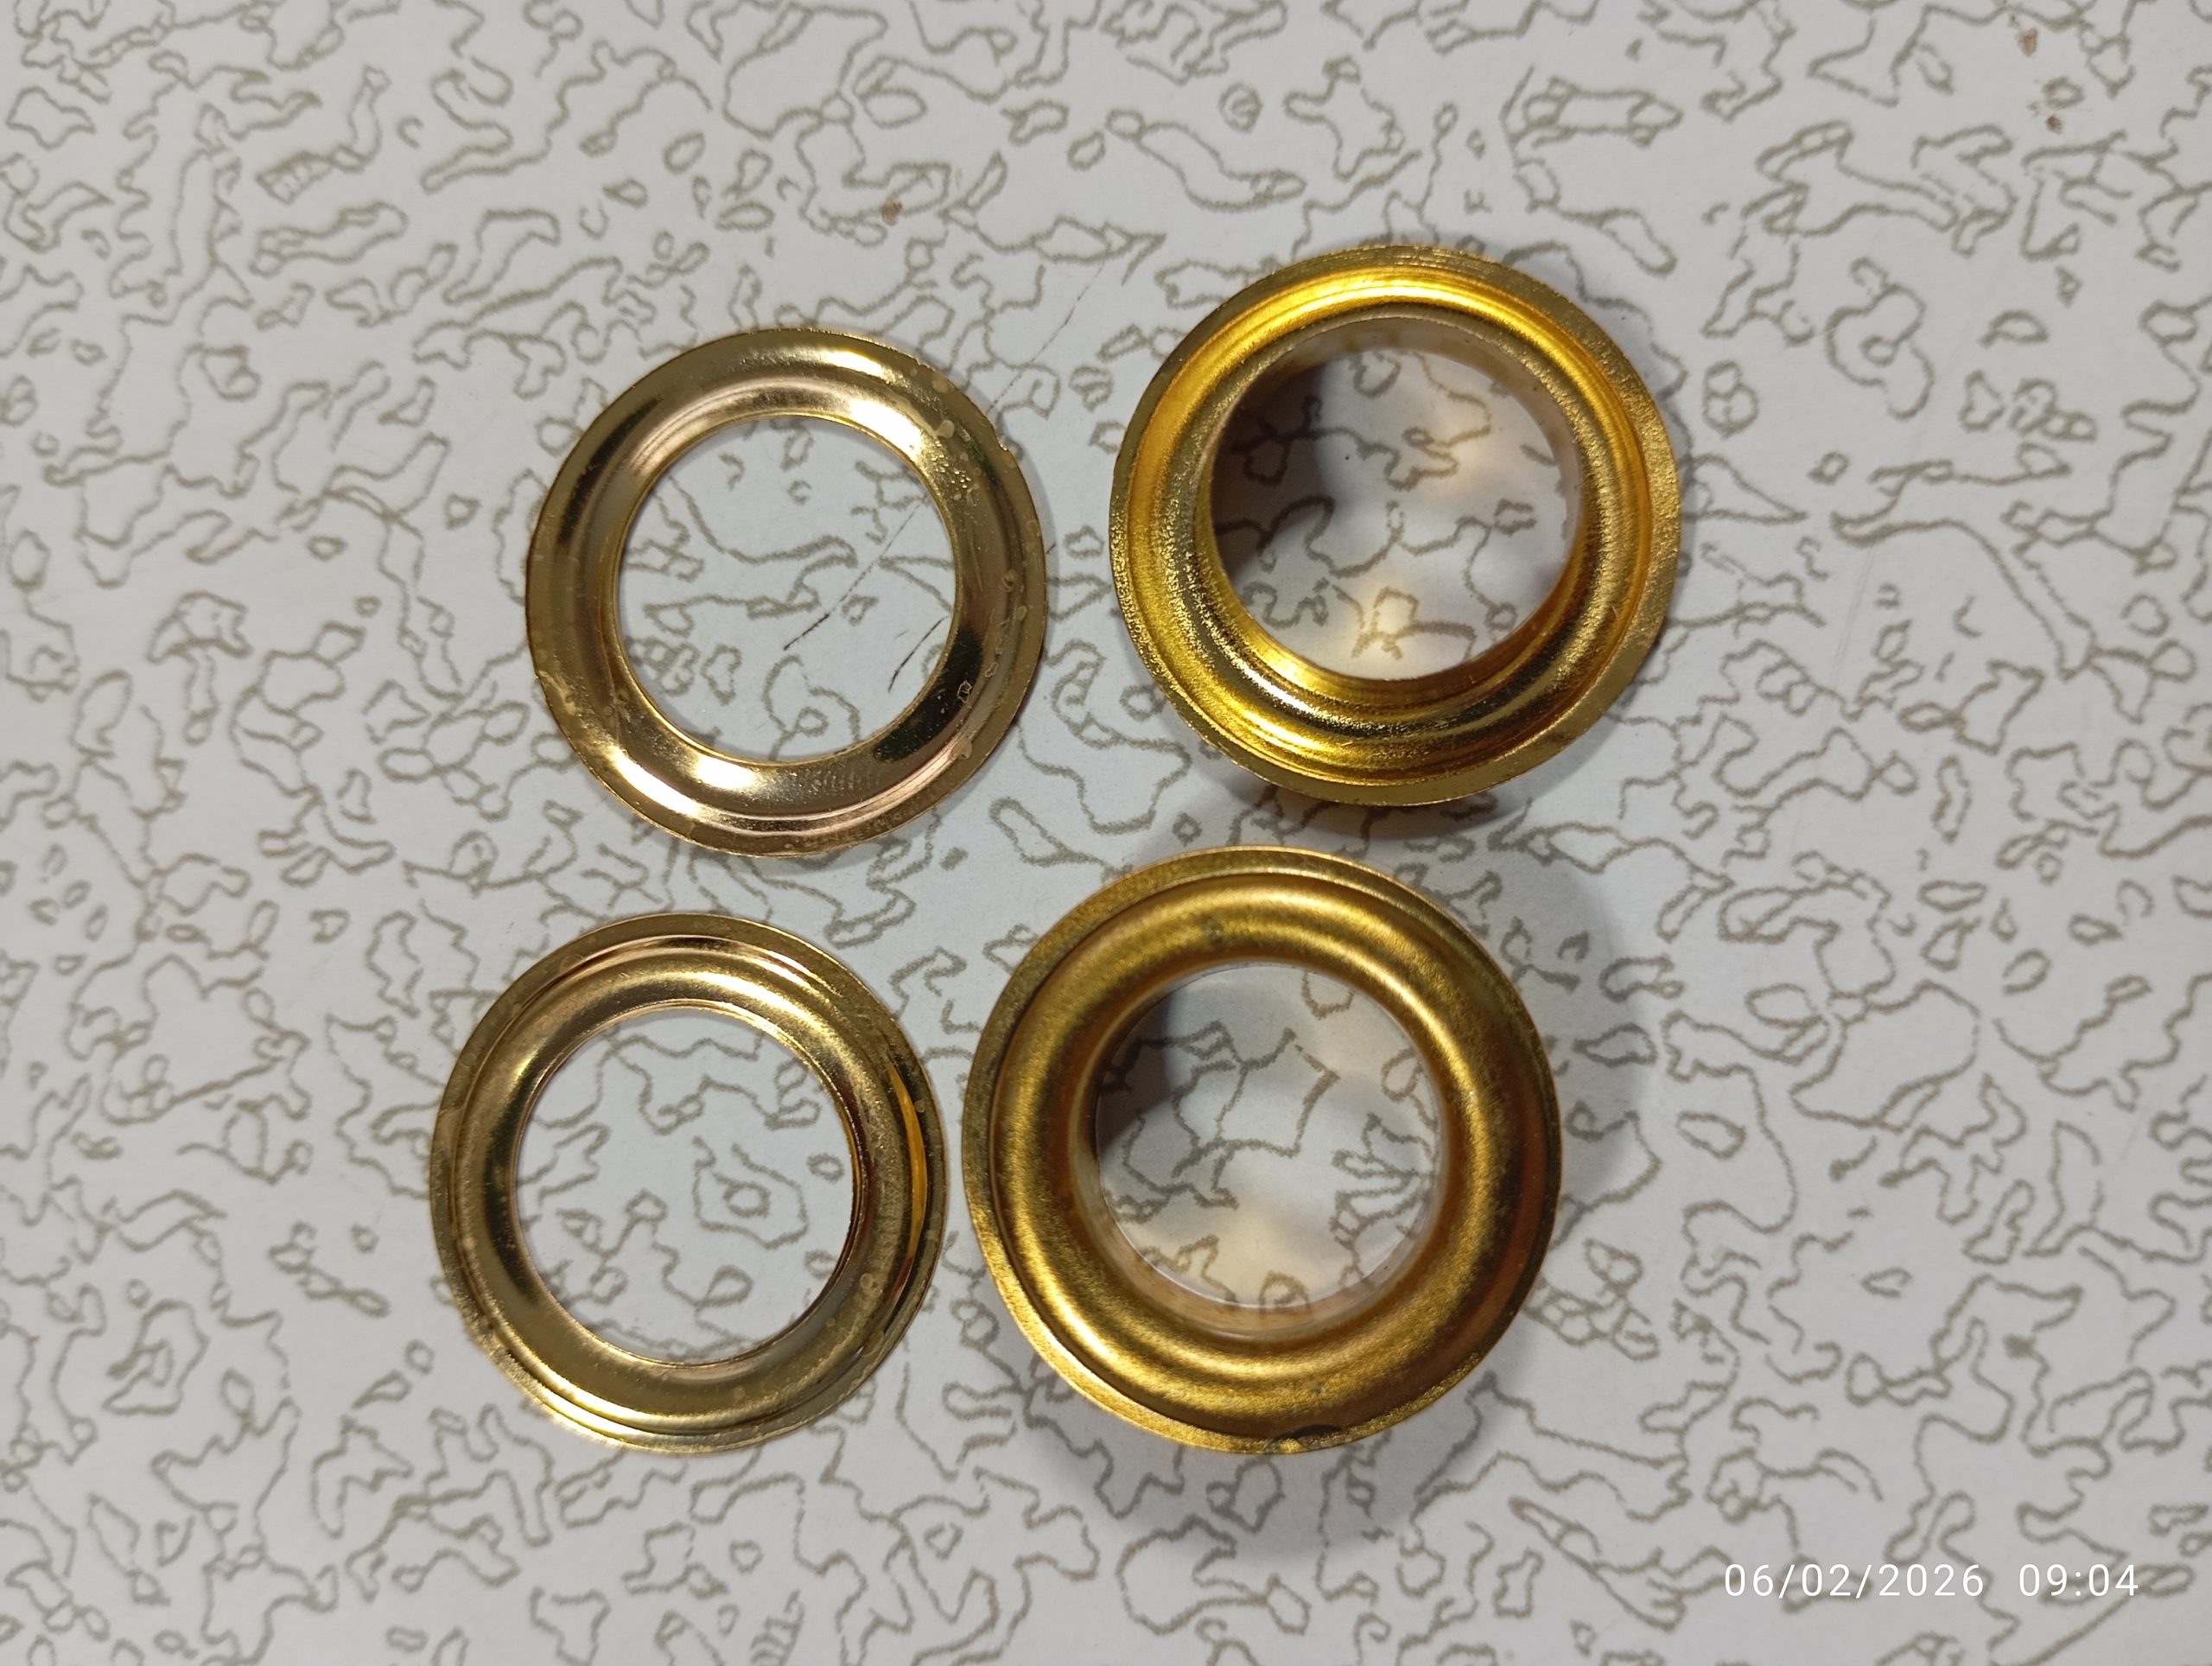
- Install an eyelet on each of the short, round edges of the Handle Panel using the mark indicated on pattern piece D.
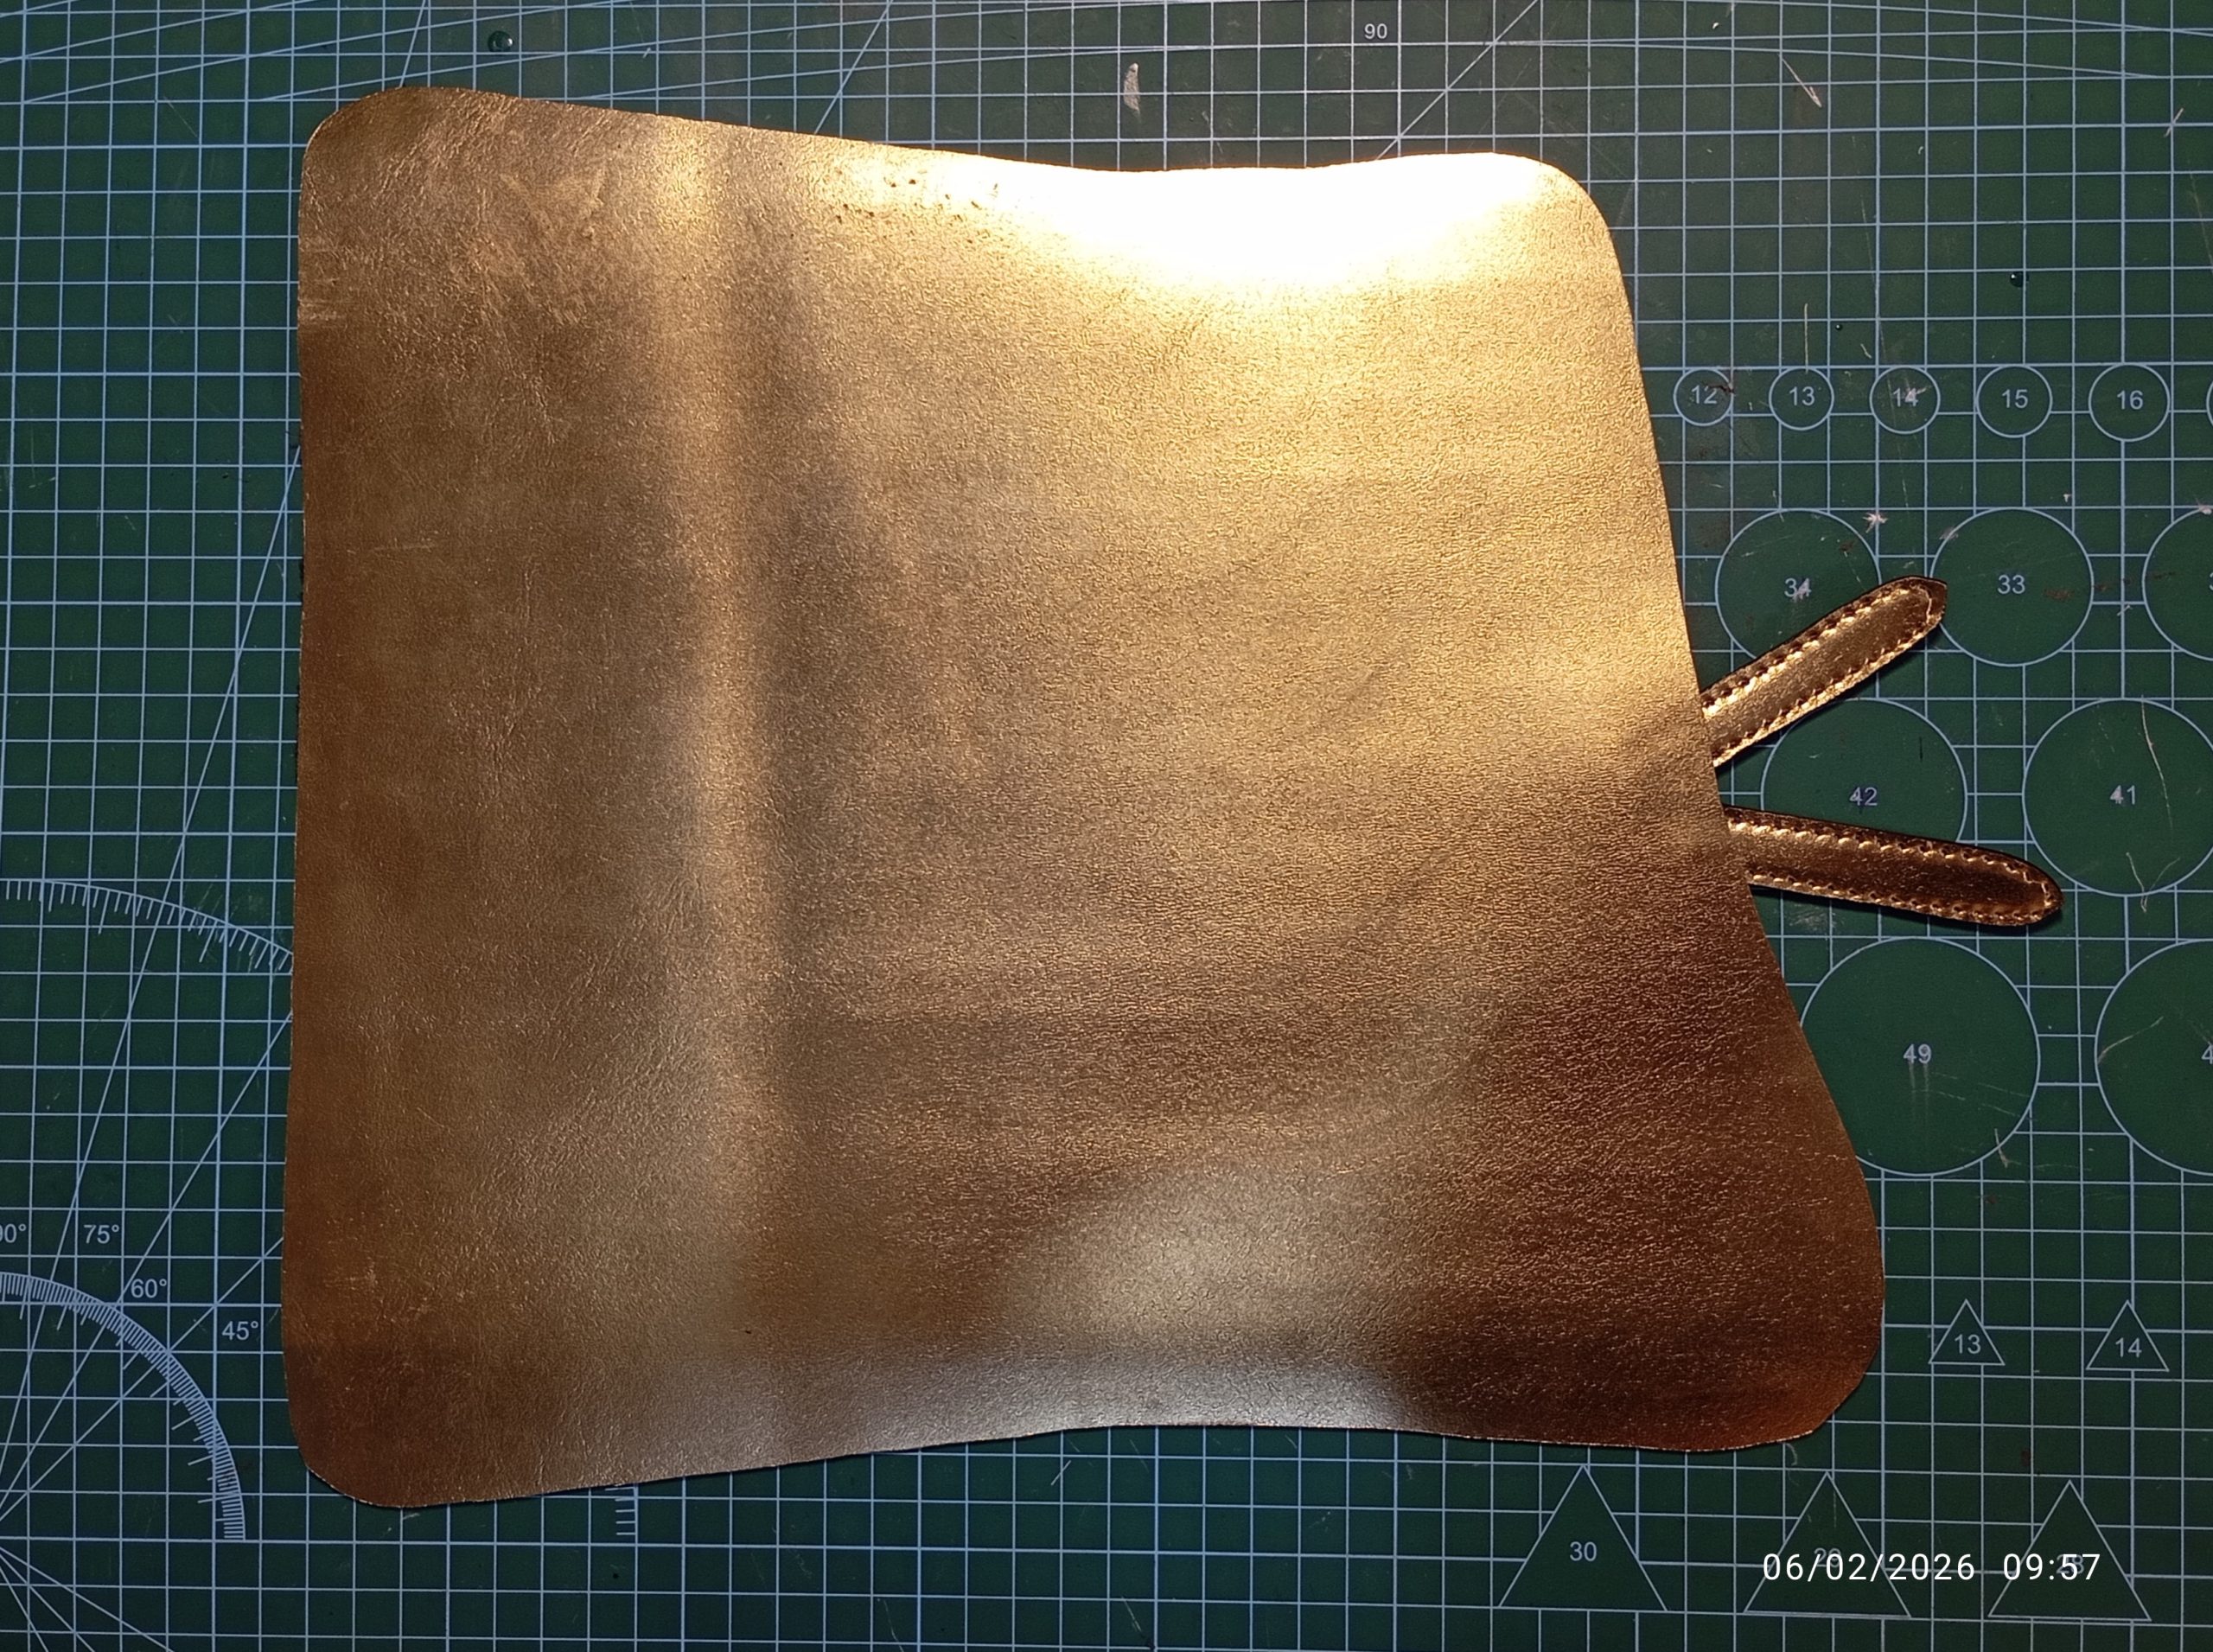
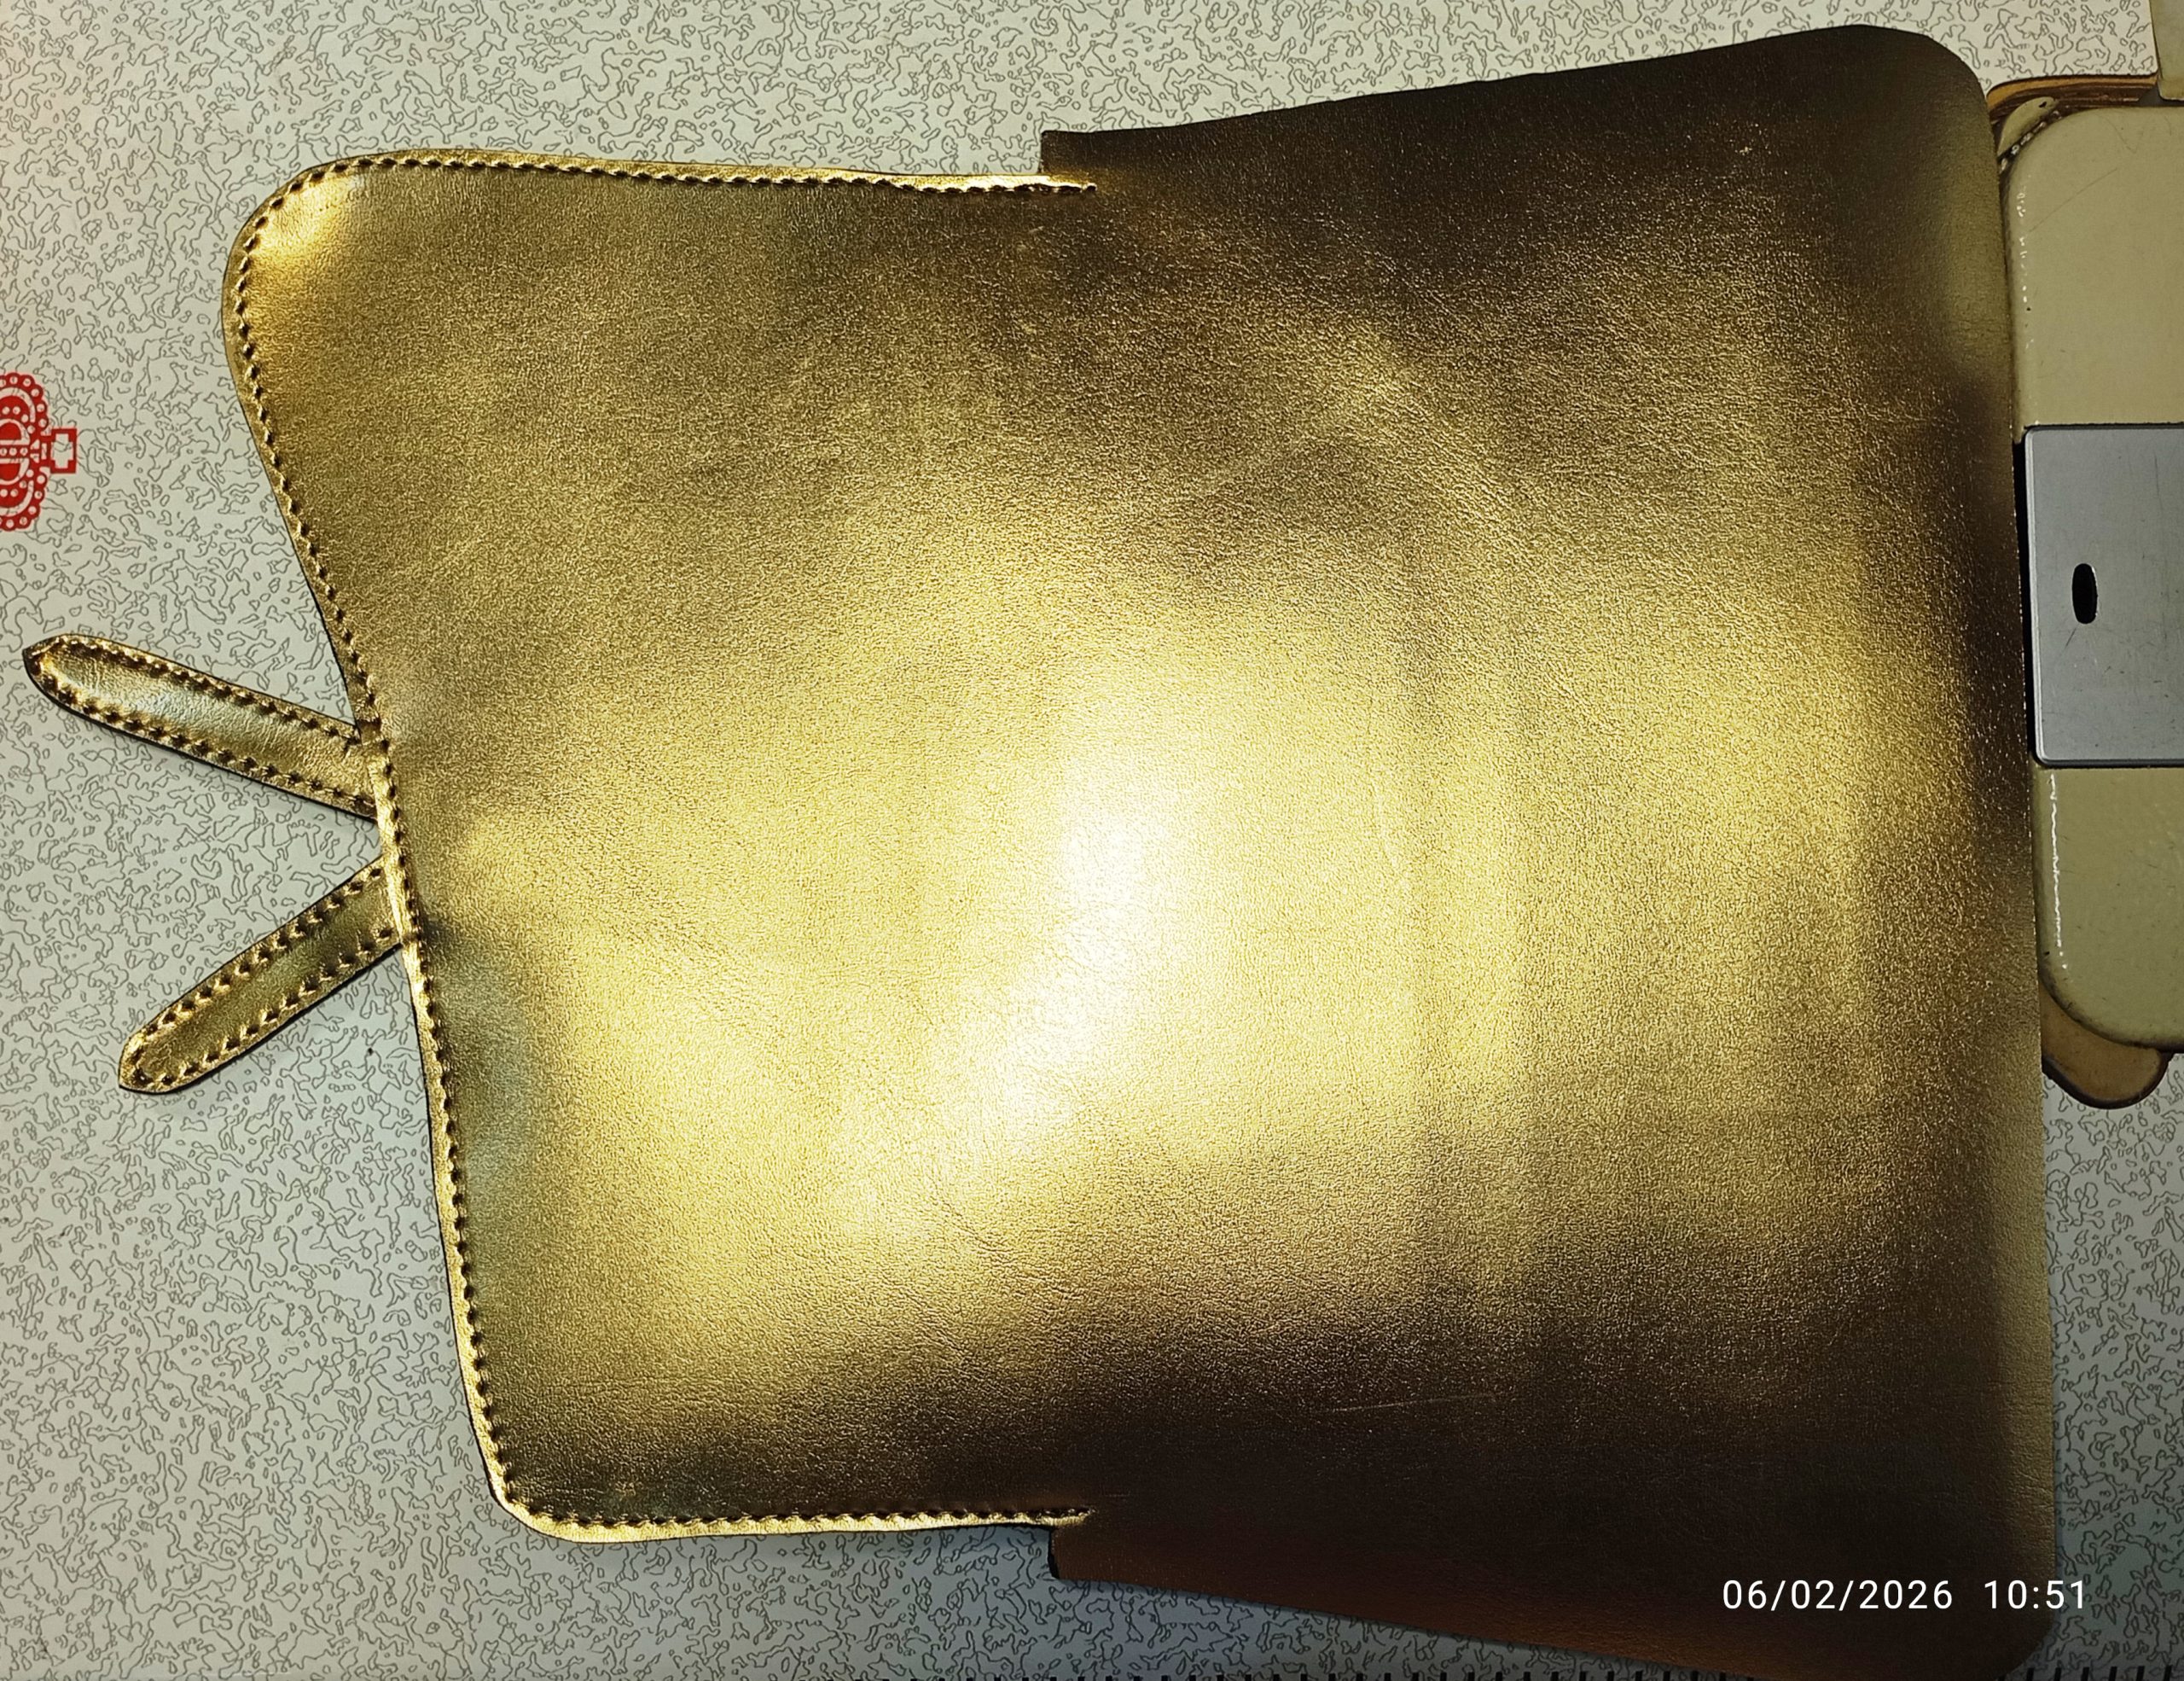
STEP 2: Decorative Panel
- Place the Decorative Panel wrong sides together with the Decorative Rectangle and centered, and use glue to hold it in place.
- Sew around the Decorative Panel with a ⅛” seam allowance.
- Trim the excess Decorative Rectangle to the edge of the Decorative Panel.
- Optionally: Use edge coat to give your Decorative edge a professional look. Alternatively, if you do not have Edge Coat like me, [learn how to do Edge coating without using Edge Coat].
- Set the two Decorative Panels on the flap of the main Panel as shown in the photo.
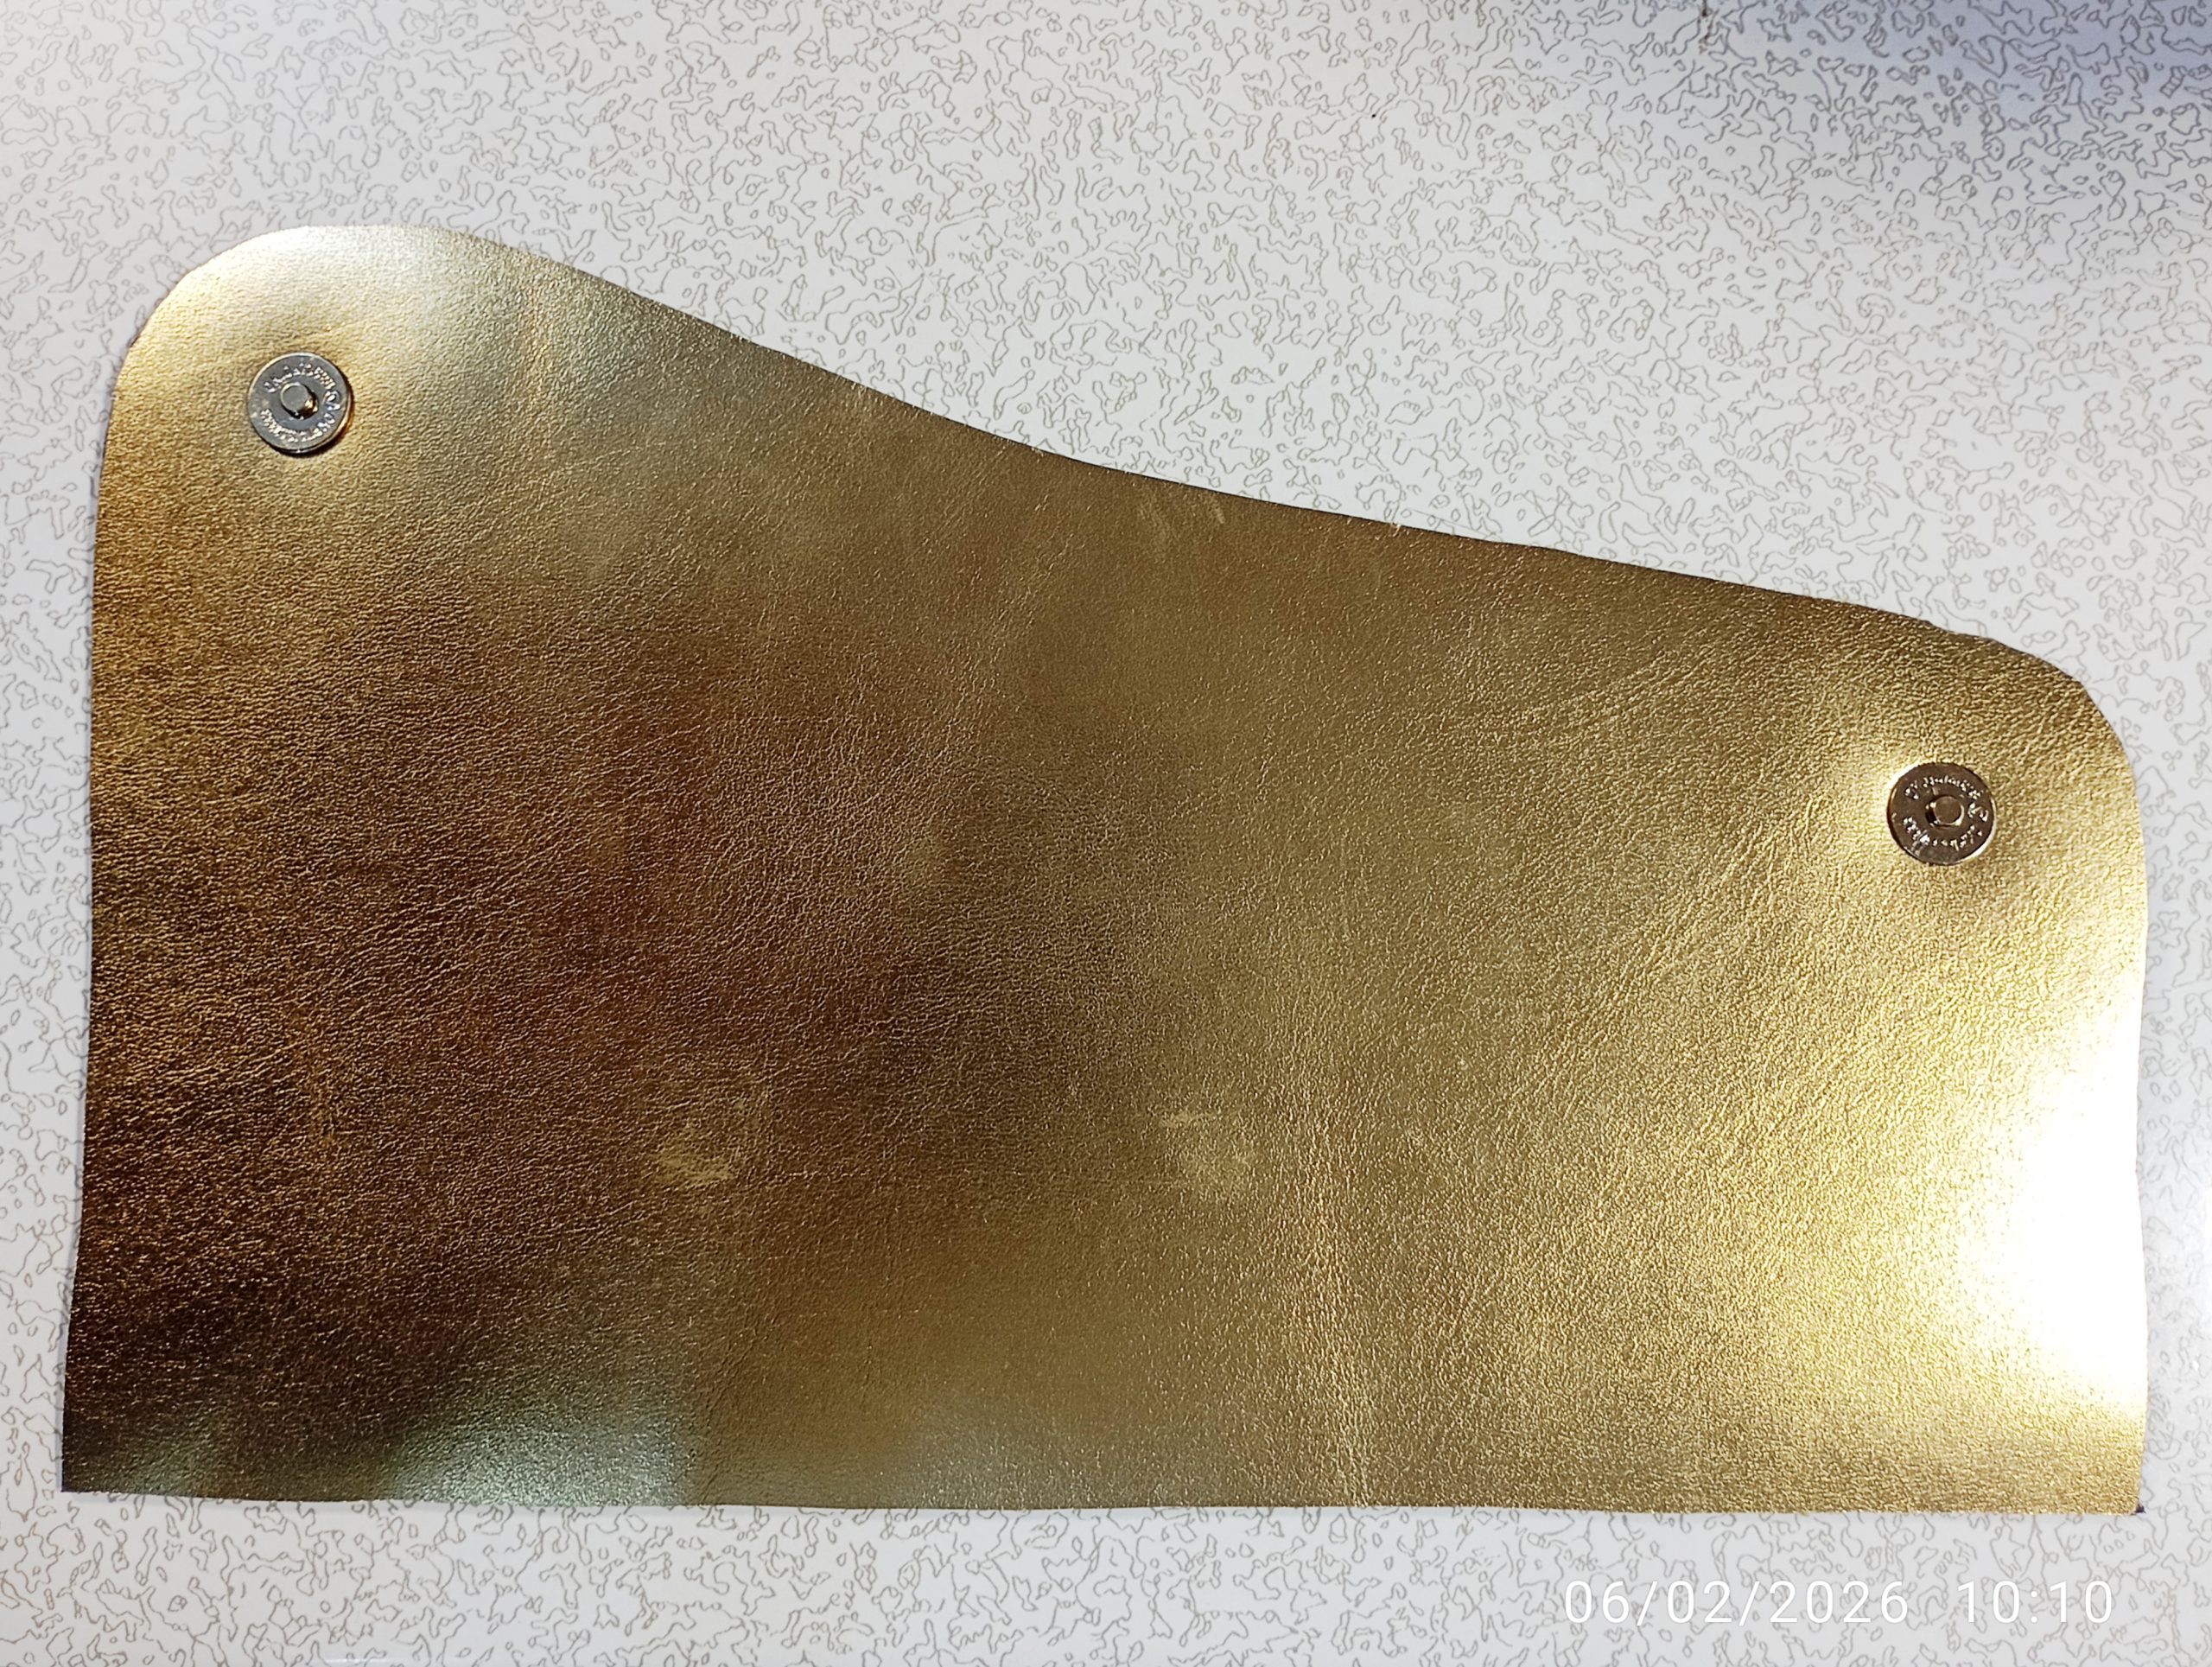
STEP 3: Magnetic Snap
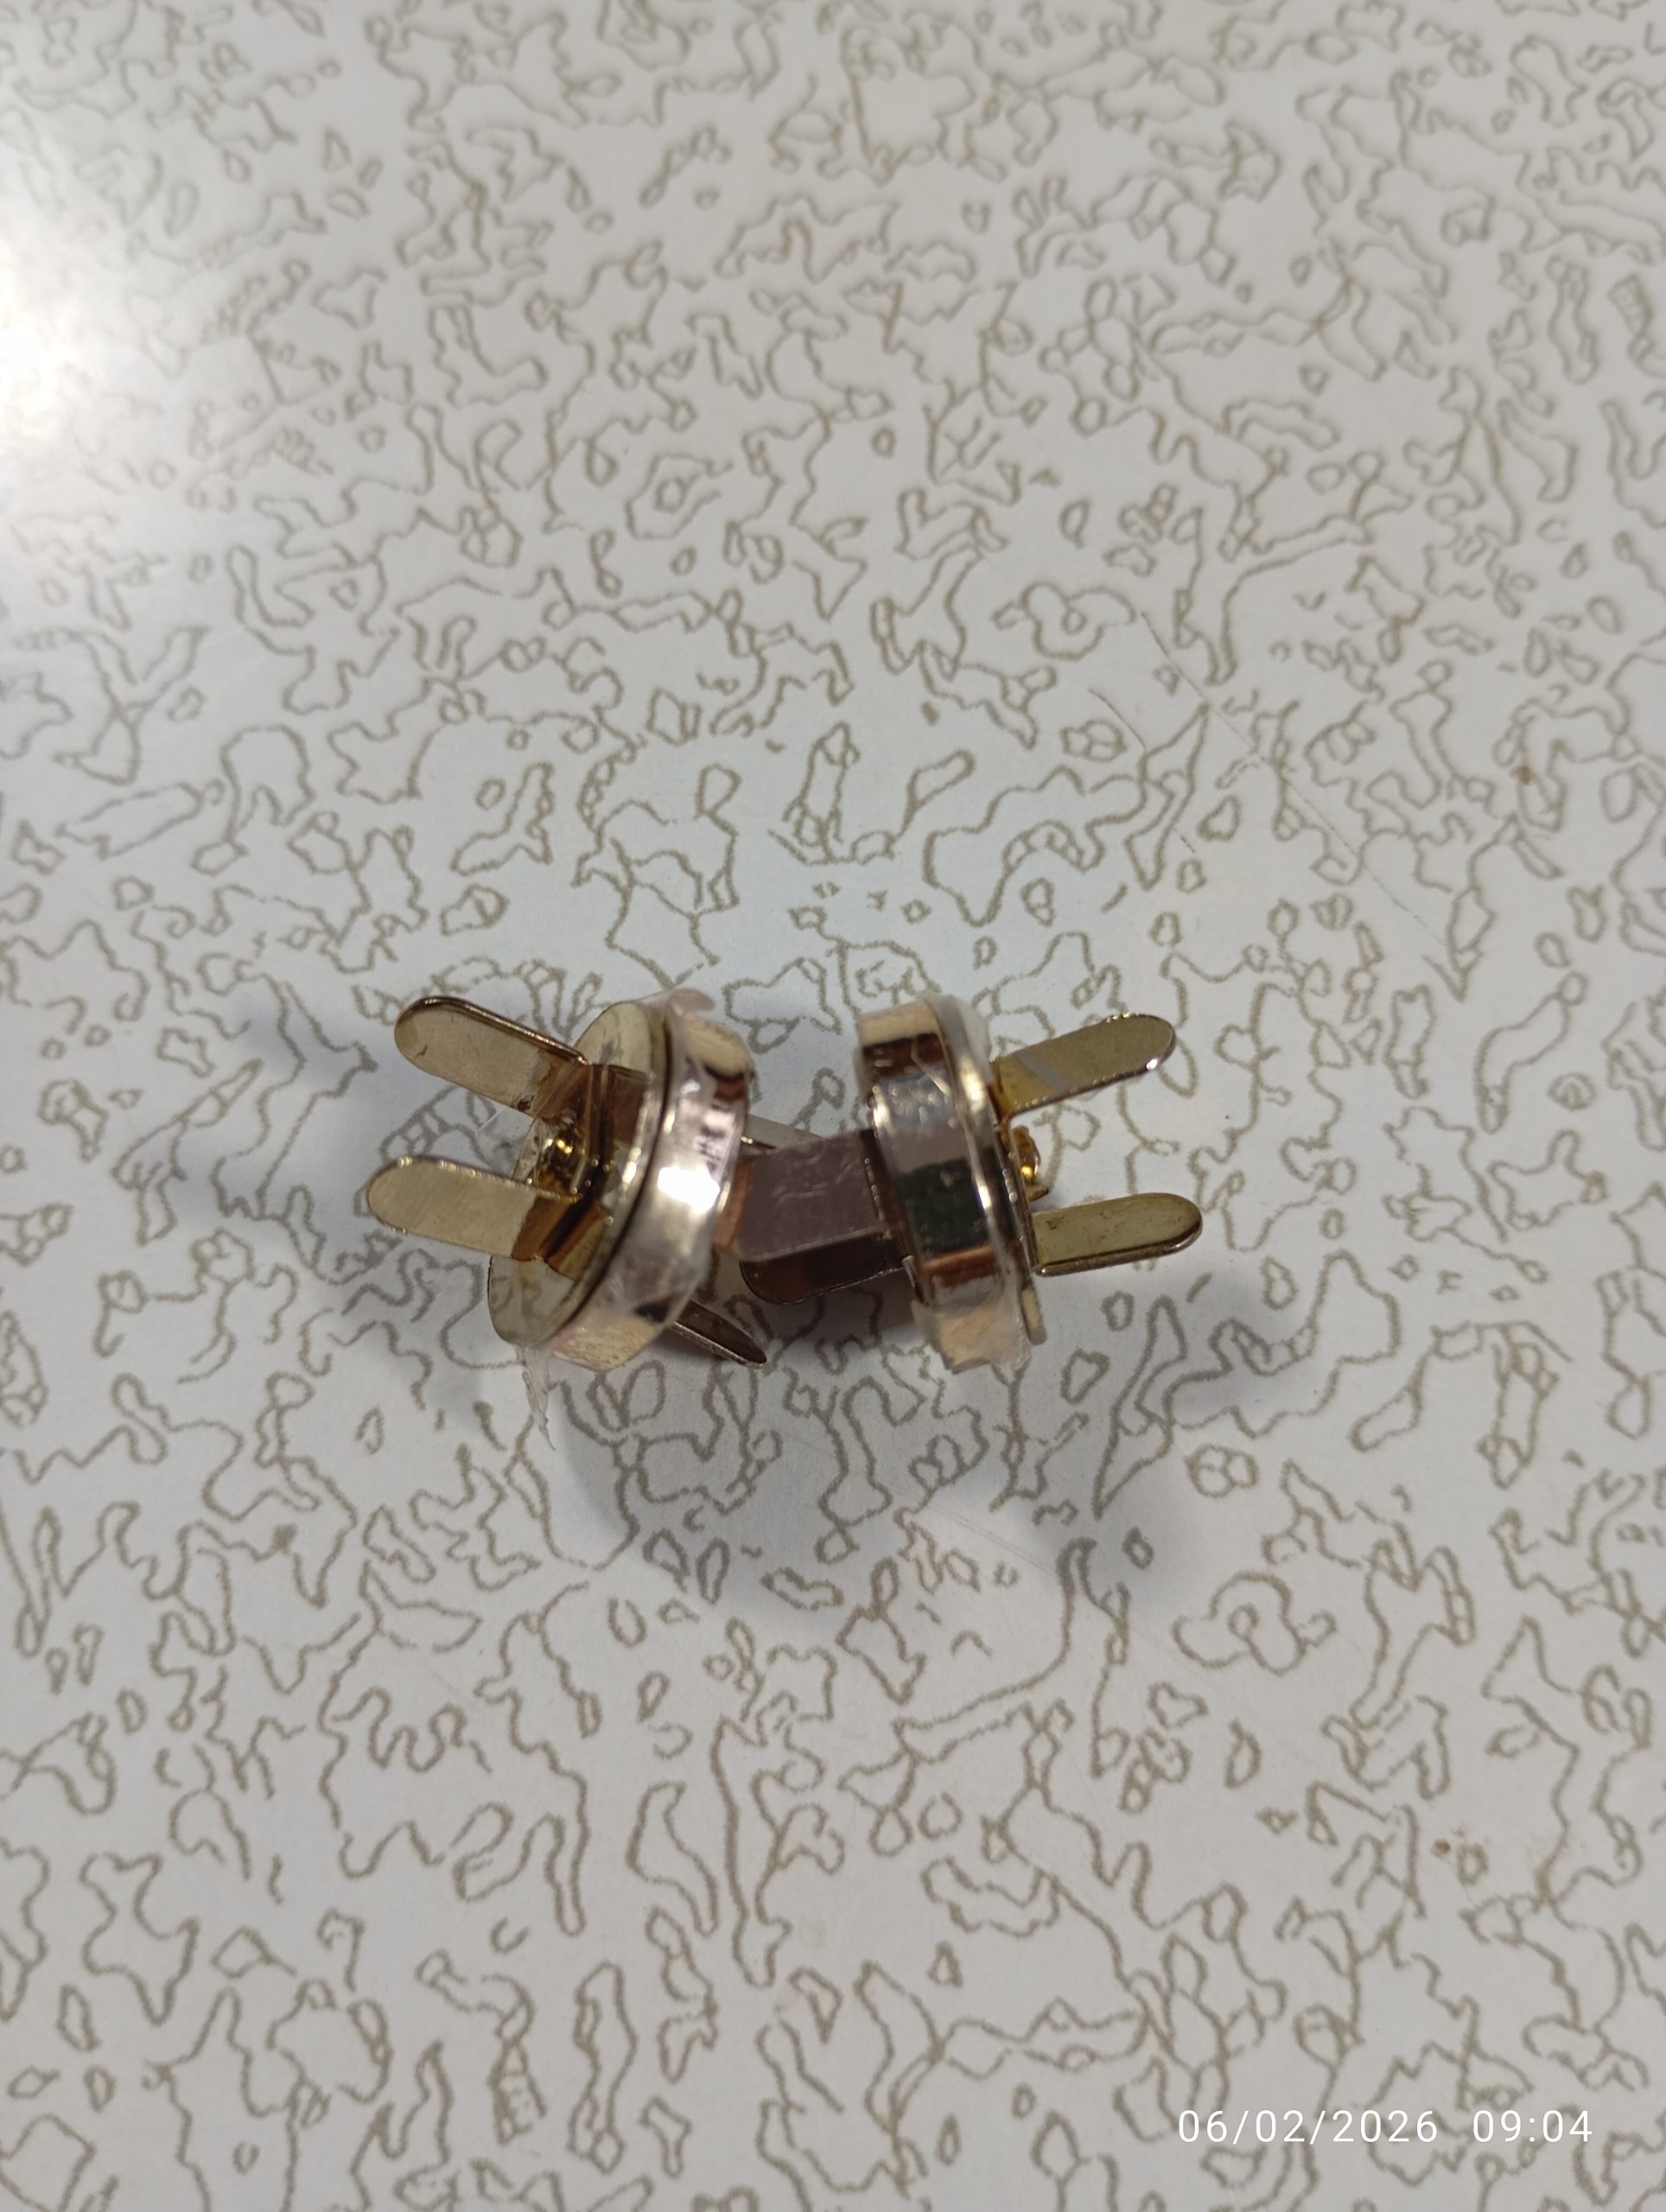
- Install the male part of the magnetic snaps on the Inner Flap Panel using the mark indicated on Pattern Piece C.
- Install the female part of the magnetic snaps on the Front Panel using the mark indicated on Pattern Piece B.
- Set the Magnetic Snap Cover piece on the wrong side of the installed magnetic snap using the mark indicated on Pattern Piece B; sew it with a 1/8” seam allowance.
STEP 4: Sew the Inner Flap Panel
- Align the curved edges of the Flap Panels wrong sides together, and clip them in place.
- Sew around the top and flap area of the Main Panel with a 1/8” seam allowance.
- Optionally: Use edge coat to give your Flap edge a professional look. Alternatively, if you do not have Edge Coat like me, [learn how to do Edge coating without using Edge Coat].
STEP 5: Piping Panel & Gusset Panel
- If your faux leather is not as long as 60.5”, you can join shorter straps together to make the full length.
- Center the ⅜” piping cord on the long edge of the Piping Panel and close the long edges with super glue to hold it in place.
- Find the center of the Piping Panel and the center of the long edges of the Gusset Panel, mark or notch the center.
- Match the center of the Piping Panel to the center of the Gusset Panel on one long edge and start clipping it in place.
- When you get to one short edge, measure 5” and continue clipping it till you get to the center of the other long edge of the Gusset Panel.
- Repeat the previous step for the other short edge of the Gusset Panel to complete the remaining edge of the Piping Panel.
- Now, sew the long edges of the Gusset Panel with ⅛” seam allowance, leaving the 5” extra Piping Panel that is left on the short edges.
- Also sew the 5” extra Piping Panel that is left on the short edges of the Gusset Panel as close to the Piping cord as your machine can allow.
- Trim down the 5” extra Piping Panel that is left on the short edges of the Gusset Panel to ⅛” seam allowance.
- Optionally: Use edge coat to give your Piping Panel edge a professional look. Alternatively, if you do not have Edge Coat like me, [learn how to do Edge coating without using Edge Coat].
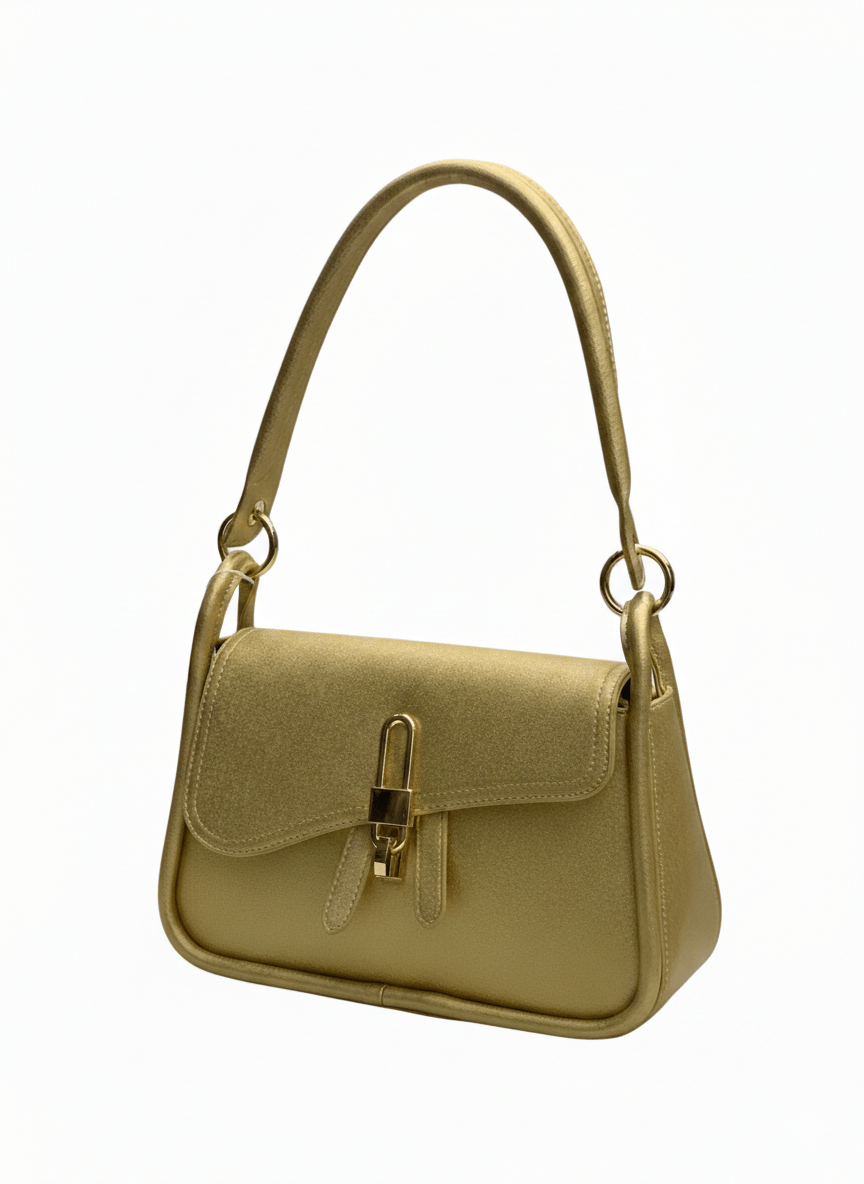
STEP 6: Assemble The Bag
- Take the gusset and align one long edge with the sides and bottom edge of the Front Panel; clip it in place.
- Sew the clipped edges with a 1/8” seam allowance.
- Clip the remaining long edge of the gusset with the sides and bottom edge of the Main Panel as shown.
- Sew the clipped edges with a 1/8” seam allowance.
- Optionally: Use edge coat to give your edges a professional look. Alternatively, if you do not have Edge Coat, [learn how to do Edge coating without using Edge Coat].
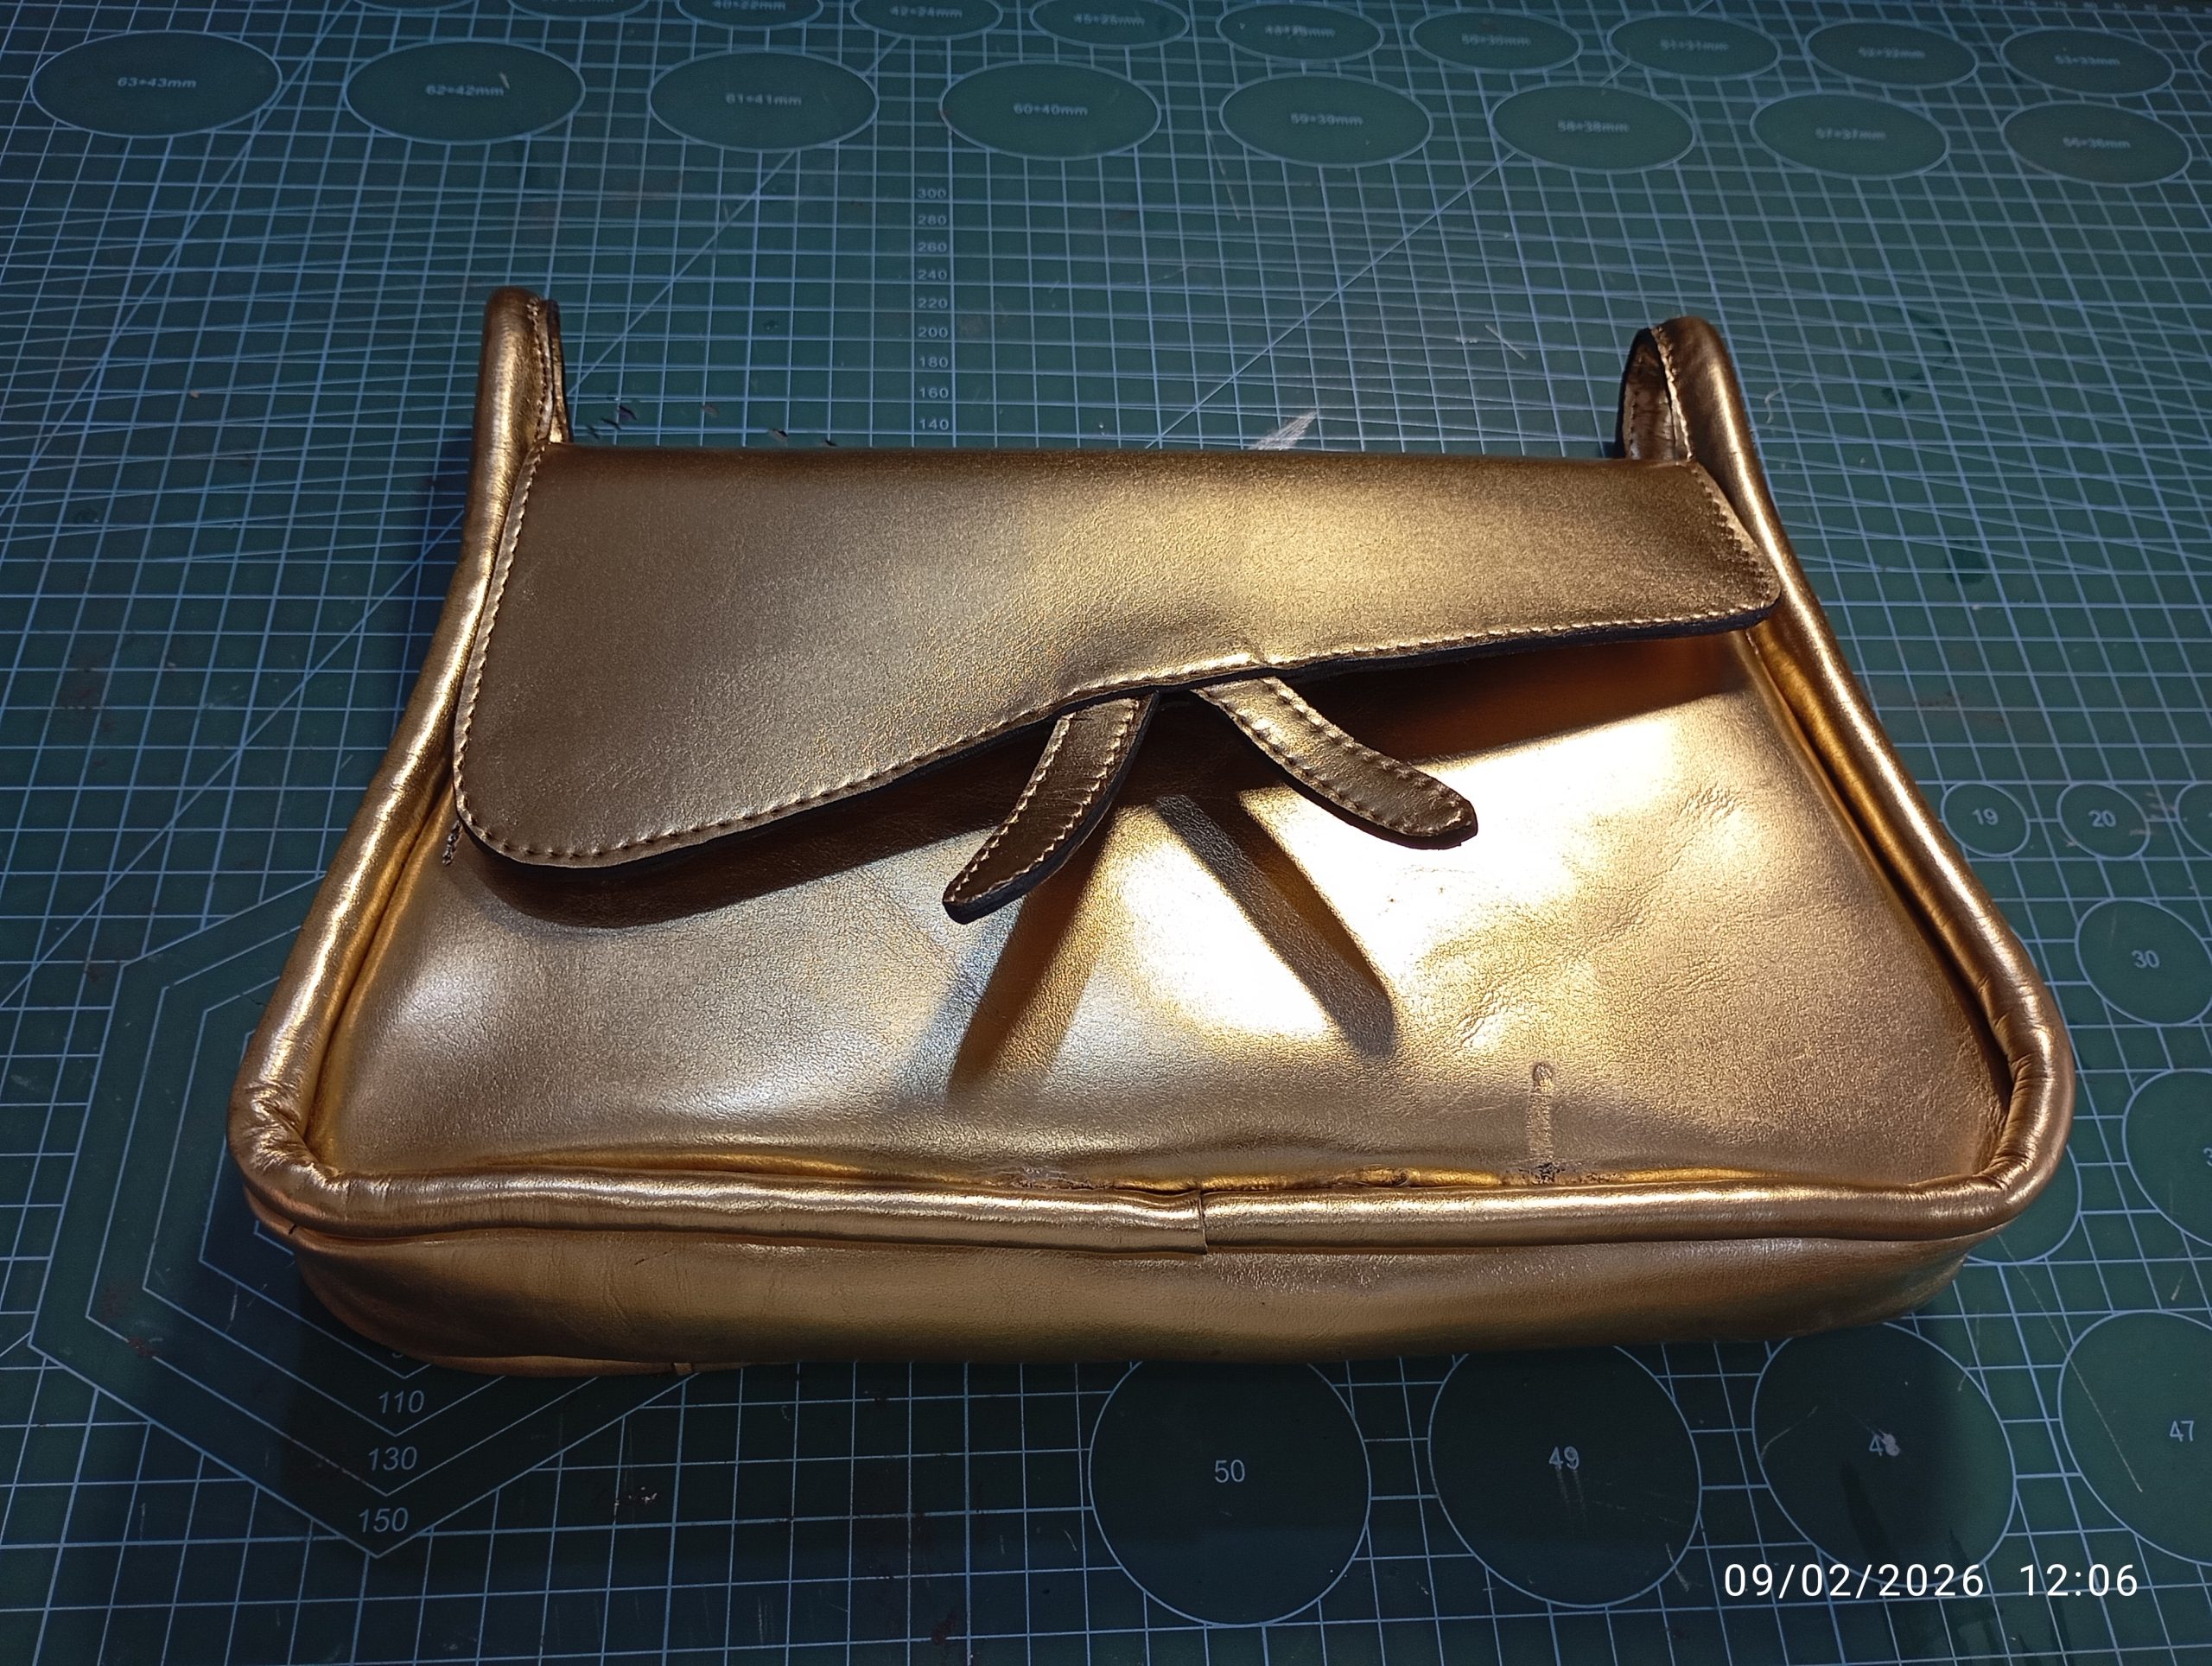
STEP 7: Attach The Handle
- Take an open-ring and use it to connect the Handle to the top of the Piping Panel on the Bag
- Do this to the other top edge of the Piping Panel and the other short edge of the Handle Panel.
List of Materials
- Exterior Fabric: Double-sided Faux leather
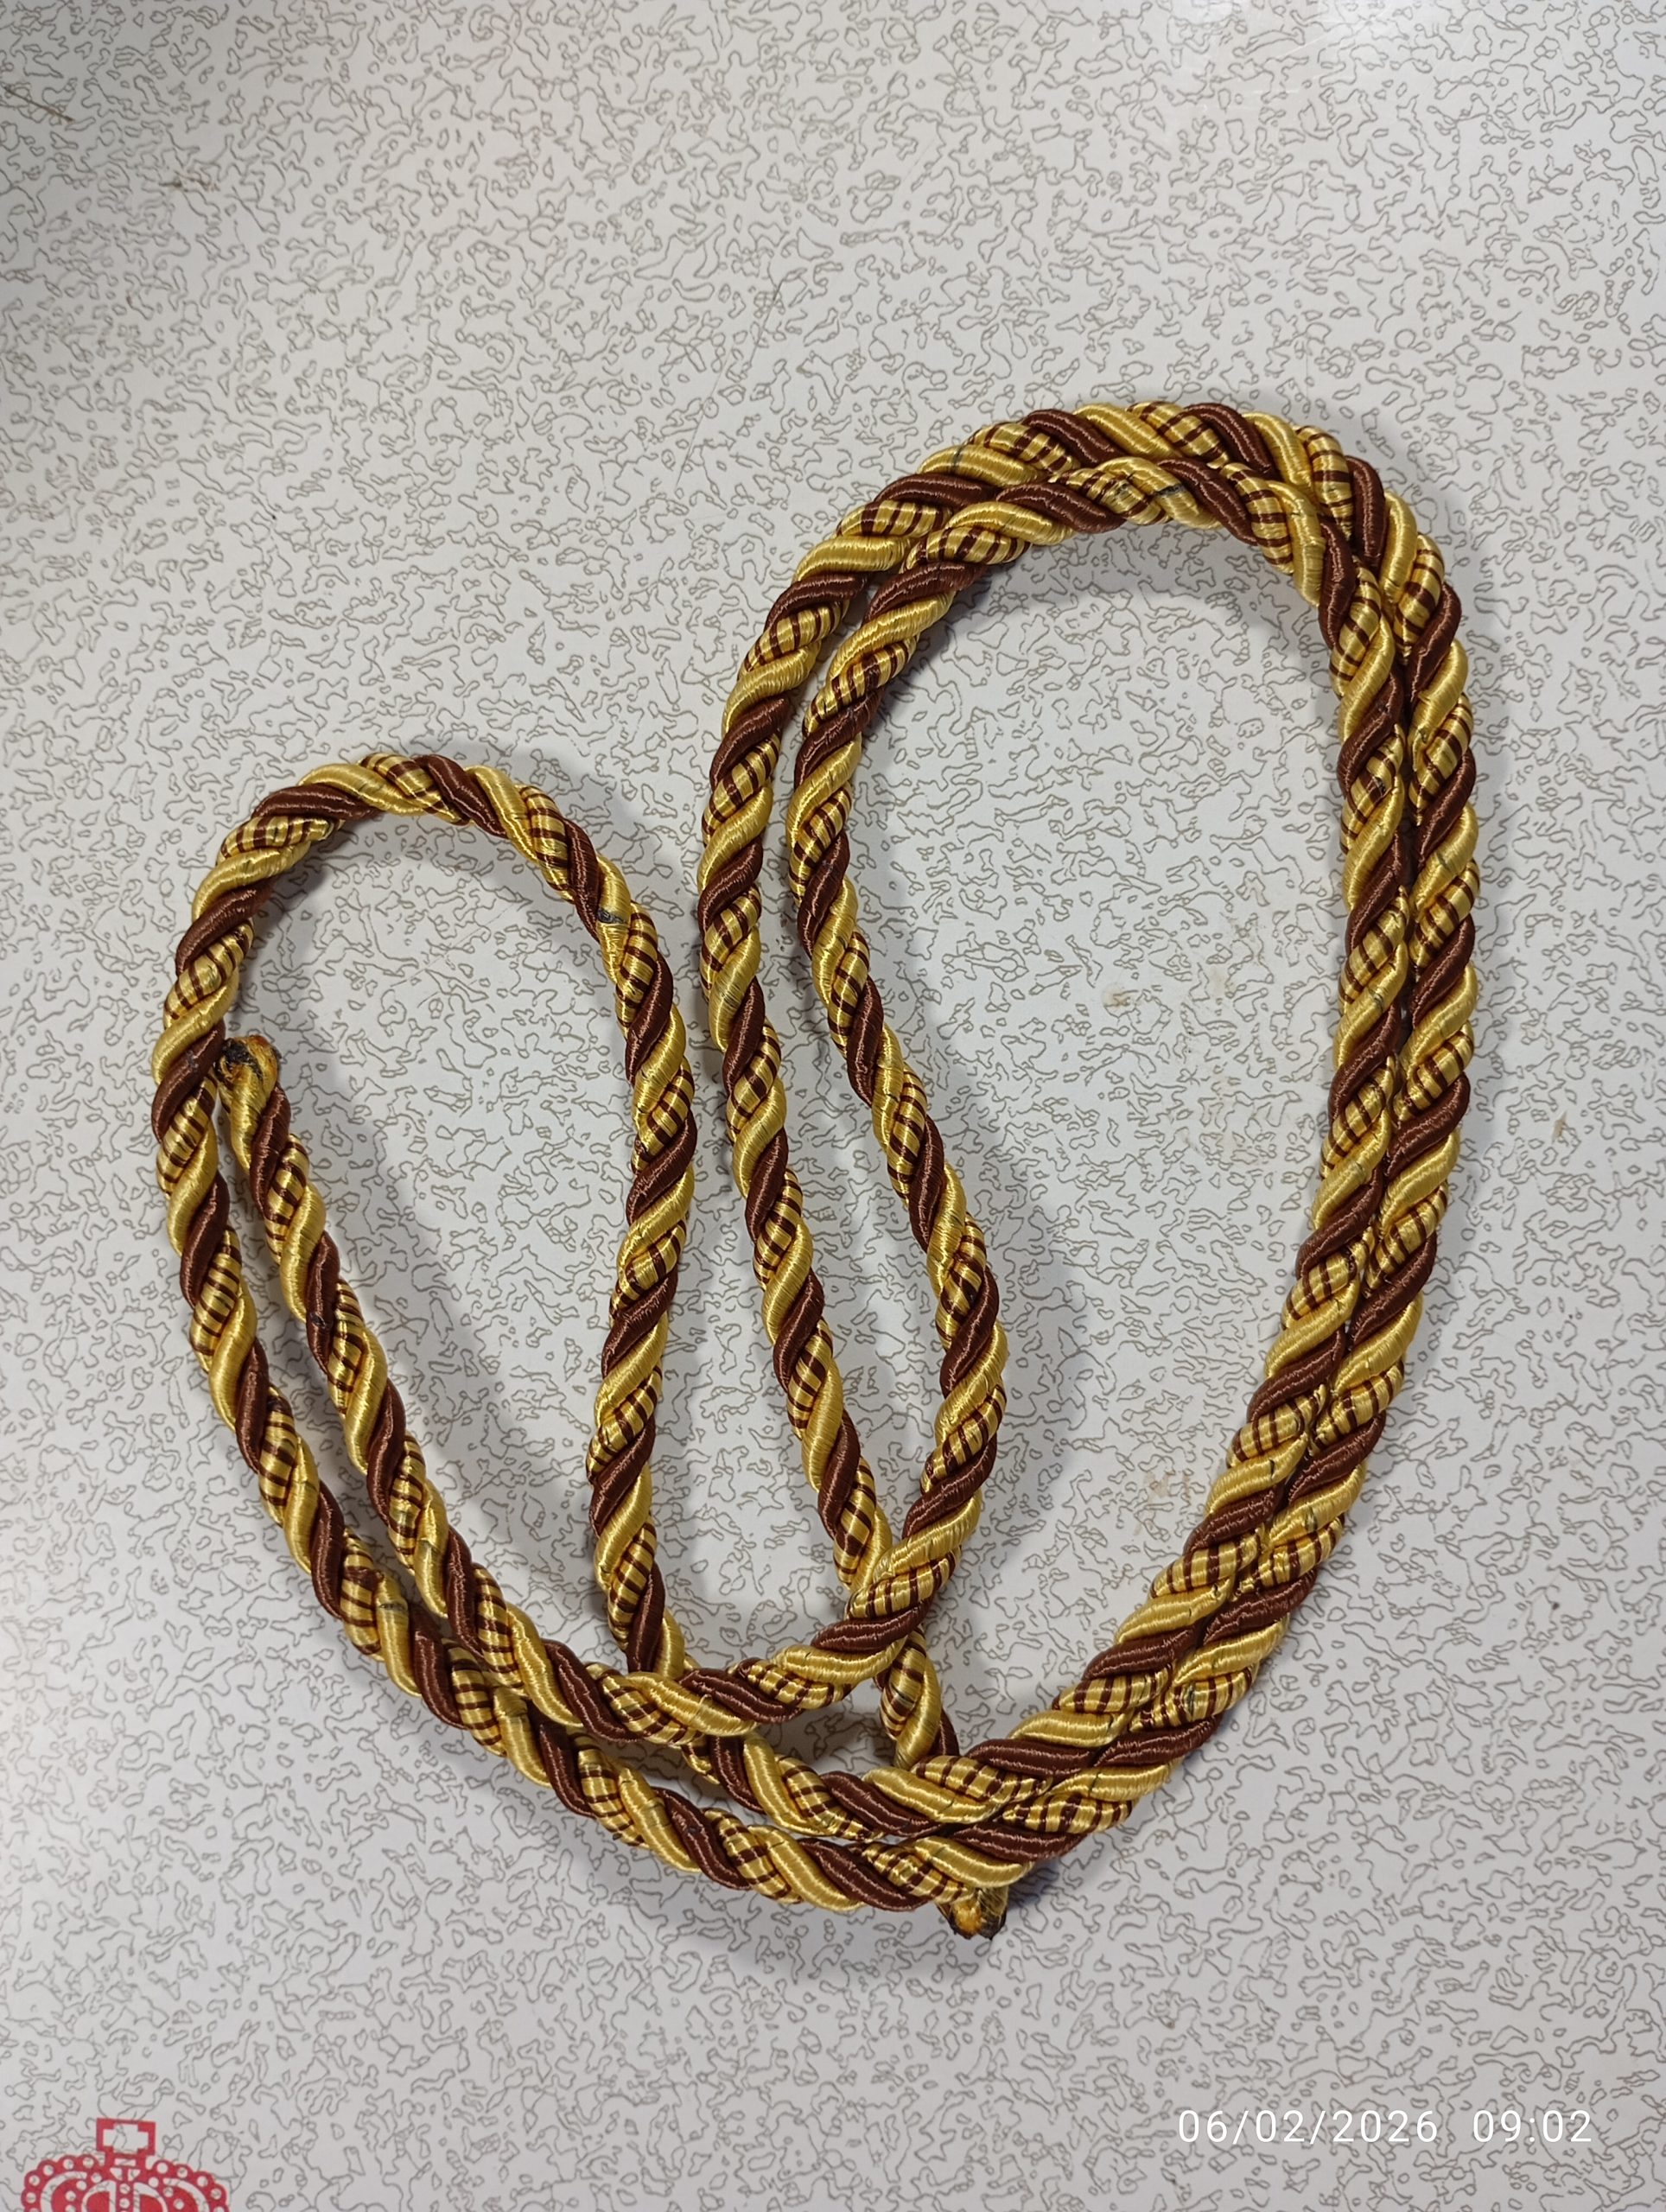
- Handle Cord: (11”) For adding structure to the piping.
- Open Ring Connector: (2) To Connect Shoulder strap

- Eyelet: (2) For the shoulder Strap.
- Magnetic Snaps: (2)
- Super Glue (Optional): To secure the handle covers.
- Edge Finish: Your soldering iron (or Edge Coat).