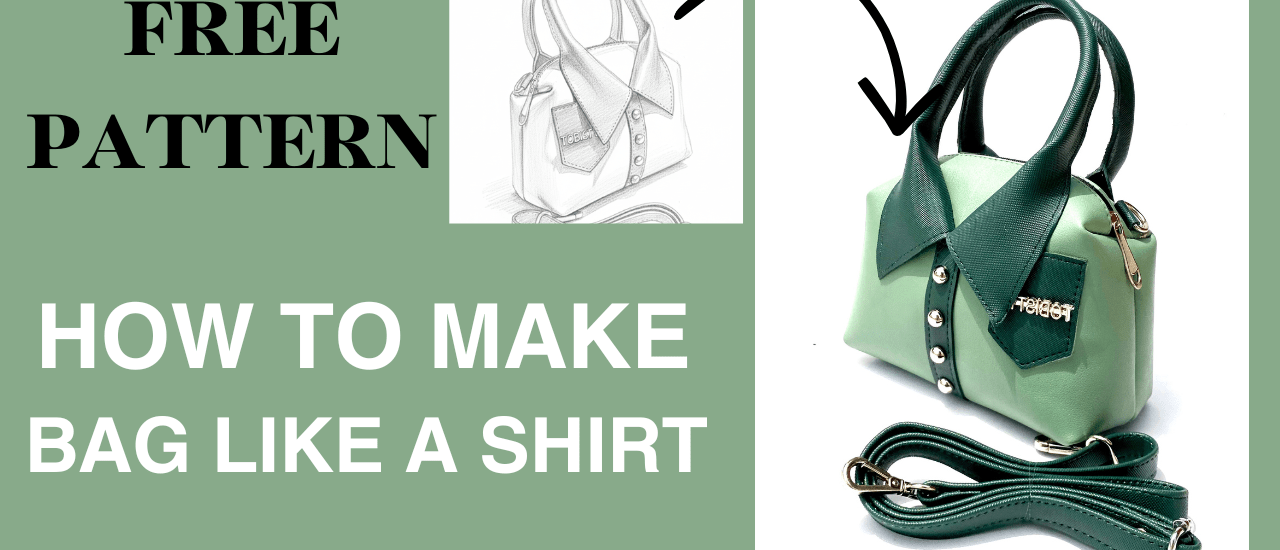

To make your own version of the Bag Like A Shirt, read the following sewing instructions. On this page, you will find the free file that contains the pattern pieces, cutting list, and the list of materials needed.
Continue reading to download the free pattern. Please note that reading these sewing instructions goes hand in hand with watching the YouTube tutorial. Find the tutorial below.
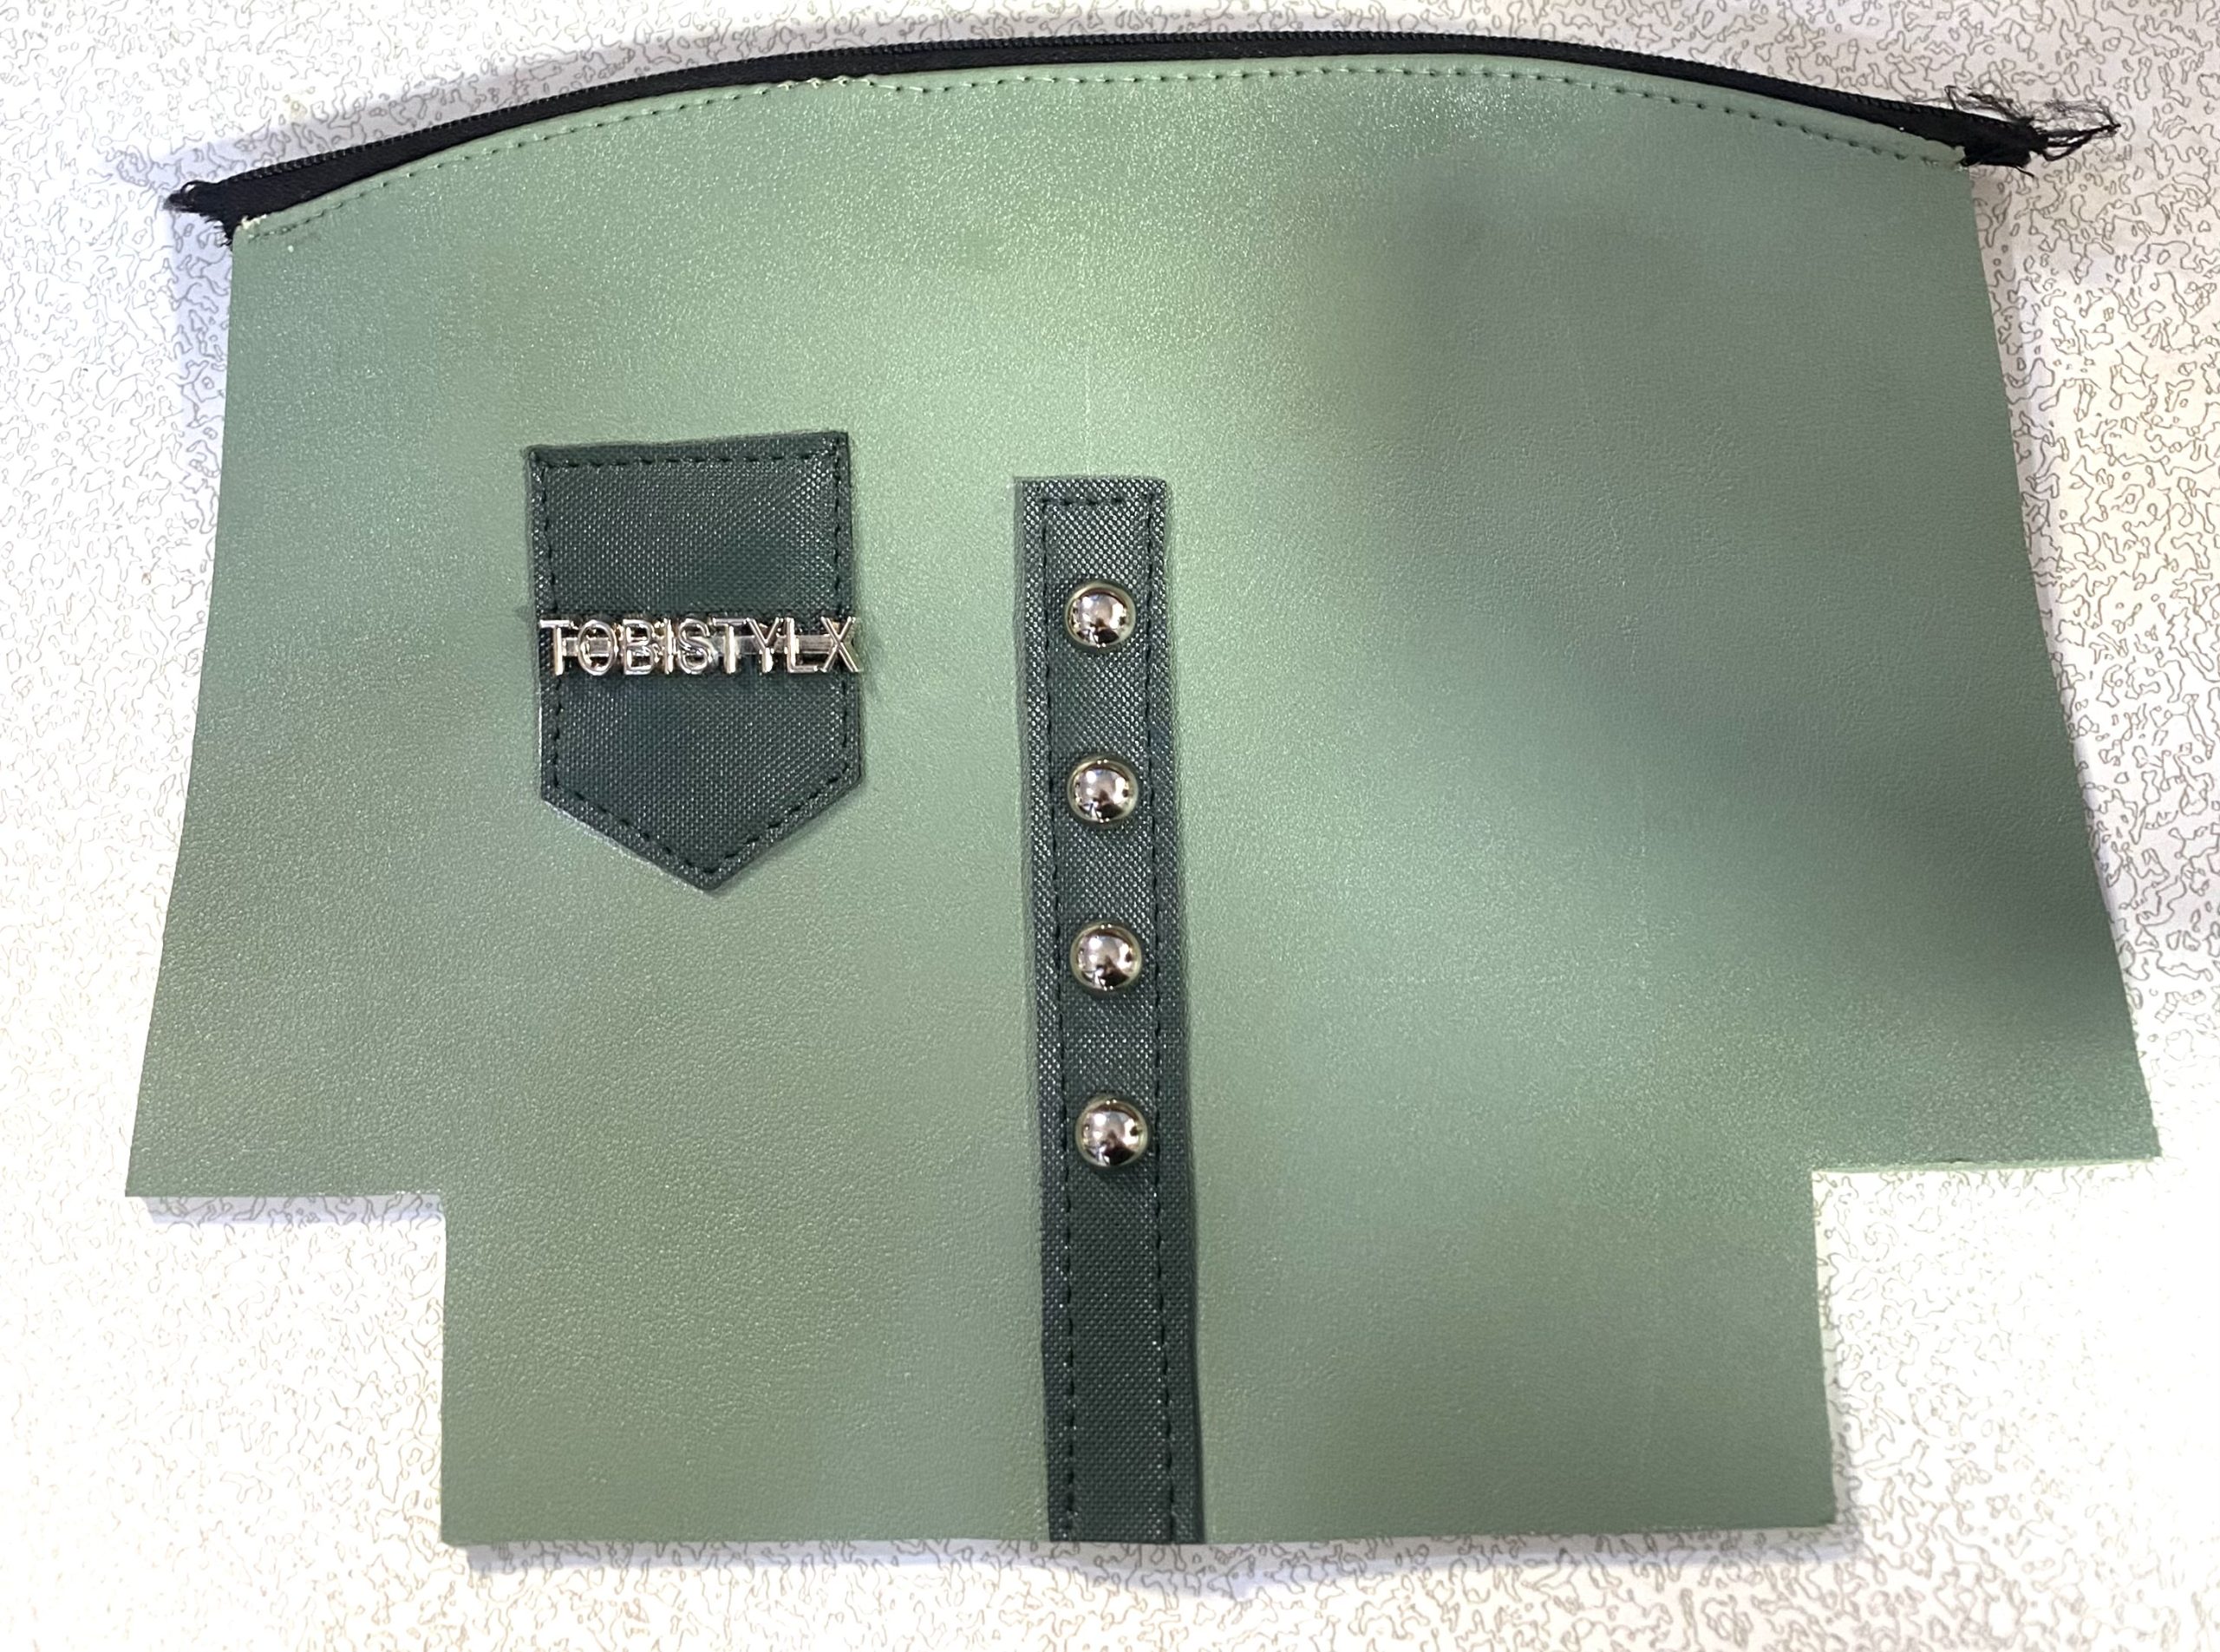
STEP 1: Sew The Pocket and The Button Panel
- Place the Pocket Panel on one of the Main Panels using the indication on pattern piece A.
- Sew the Pocket Panel on all edges with a ⅛” seam allowance.
- Now set the Button Panel on the Main Panel that has the Pocket Panel using the indication on pattern piece A.
- Sew the Button Panel on all edges with a ⅛” seam allowance.
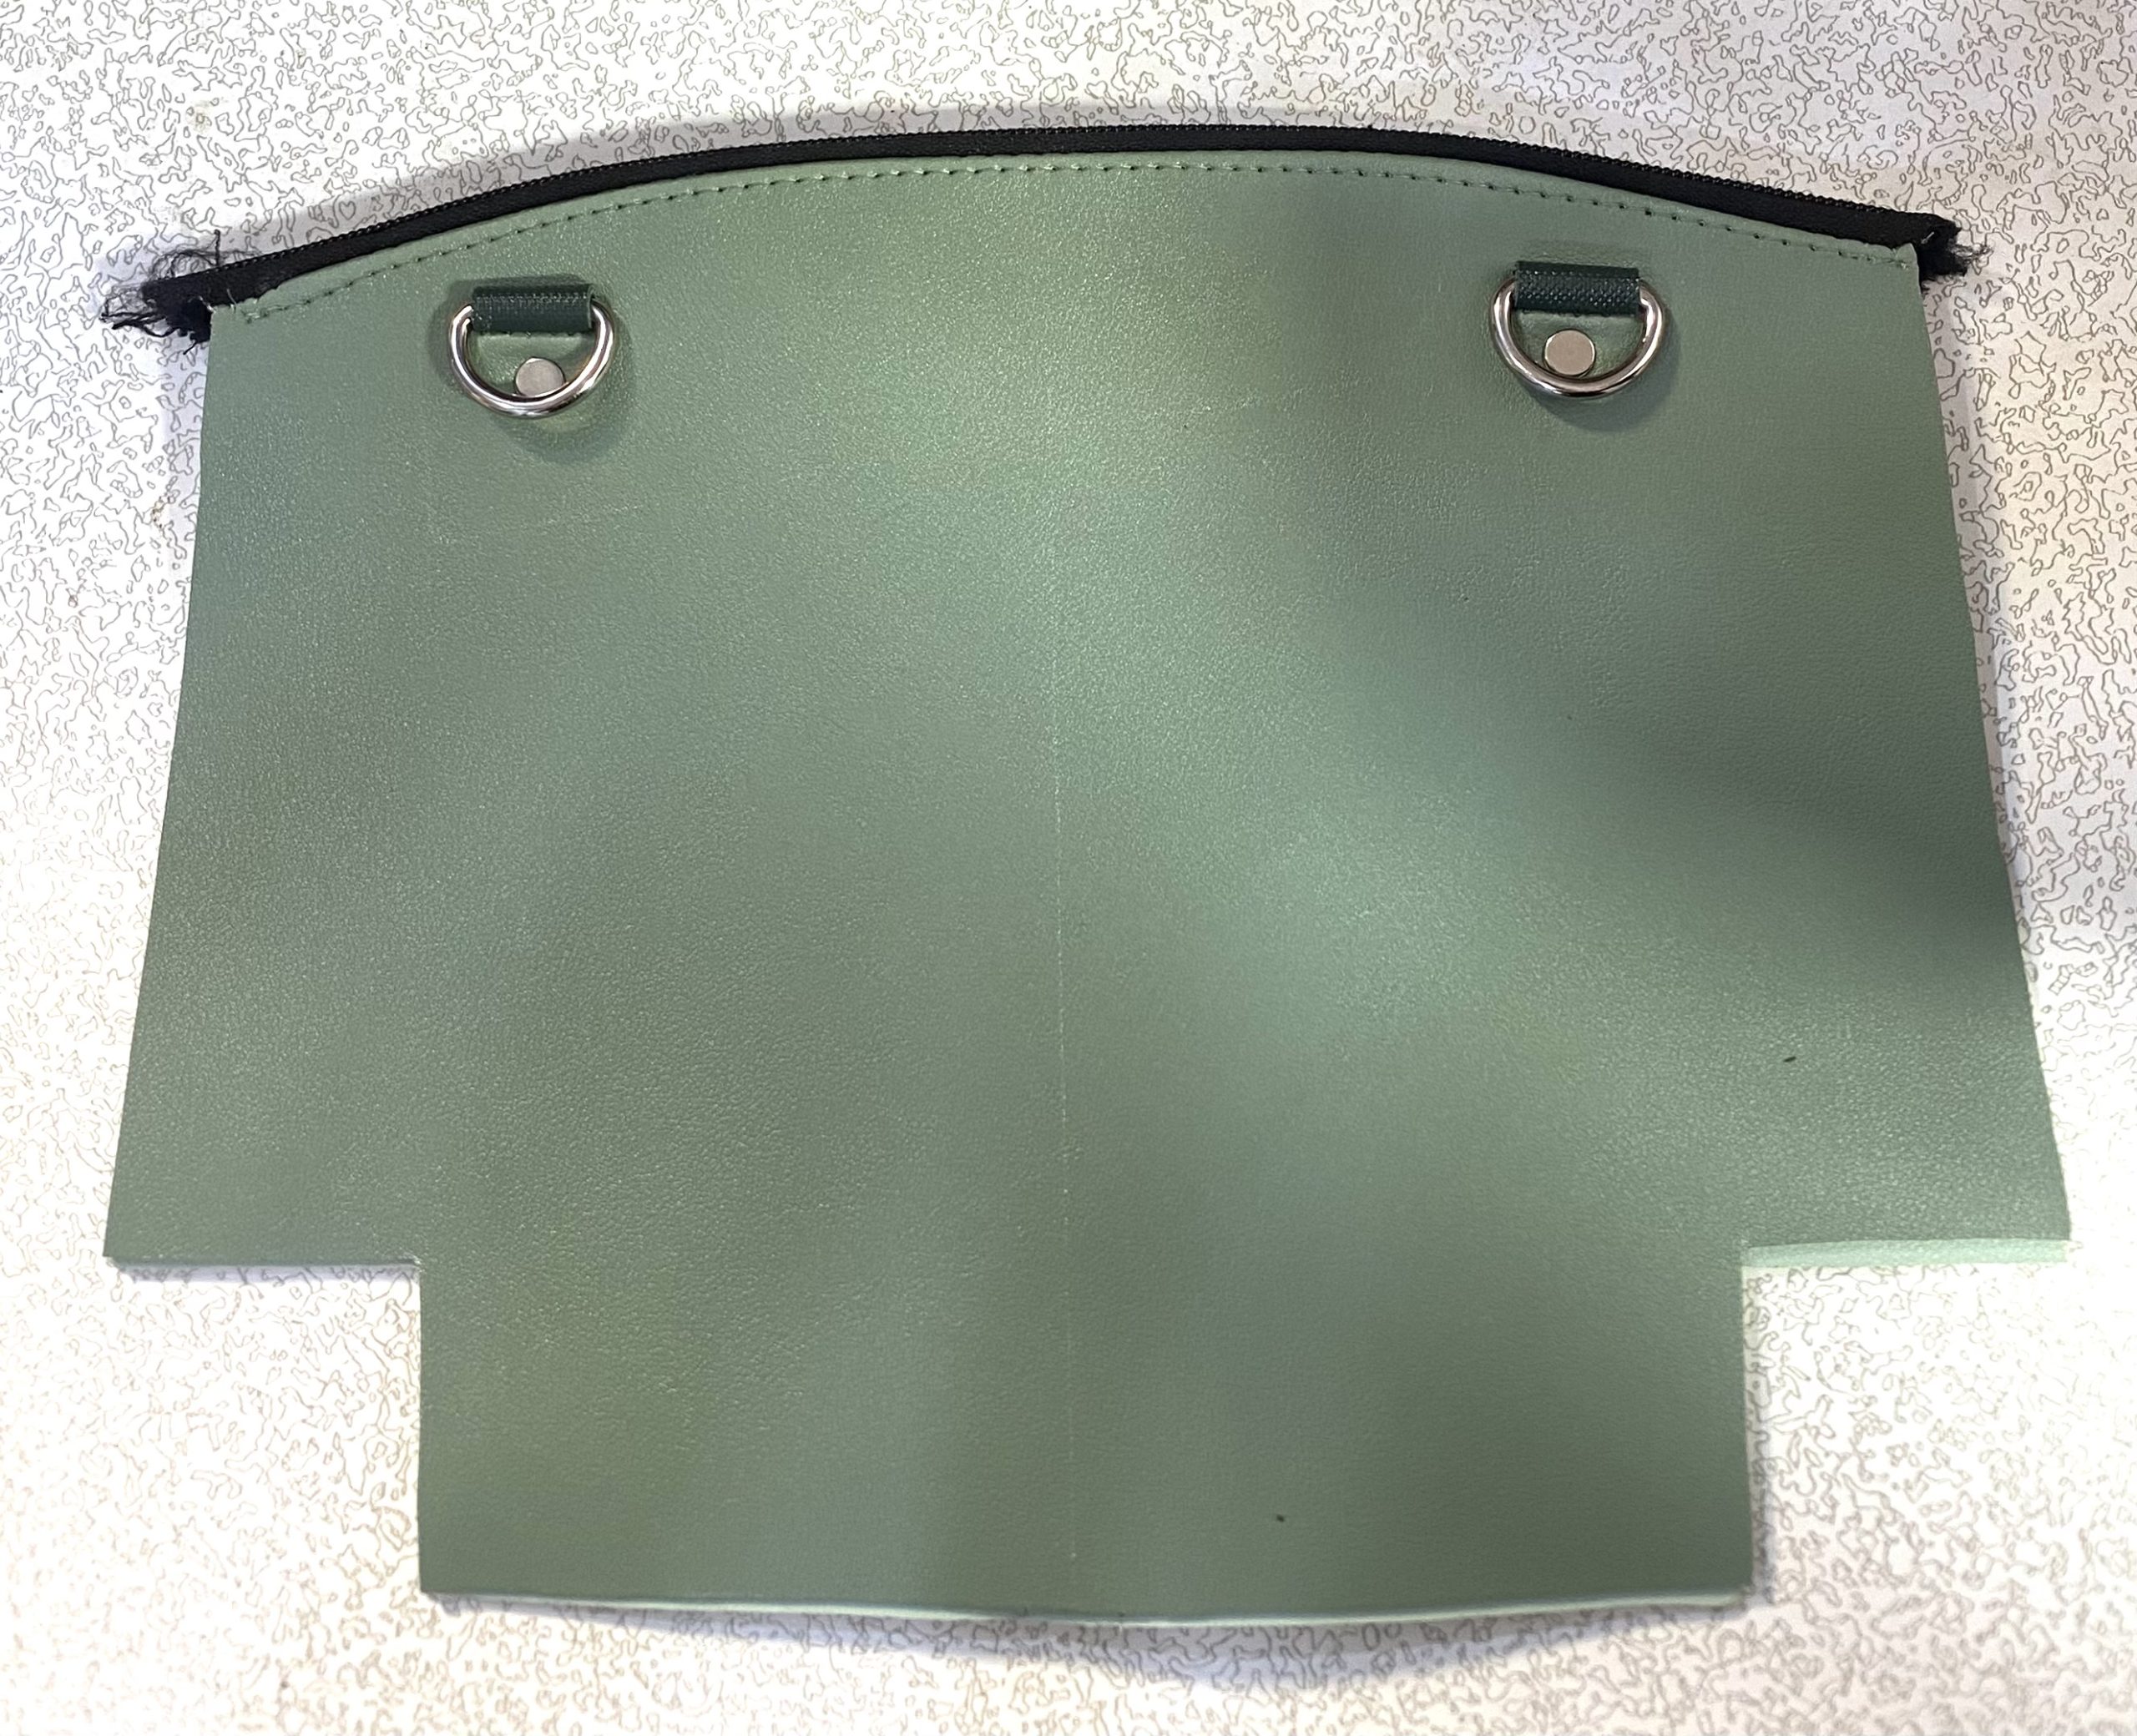
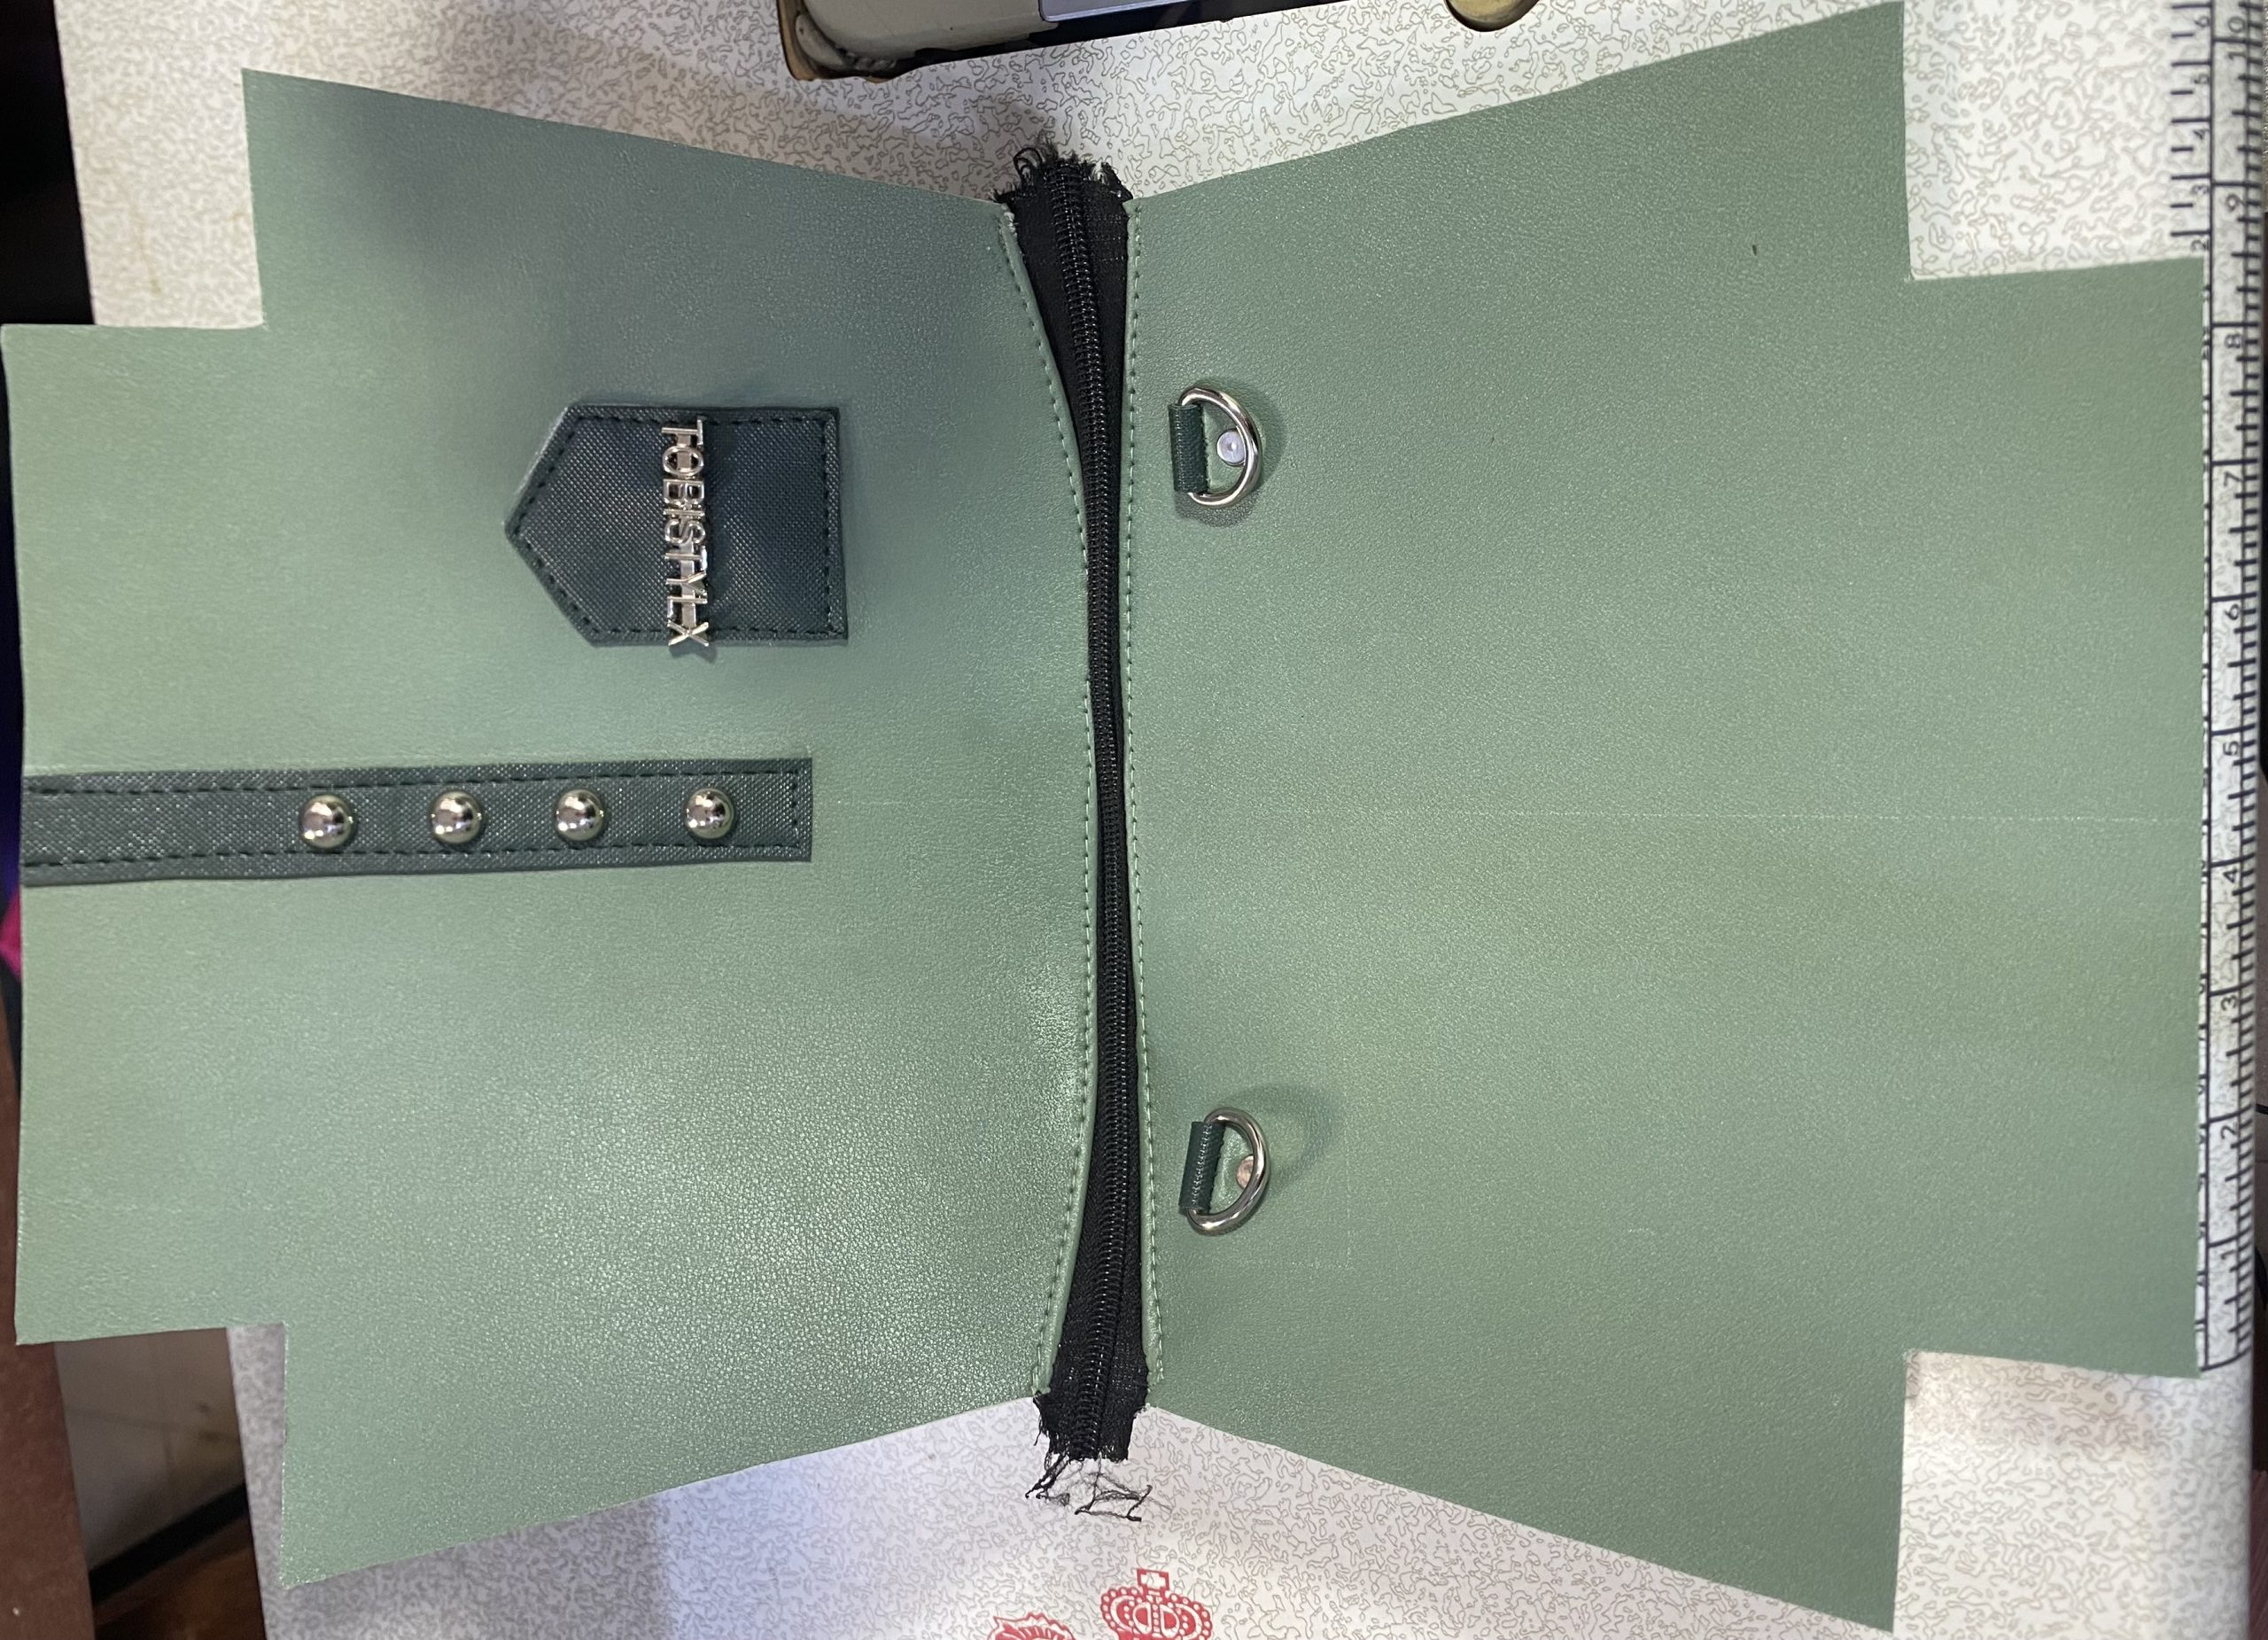
STEP 2: Install The D-ring Connector
- Take the second Main Panel and transfer the Connector Main using the indication on pattern piece A.
- Make a slit on that line, and with that Main Panel right side up, take one of the Connectors wrong side up and pass one raw edge through the slit up to ½”.
- Sew the Connector with 1/8″ (0.3cm) SA from the edge of the slit.
- Slide the D-ring onto the Connector and then slide the loose end of the Connector through the slit.
- Use a rivet to hold the Connector in place.
- Note: Once the Connector is pushed through to the WS, you will be pushing it down so it is pointing to the bottom of the Main Panel. You can use double-sided tape to hold it in place.
- Repeat the previous steps for the second Connector mark on the same Main Panel.
STEP 3: Sew The Zipper
- Place one Main Panel right sides up and align one long edge of the zipper on the top curved edge, right sides down, and clip.
- Baste in place with 1/4″ seam allowance.
- Topstitch along the zipper seam with 1/8” seam allowance.
- Repeat the previous steps to sew the remaining Main Panels and the other long edge of the zipper.
- You can divide the zipper tape by the teeth.
STEP 4: Sew The Collar Panel
- Transfer the mark that says “ sewing stop here” on pattern piece B to the Collar Panel, and also draw a line down the center of the long edge starting and stopping on that “sewing stop” line.
- Set the 10” cord on the center line.
- Now hold the long edges of the Collar right sides together and clip it in place.
- Now sew only where the sewing starts, and stop marks are, this will be only the center of the Collar Panel.
- Repeat the previous steps for the other Collar Panel.
- Optionally: Use edge coat to give your Collar Panel edges a professional look. Alternatively, if you do not have Edge Coat like me, [learn how to do Edge coating without using Edge Coat].
- Set the Collar Panels on the Main Panels using the mark indicated on pattern piece A.
- Sew the Collar Panels to the Main Panels.
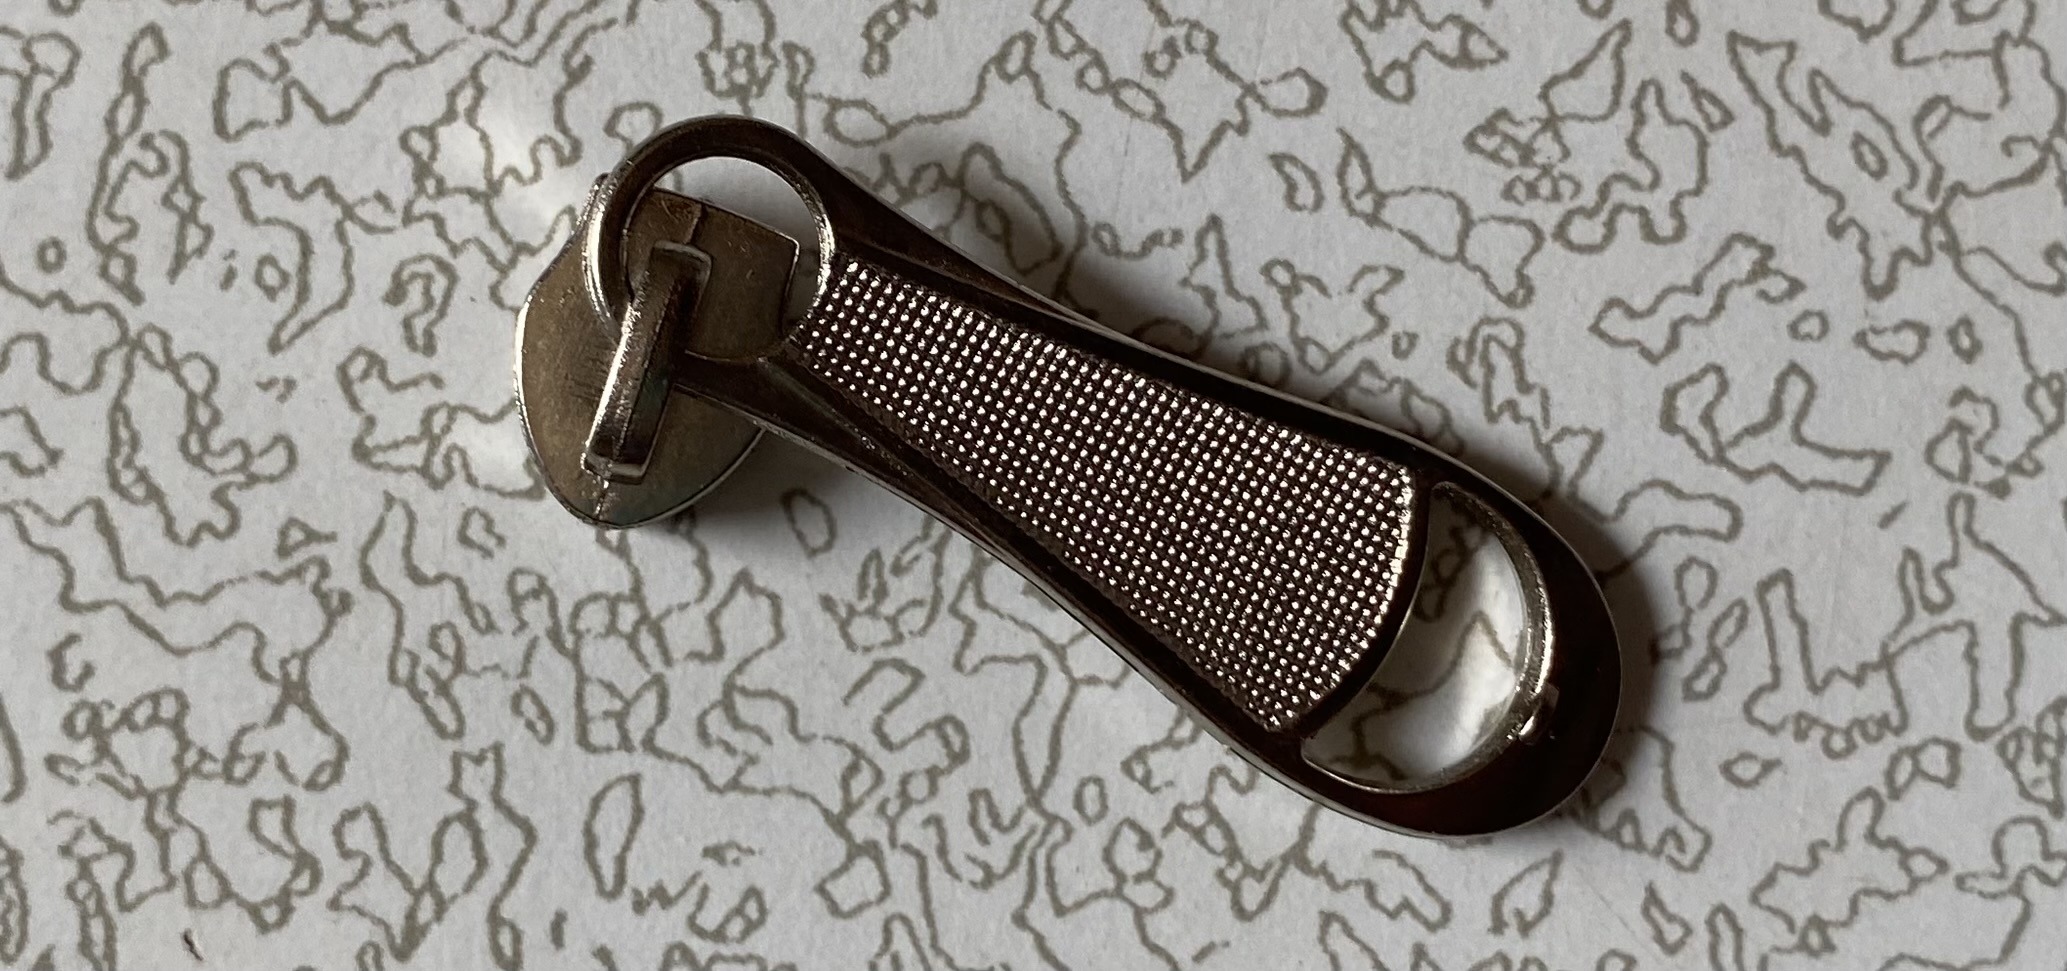
- Add the zipper pull to connect the two halves of the zipper tape.
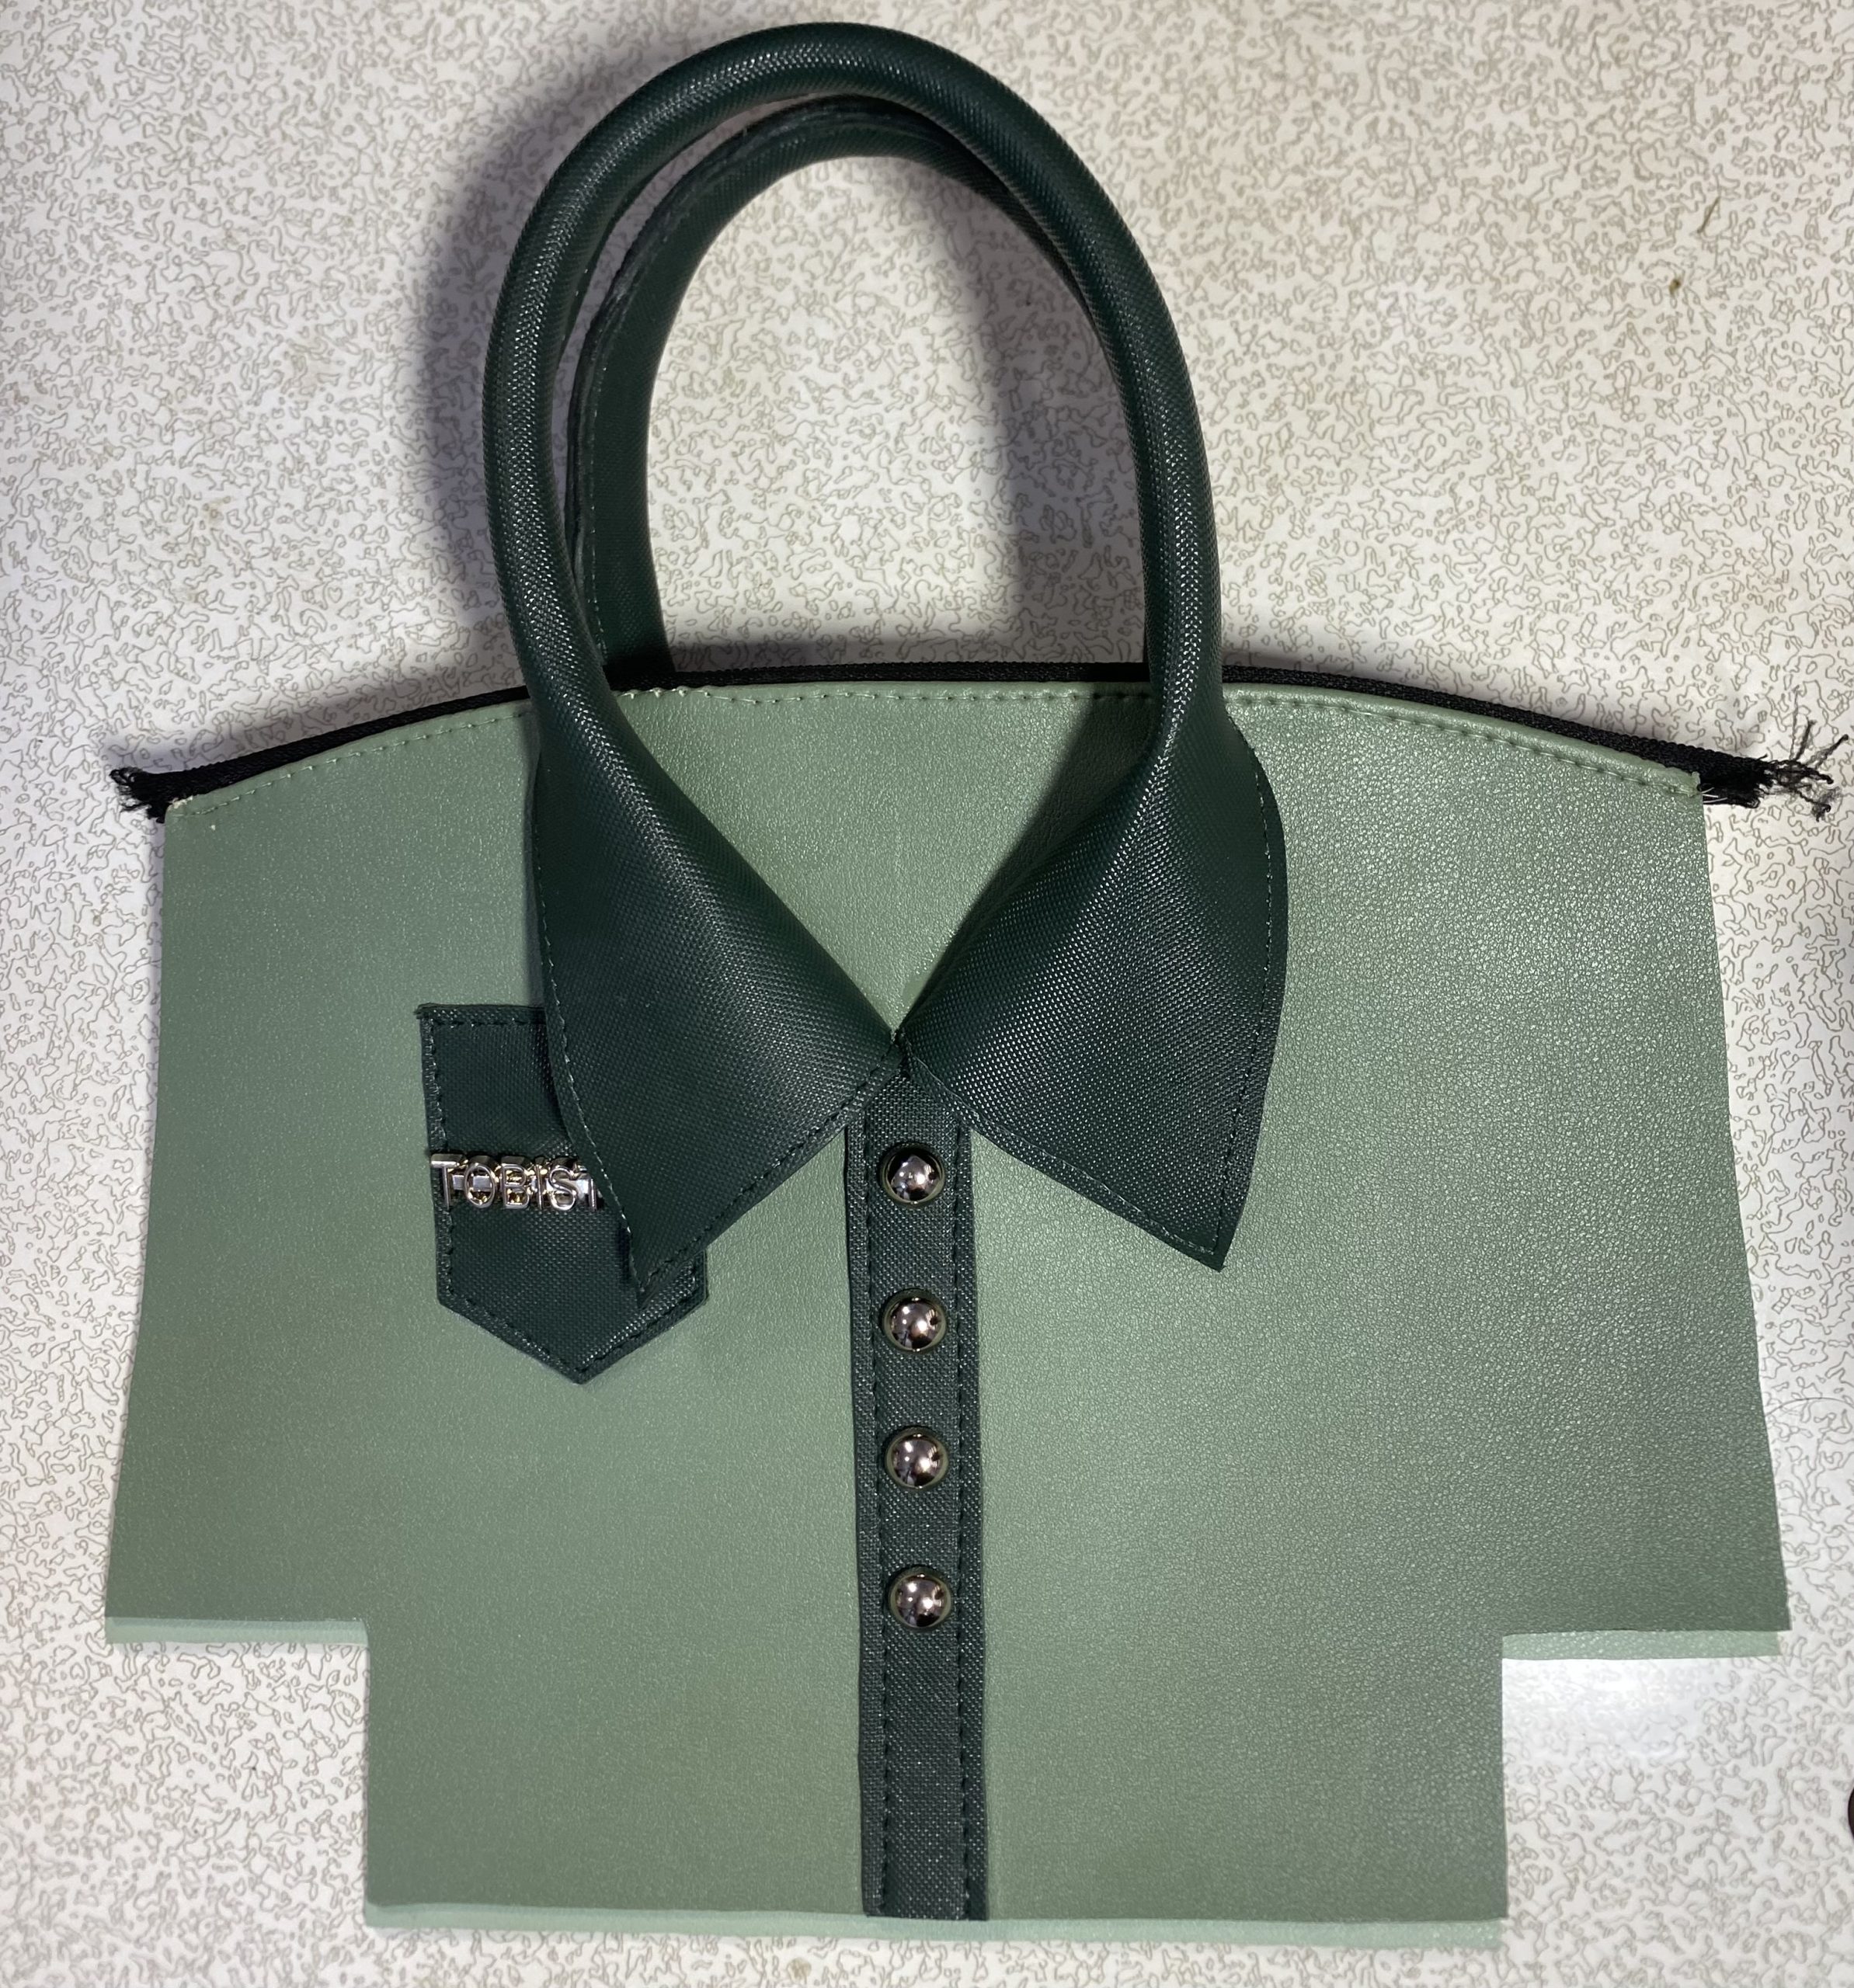
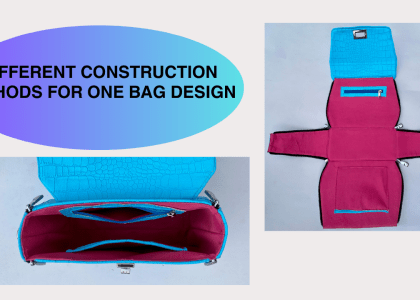
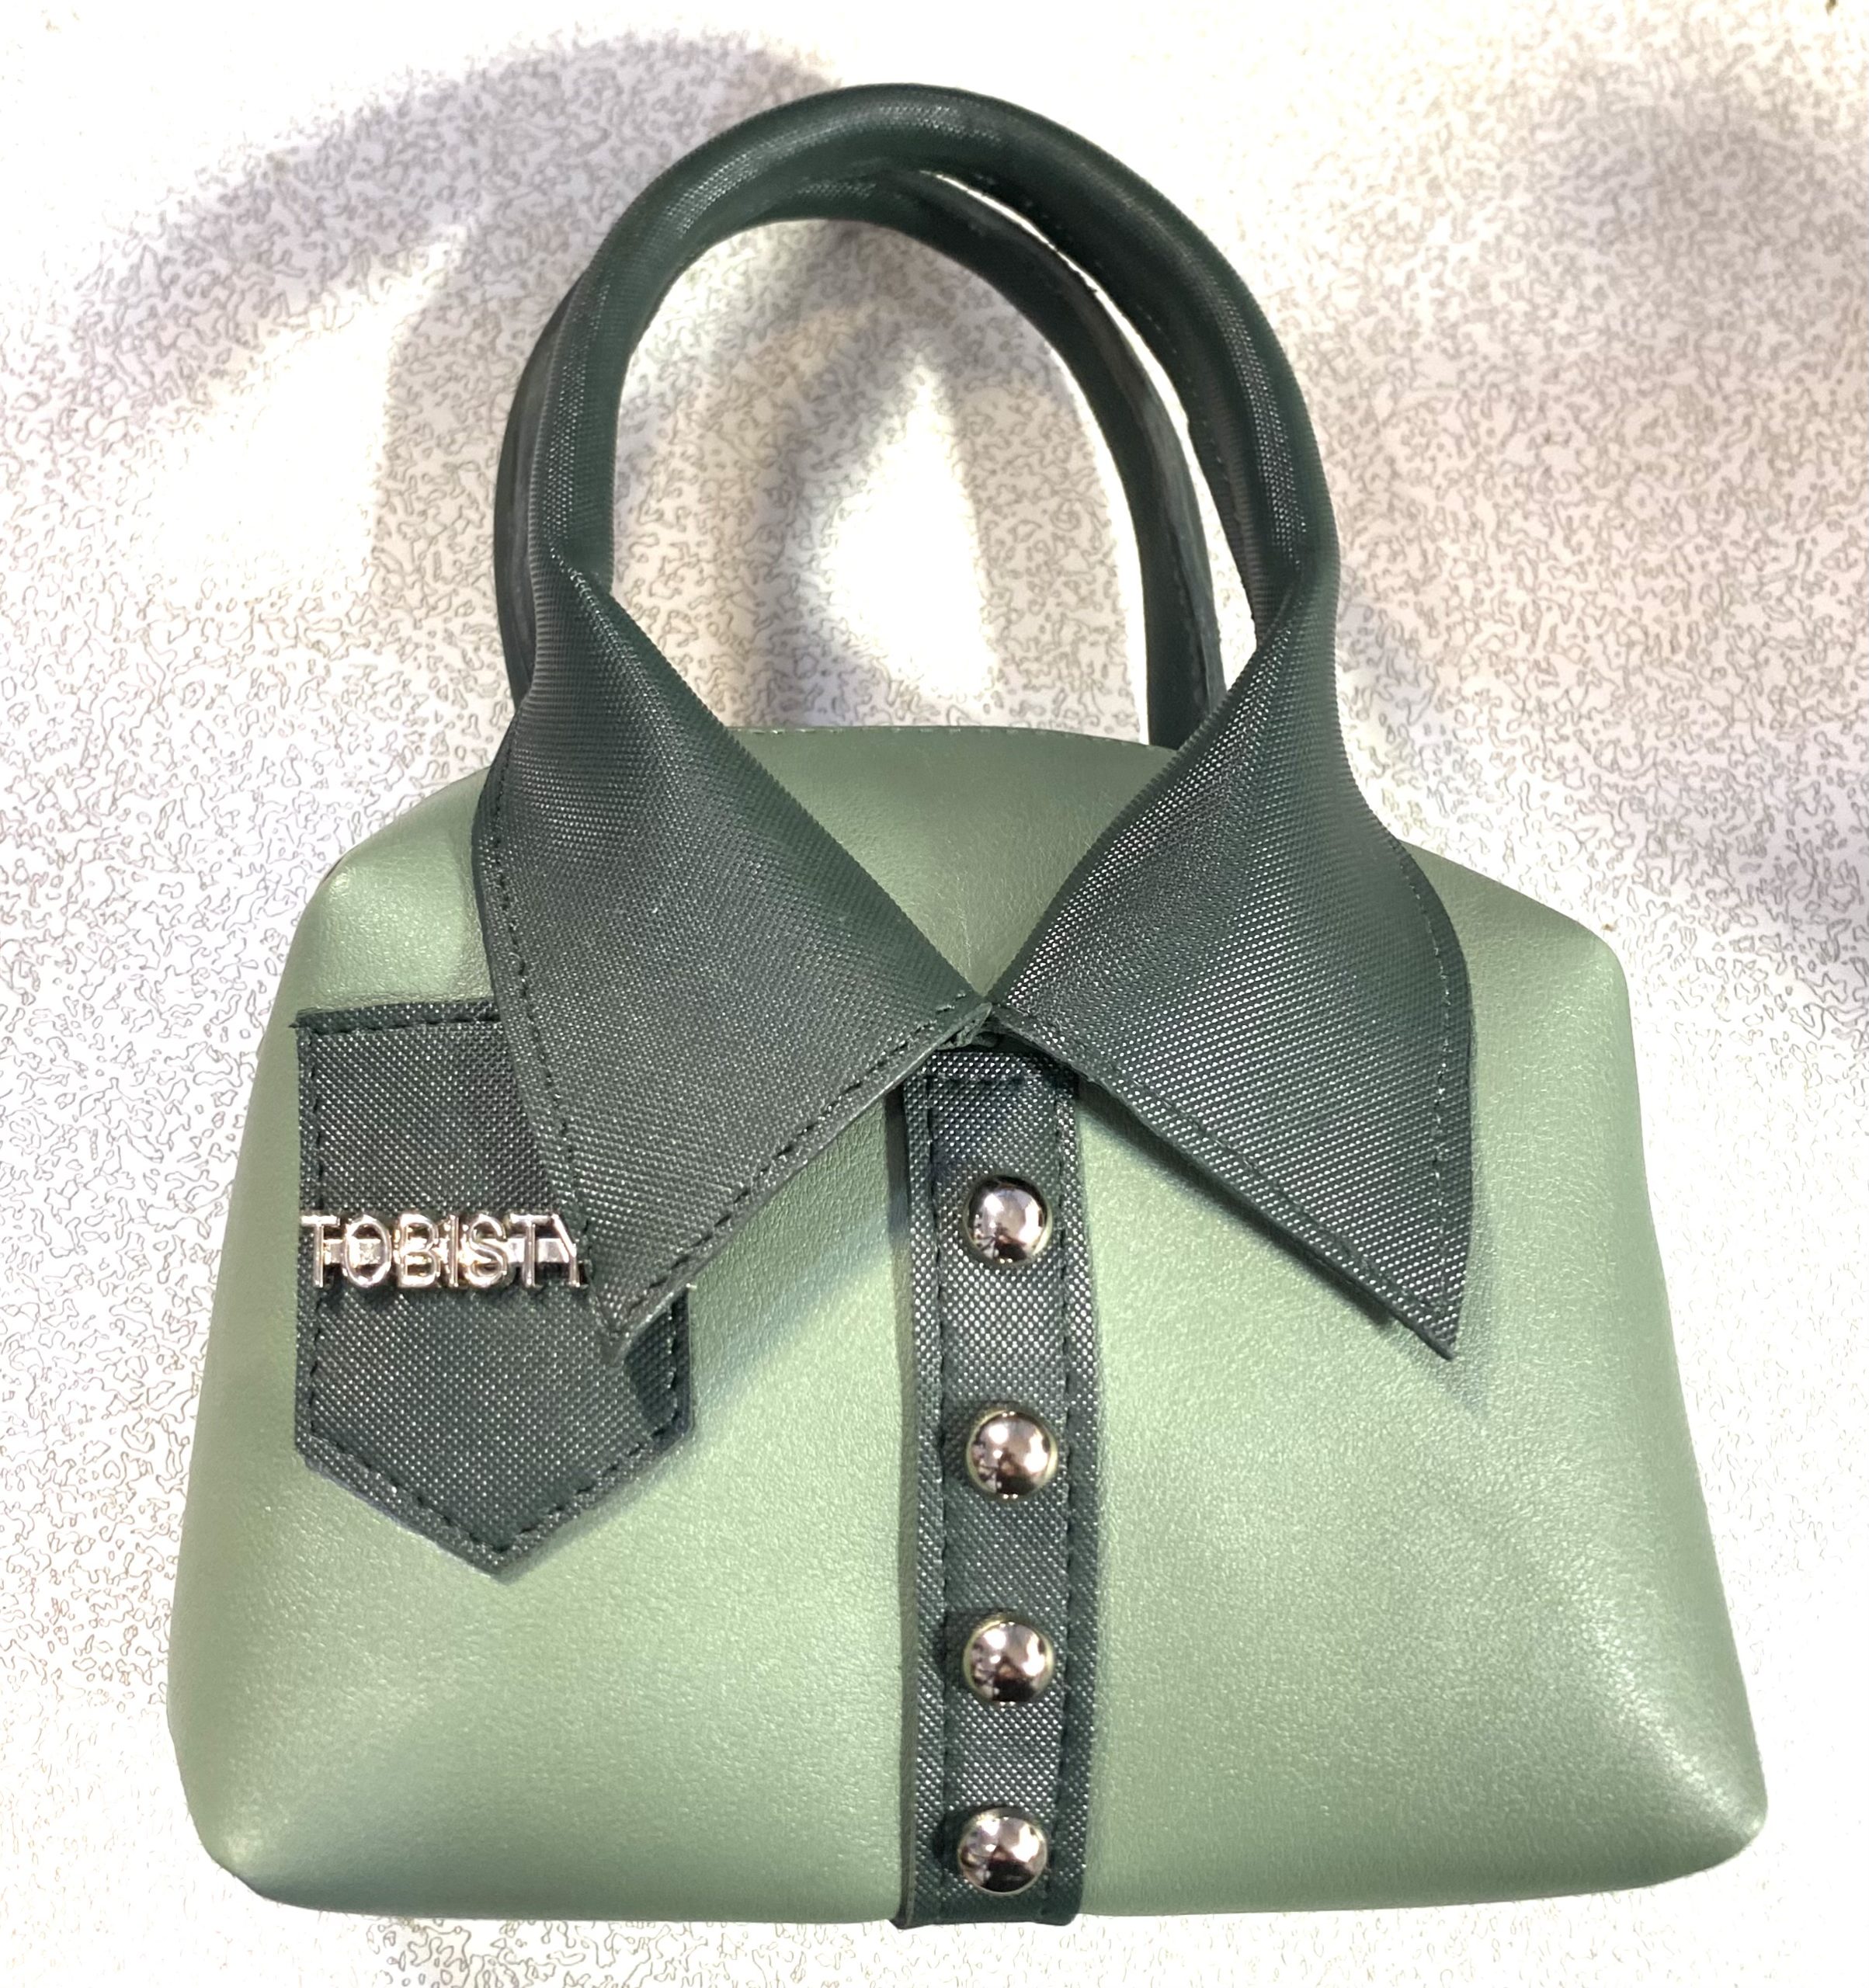
STEP 5: Assemble The Bag
- Hold the sides and bottom edges right sides together and clip them in place.
- Sew the sides and bottom edges with a ¼” seam allowance.
- Hold the bottom corners right sides together and also sew it with a ¼” seam allowance.
- Measure 1” on the top corners of the Main Panel and hold it with a clip, and sew it in place.
- Trim down the corner you just sewn to a ¼” seam allowance.
- Turn the bag to the right side.
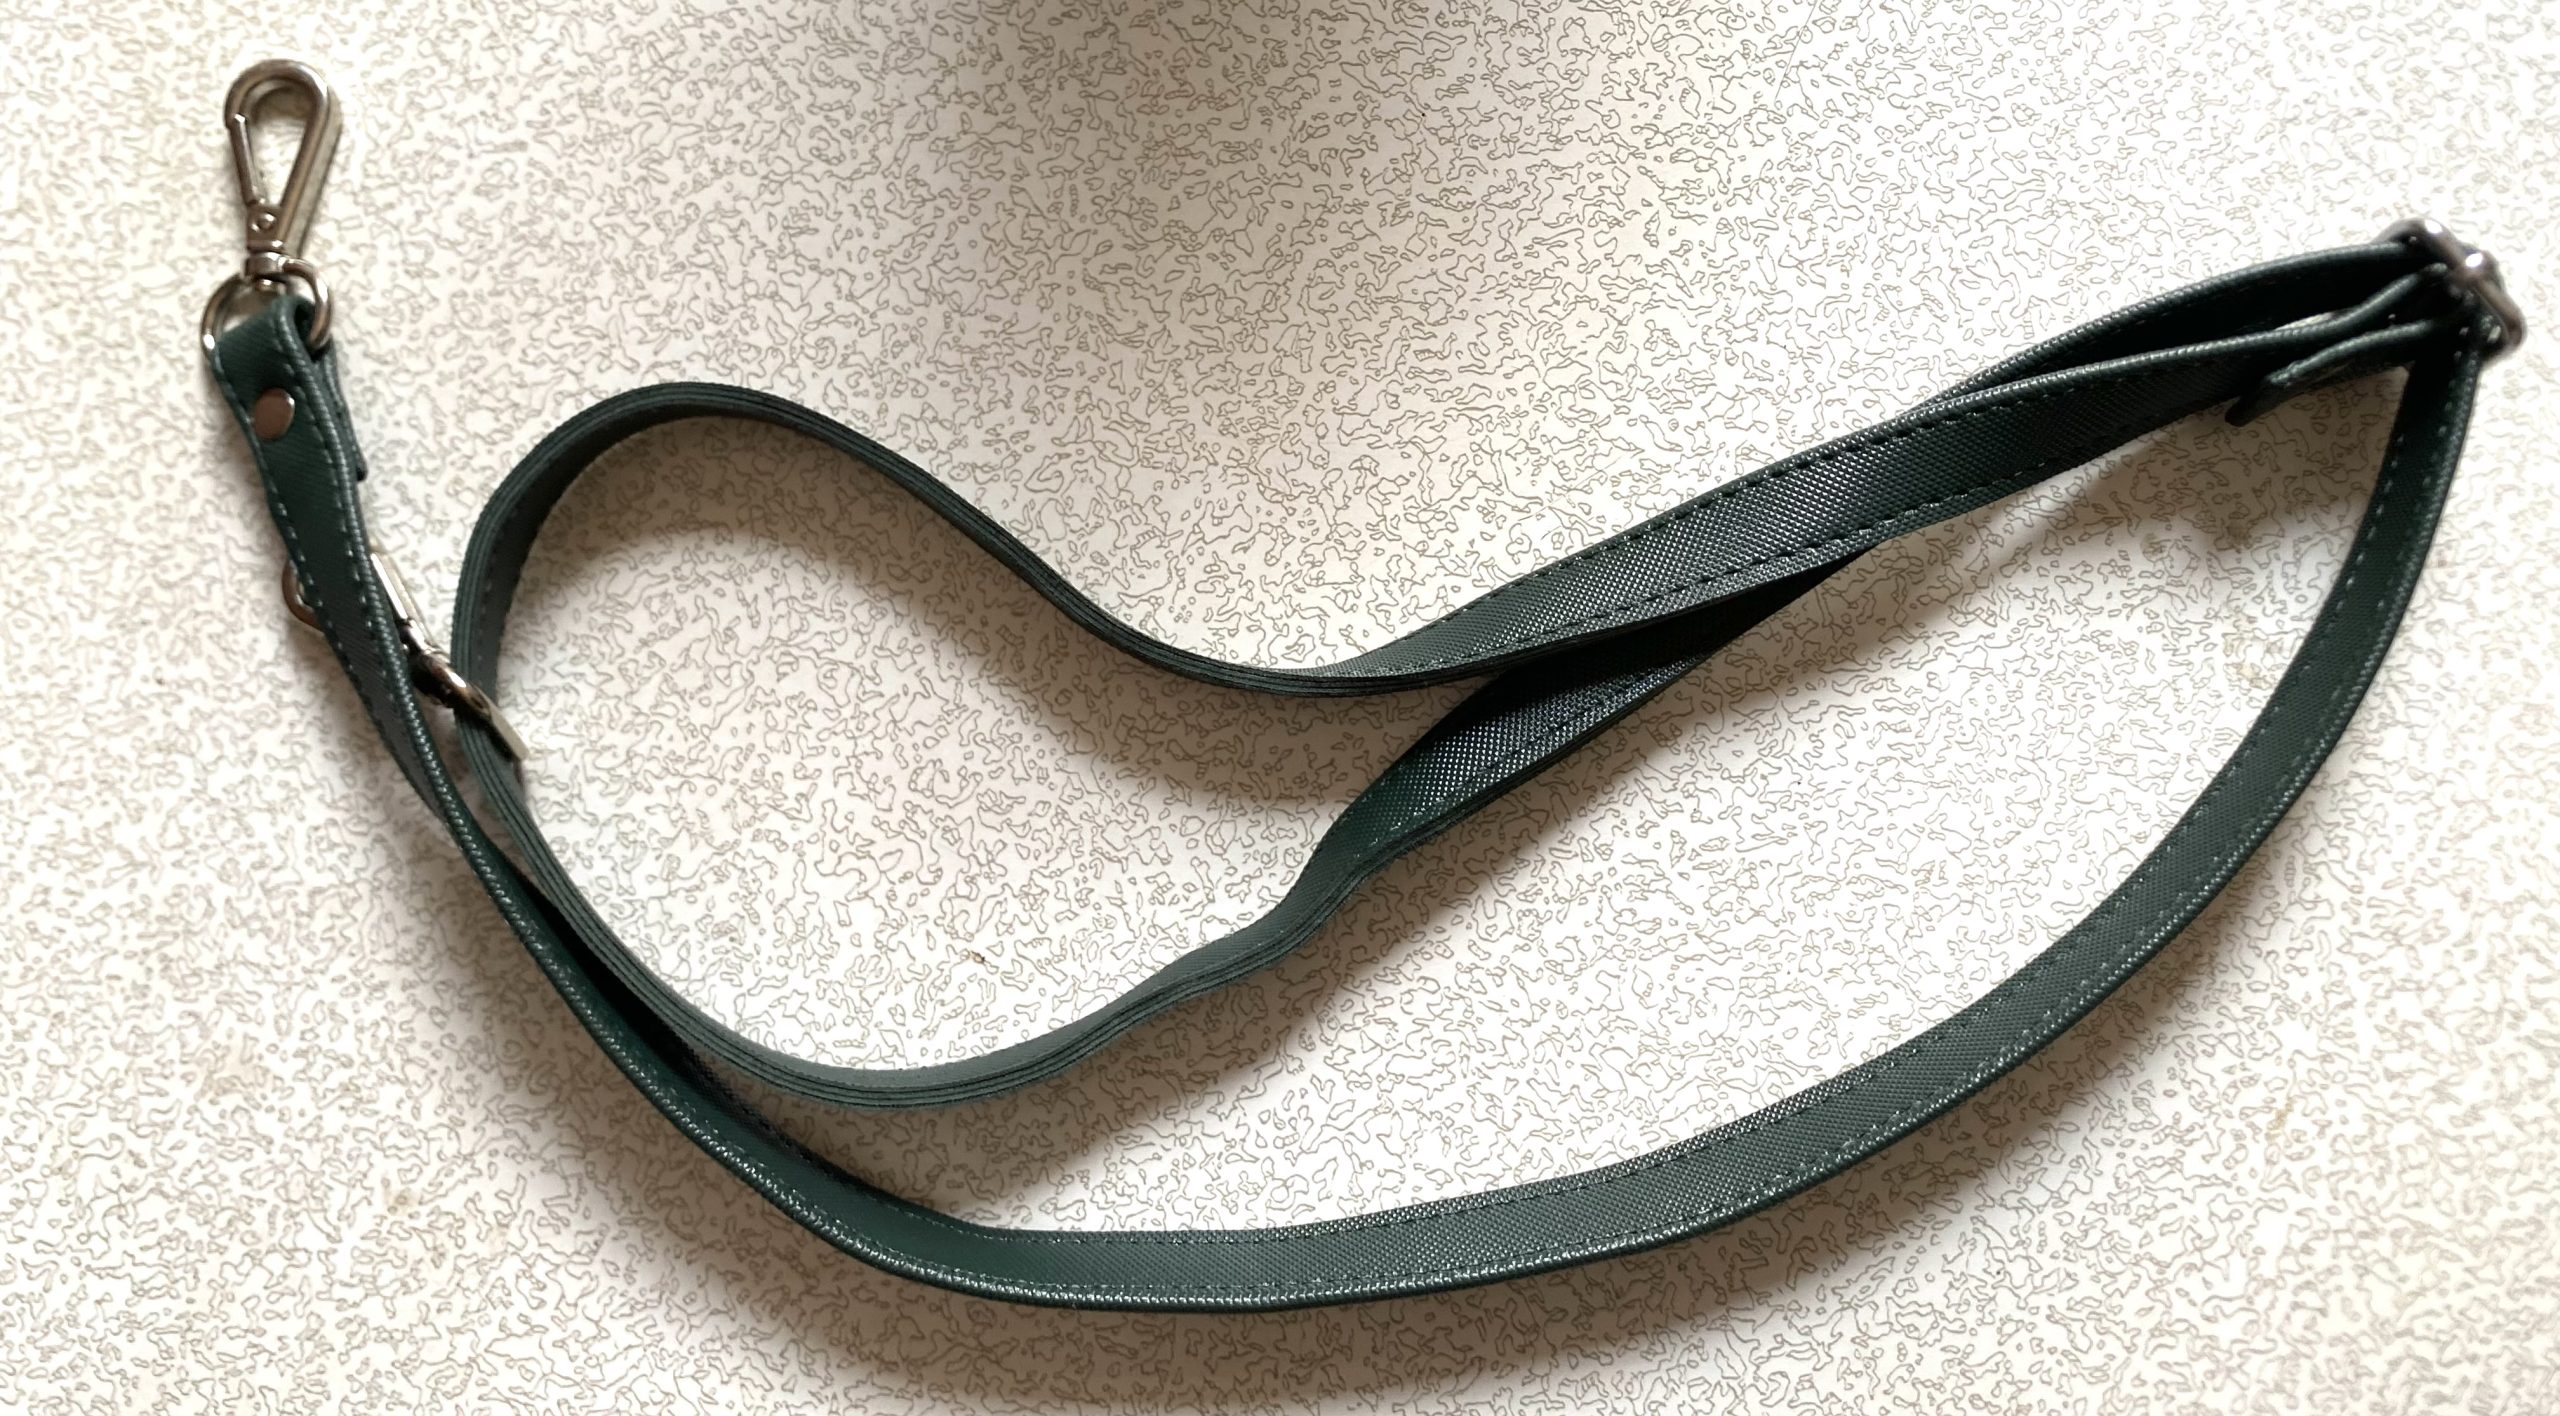
STEP 6: The Long Strap
- Fold the Long Strap wrong sides together, aligning the long edges, and use clips to hold them in place.
- Sew with a 1/8″ (0.3cm) seam allowance all around the Long Strap.
- Optionally: Use edge coat for a professional look. If you do not have Edge Coat, [learn how to do Edge coating without using Edge Coat].
- Thread one end of the Long Strap over and through the center bar of a slider.
- Slide on a swivel hook from the free end of the Long Strap towards the installed slider.
- Now, thread the end you are still working with over and through the center bar of the slider again. It should be underneath the one you threaded before, as shown in the photo.
- Slide the free end of the Long Strap through another swivel hook until it’s 1½” (4cm) from the end, and clip it in place by folding the strap together.
- Sew WST (Wrong Sides Together) or use rivets to hold them in place. Also, fold the other raw edge and sew WST or use a rivet to hold it in place.
List of Materials
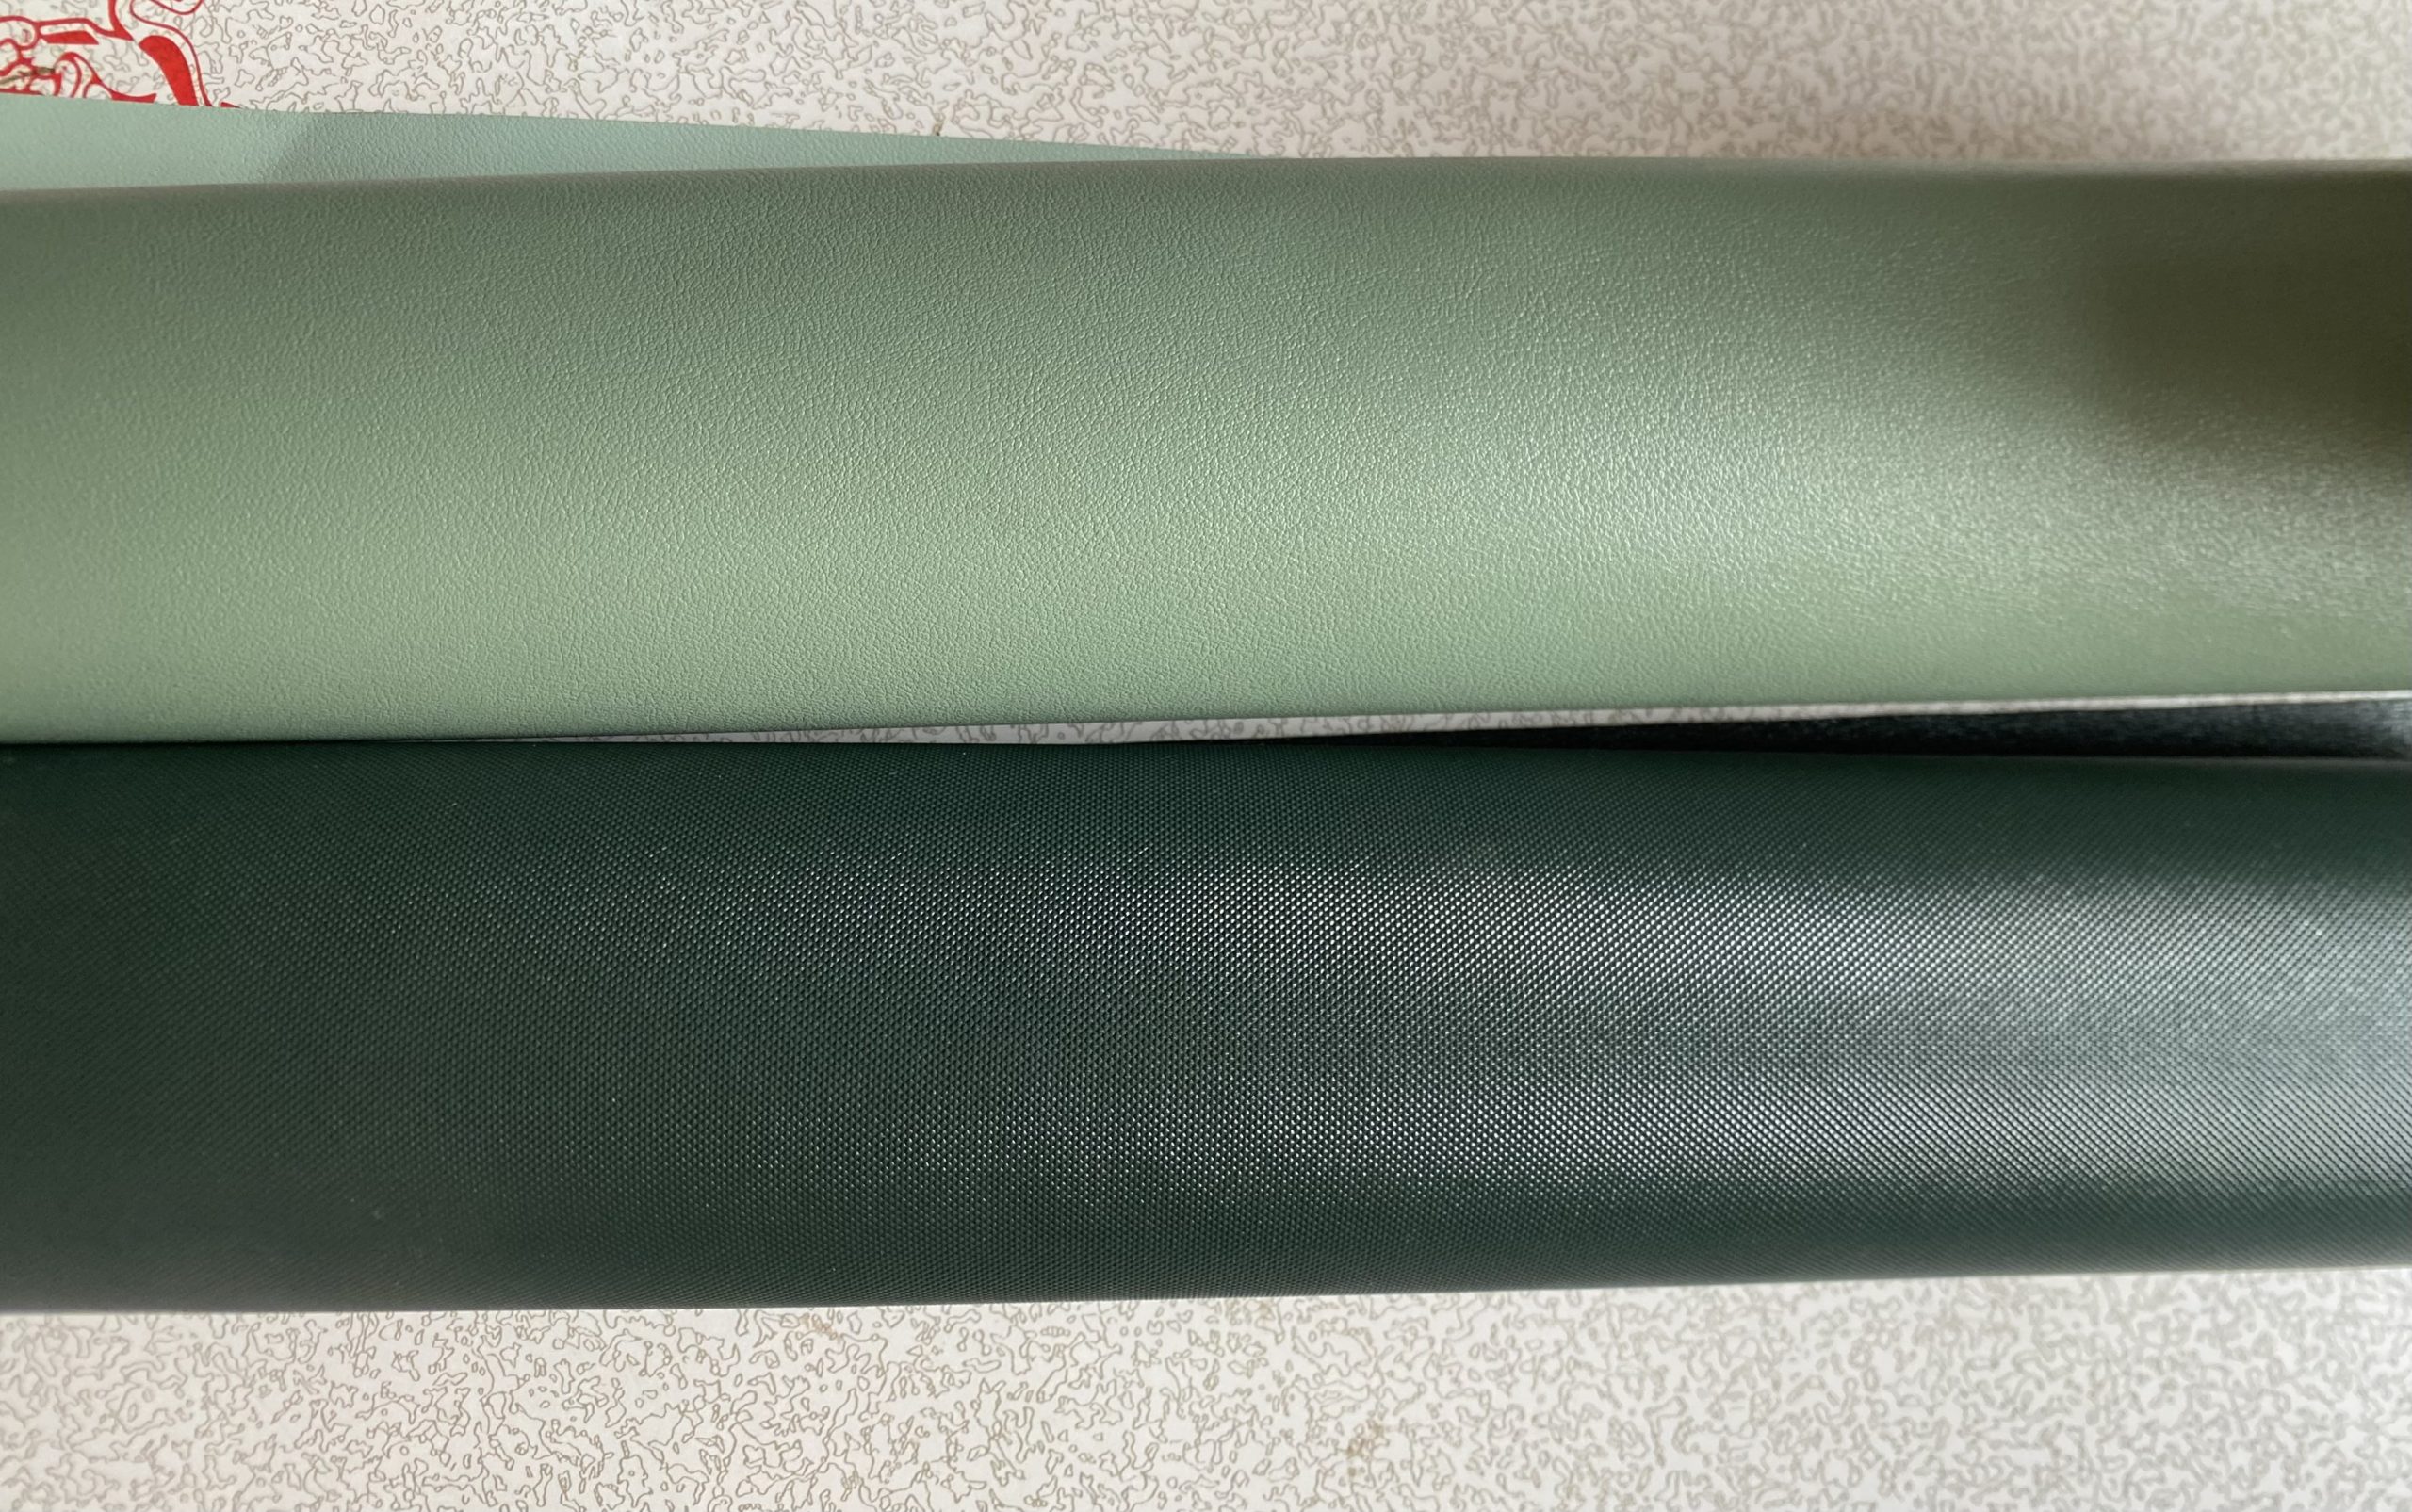
- Exterior Fabric: Double-sided Faux leather
- Zipper Tape: 14”
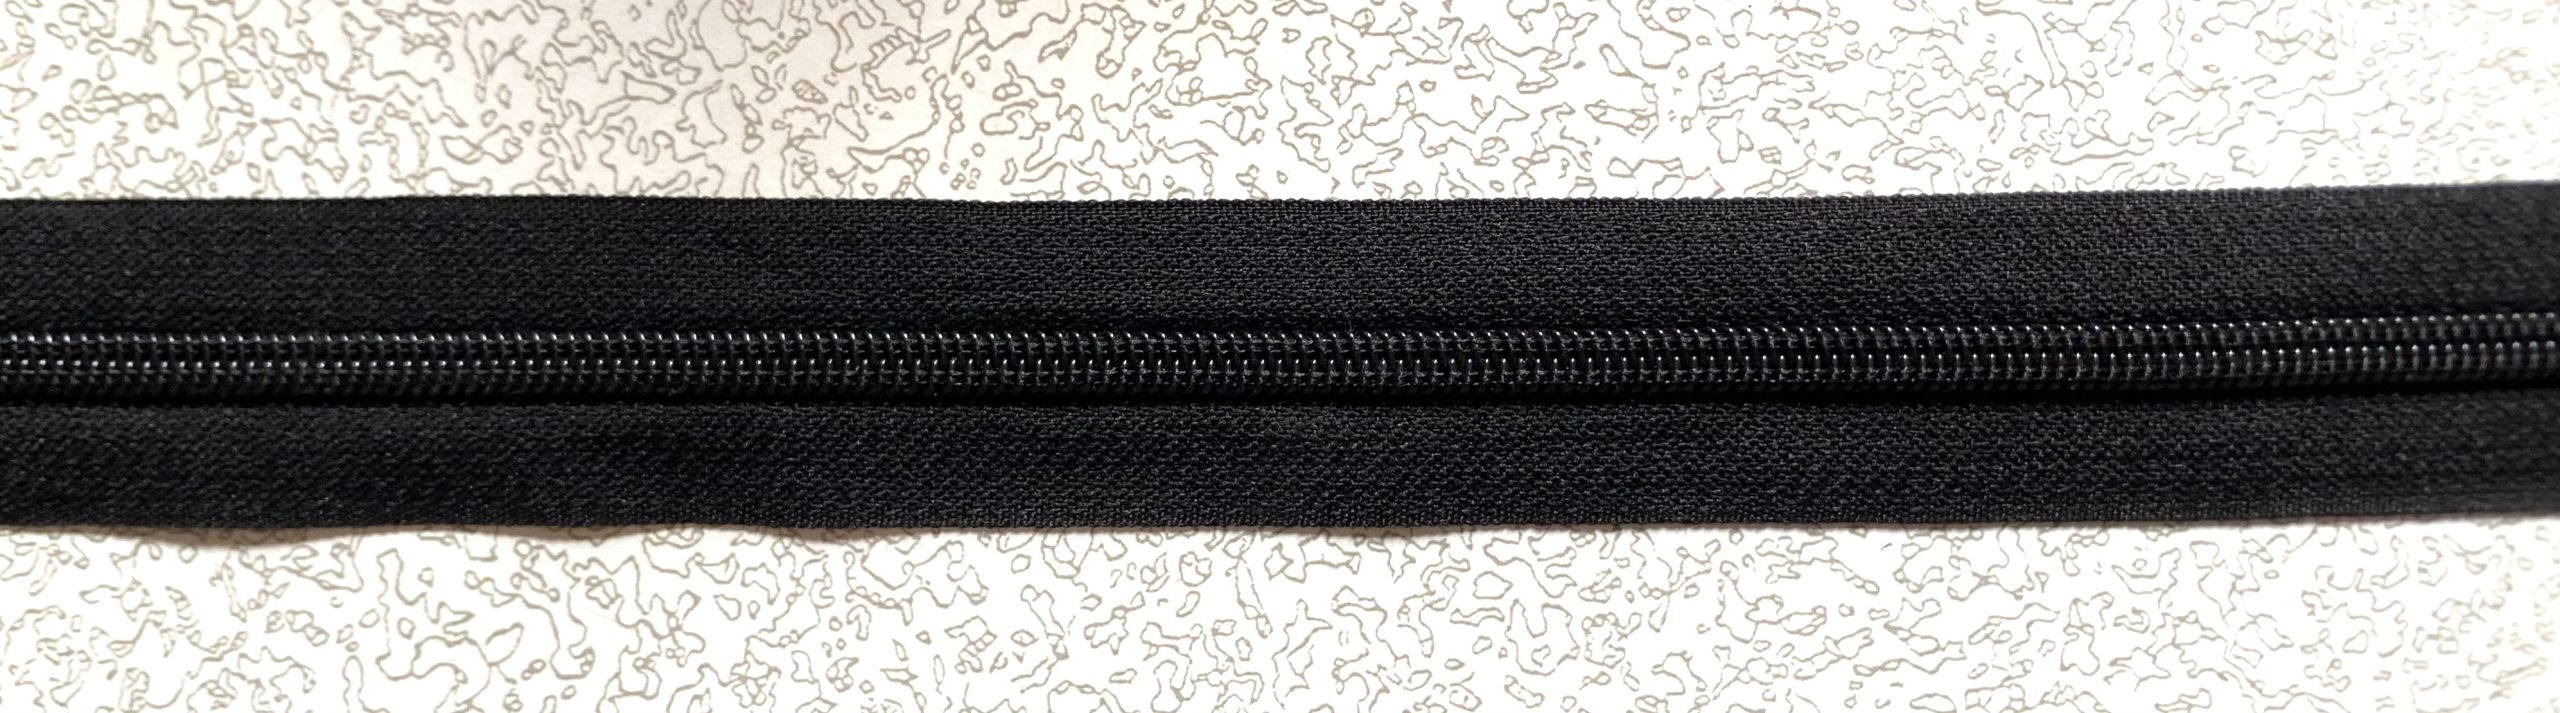
- Zipper Pull: 1
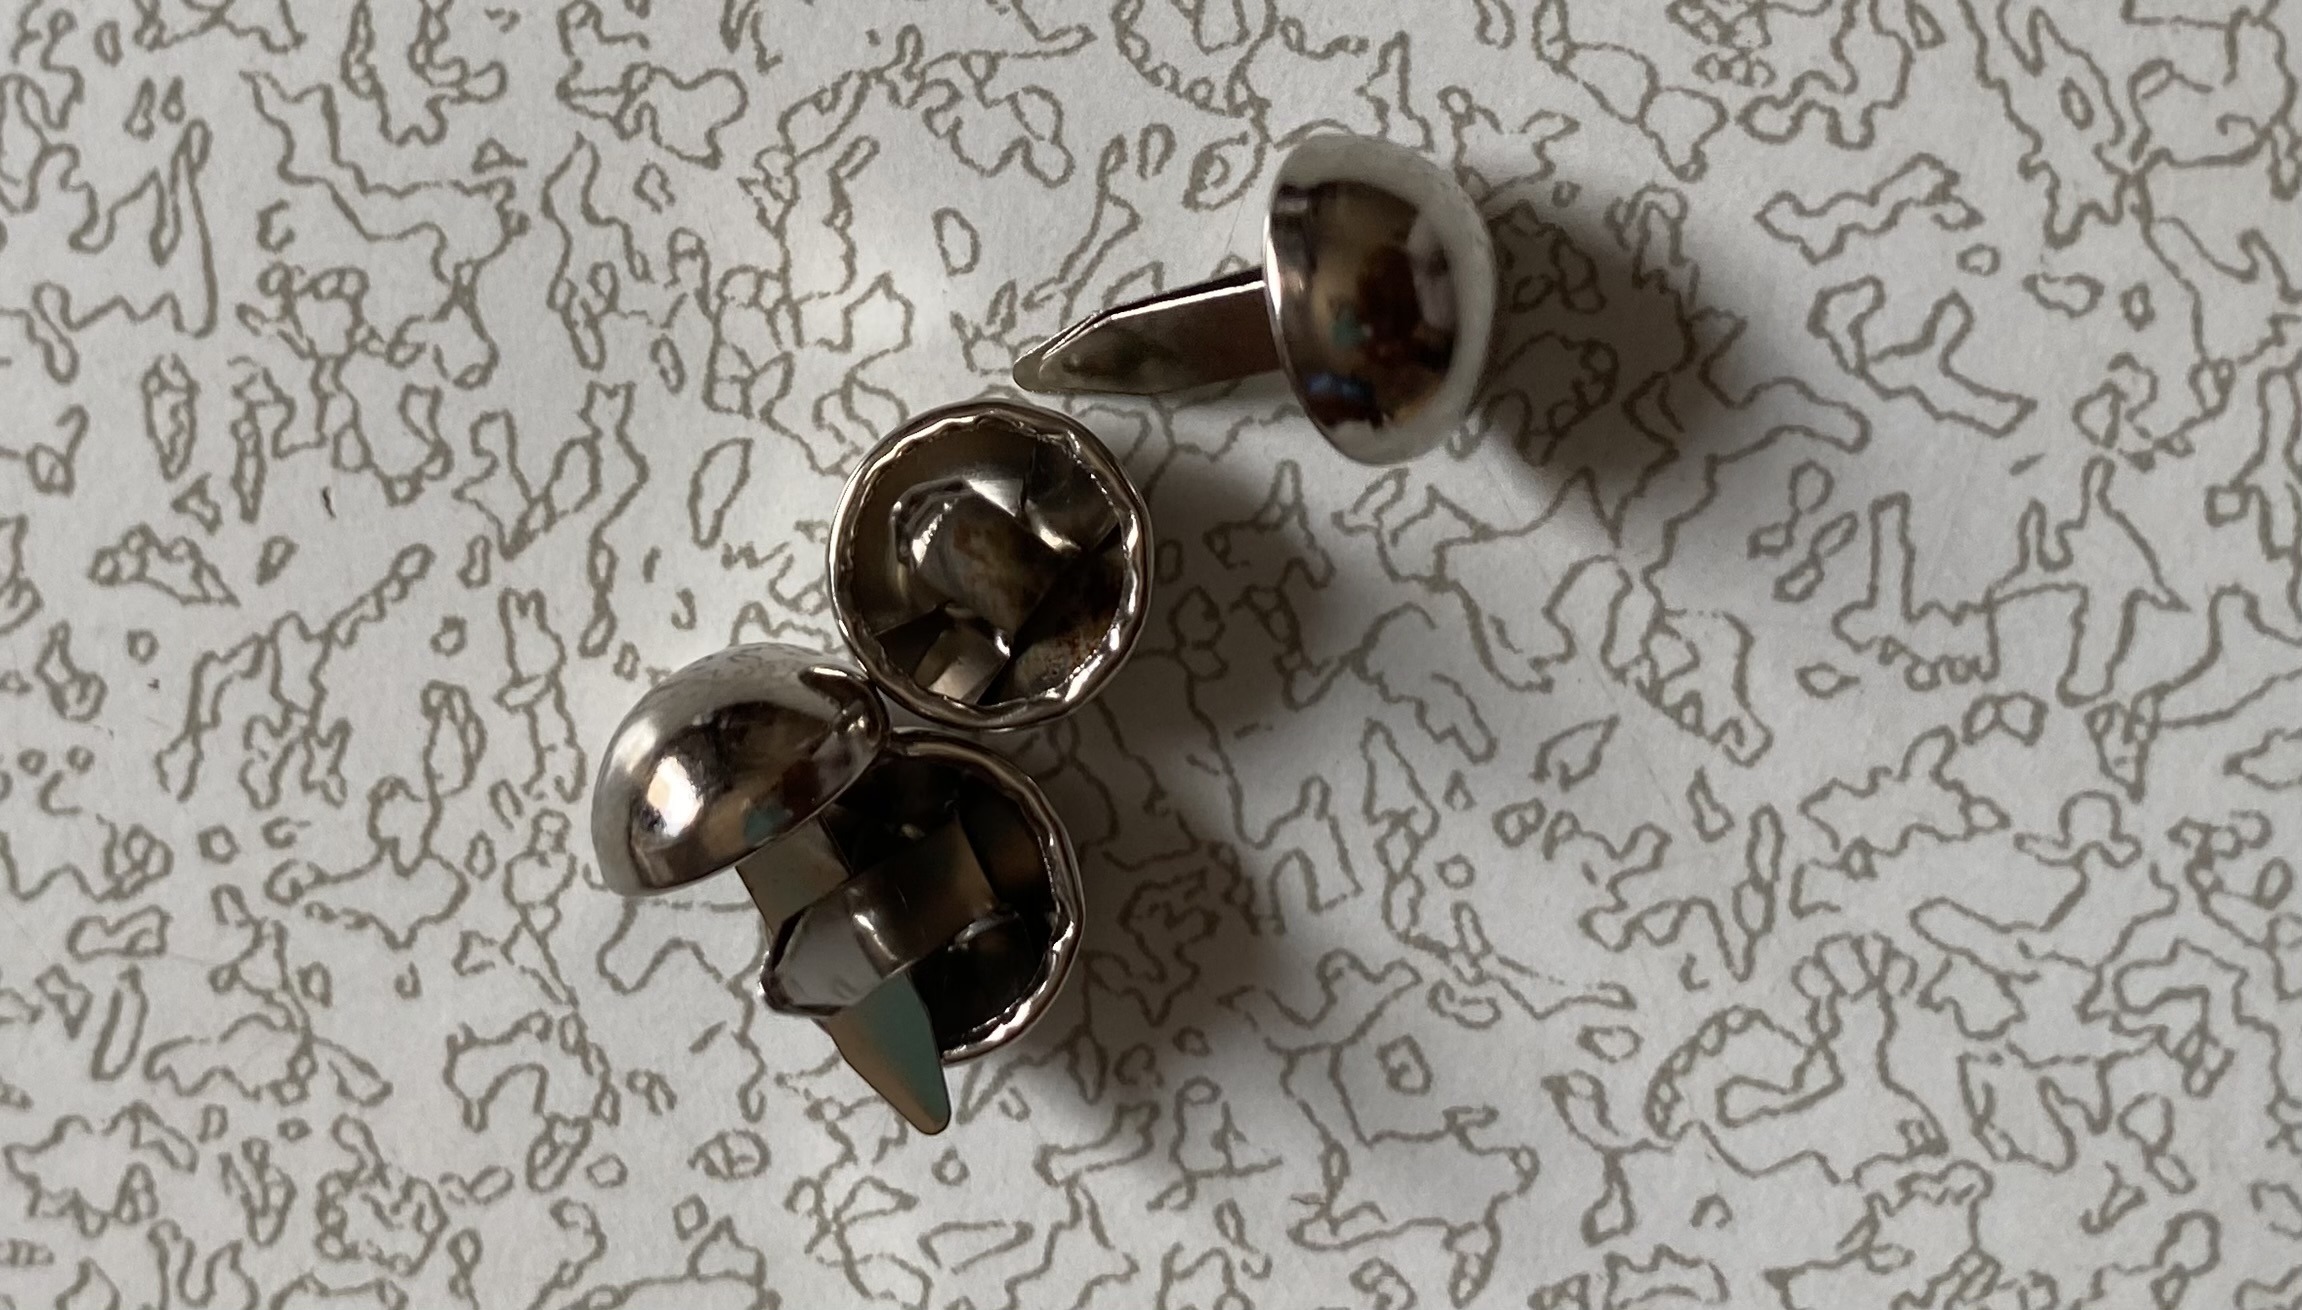
- Button: 4 purse feet as buttons; you can use other things you have available.
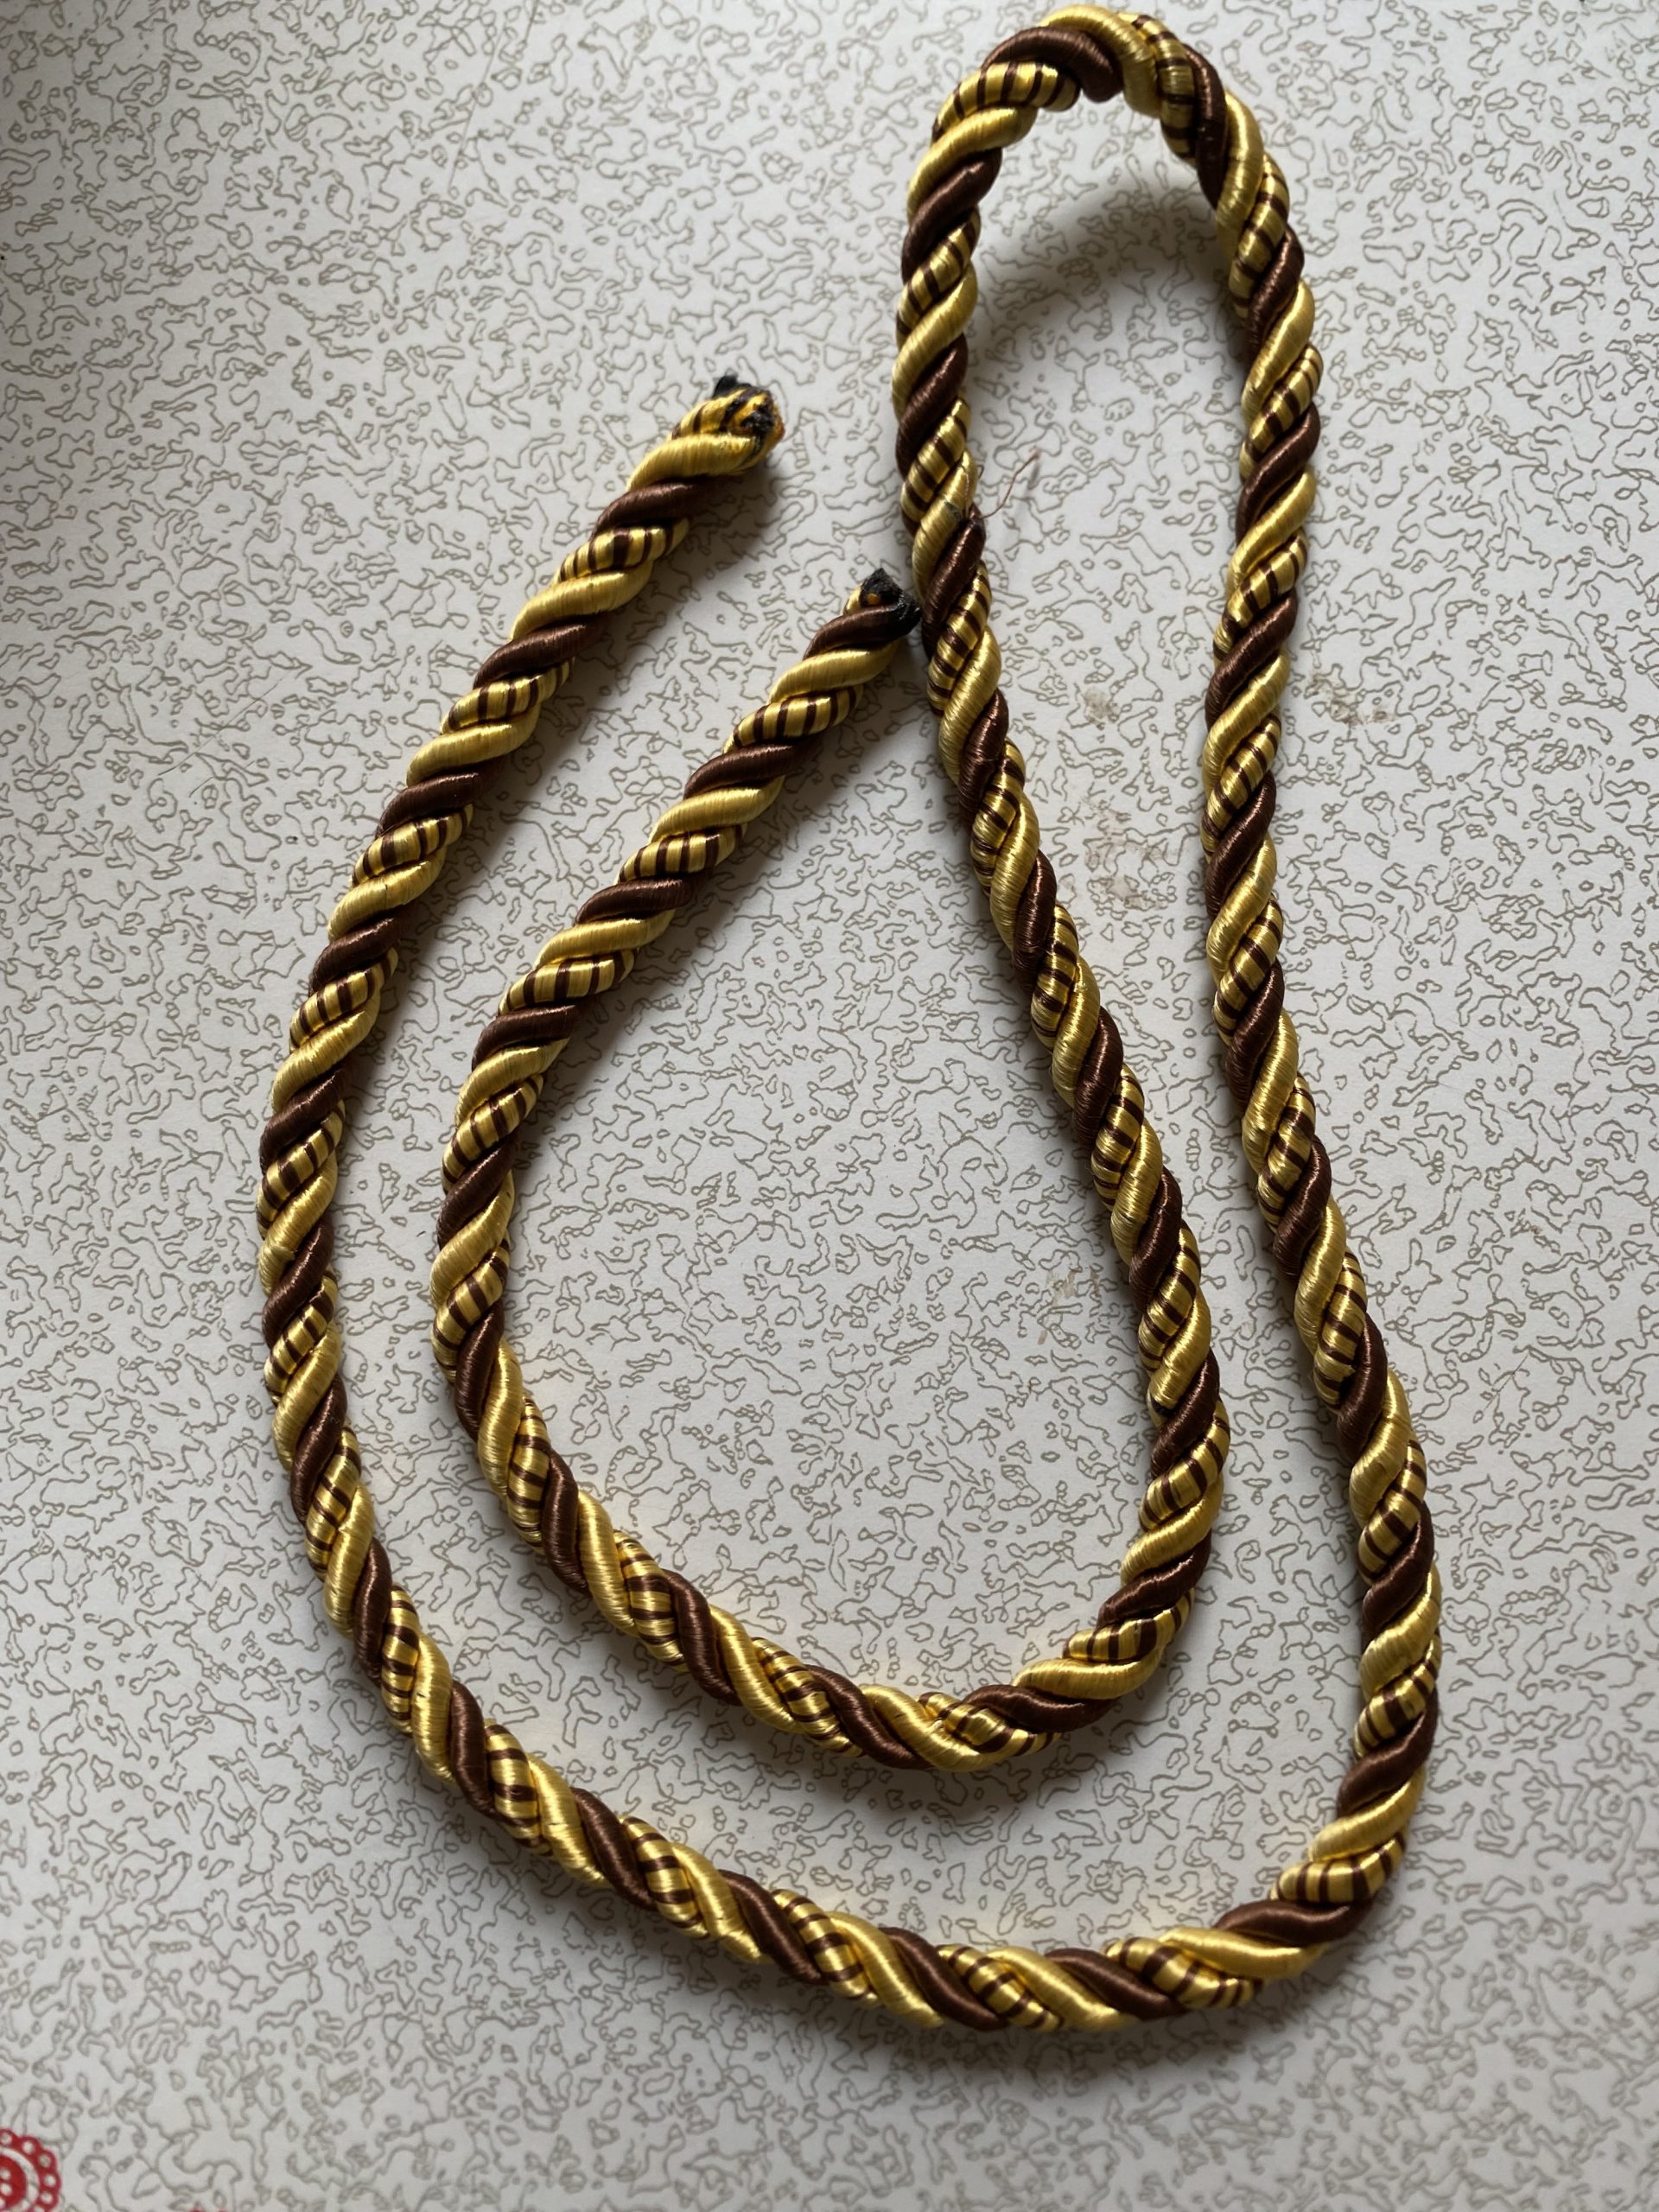
- Handle Cord: (10” on each collar) For adding structure to the handle.
- D-Ring: (2) To connect the long strap

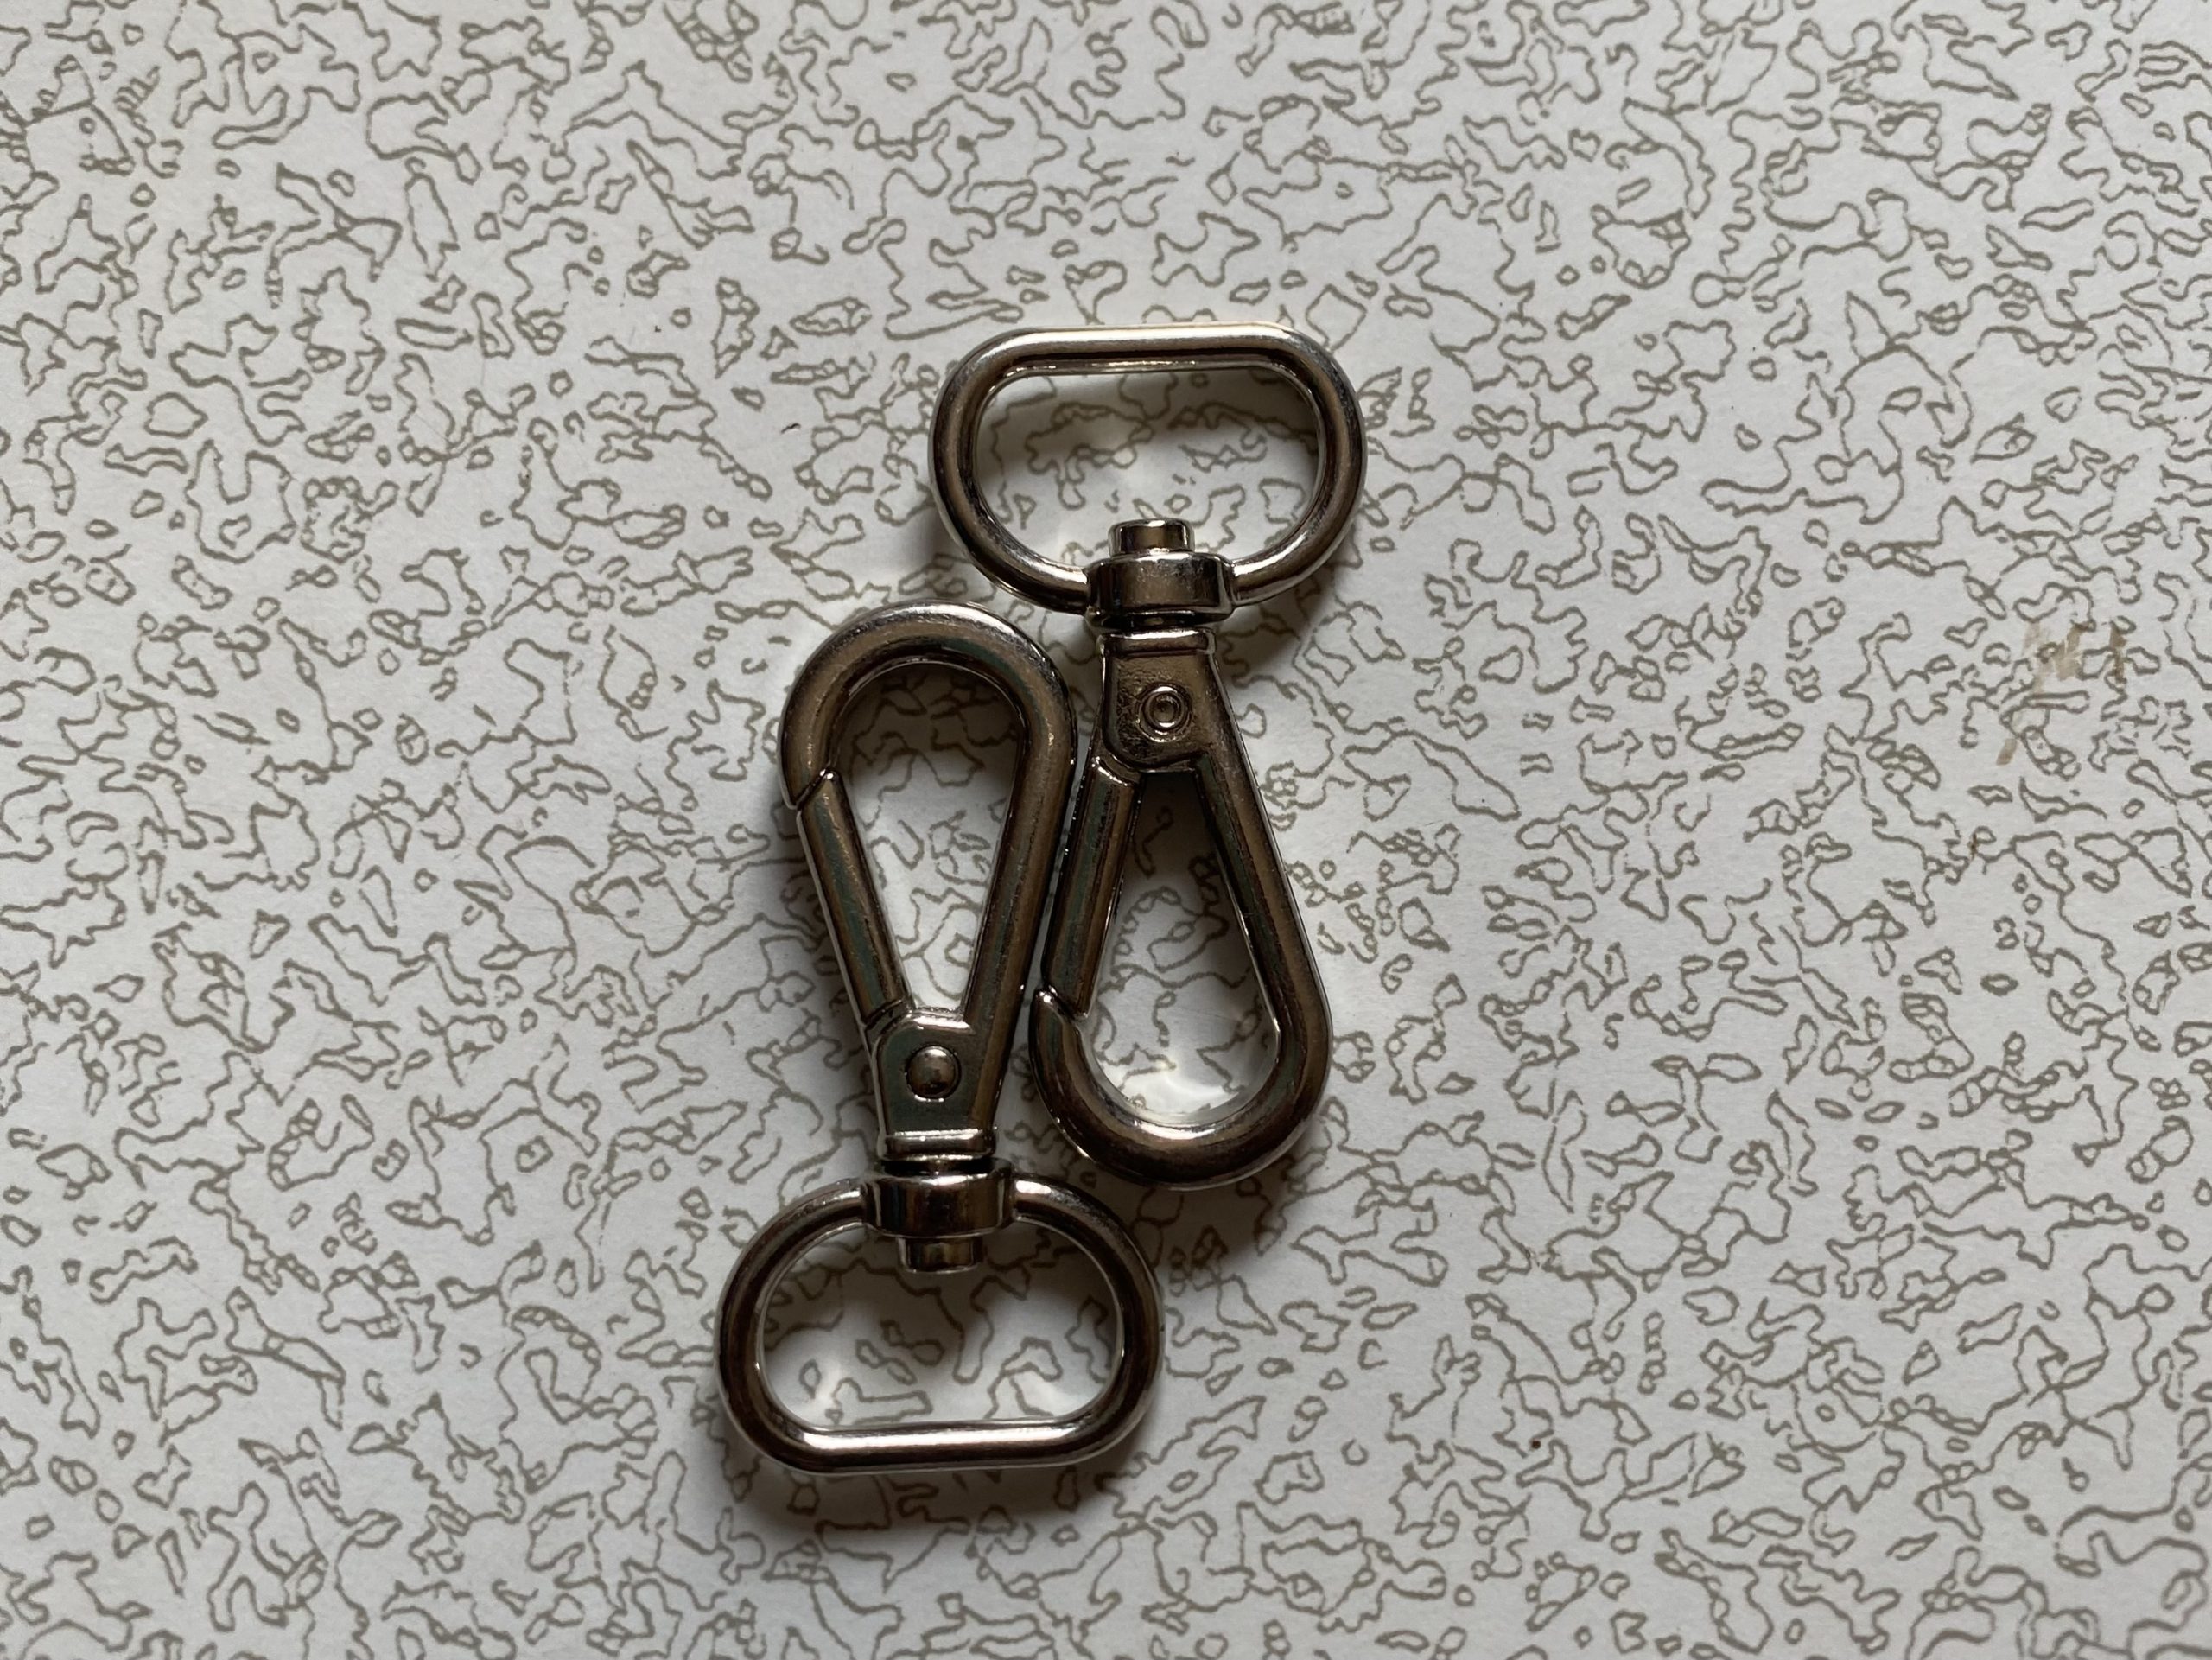
- Swivel Hooks: (2) For the long strap.
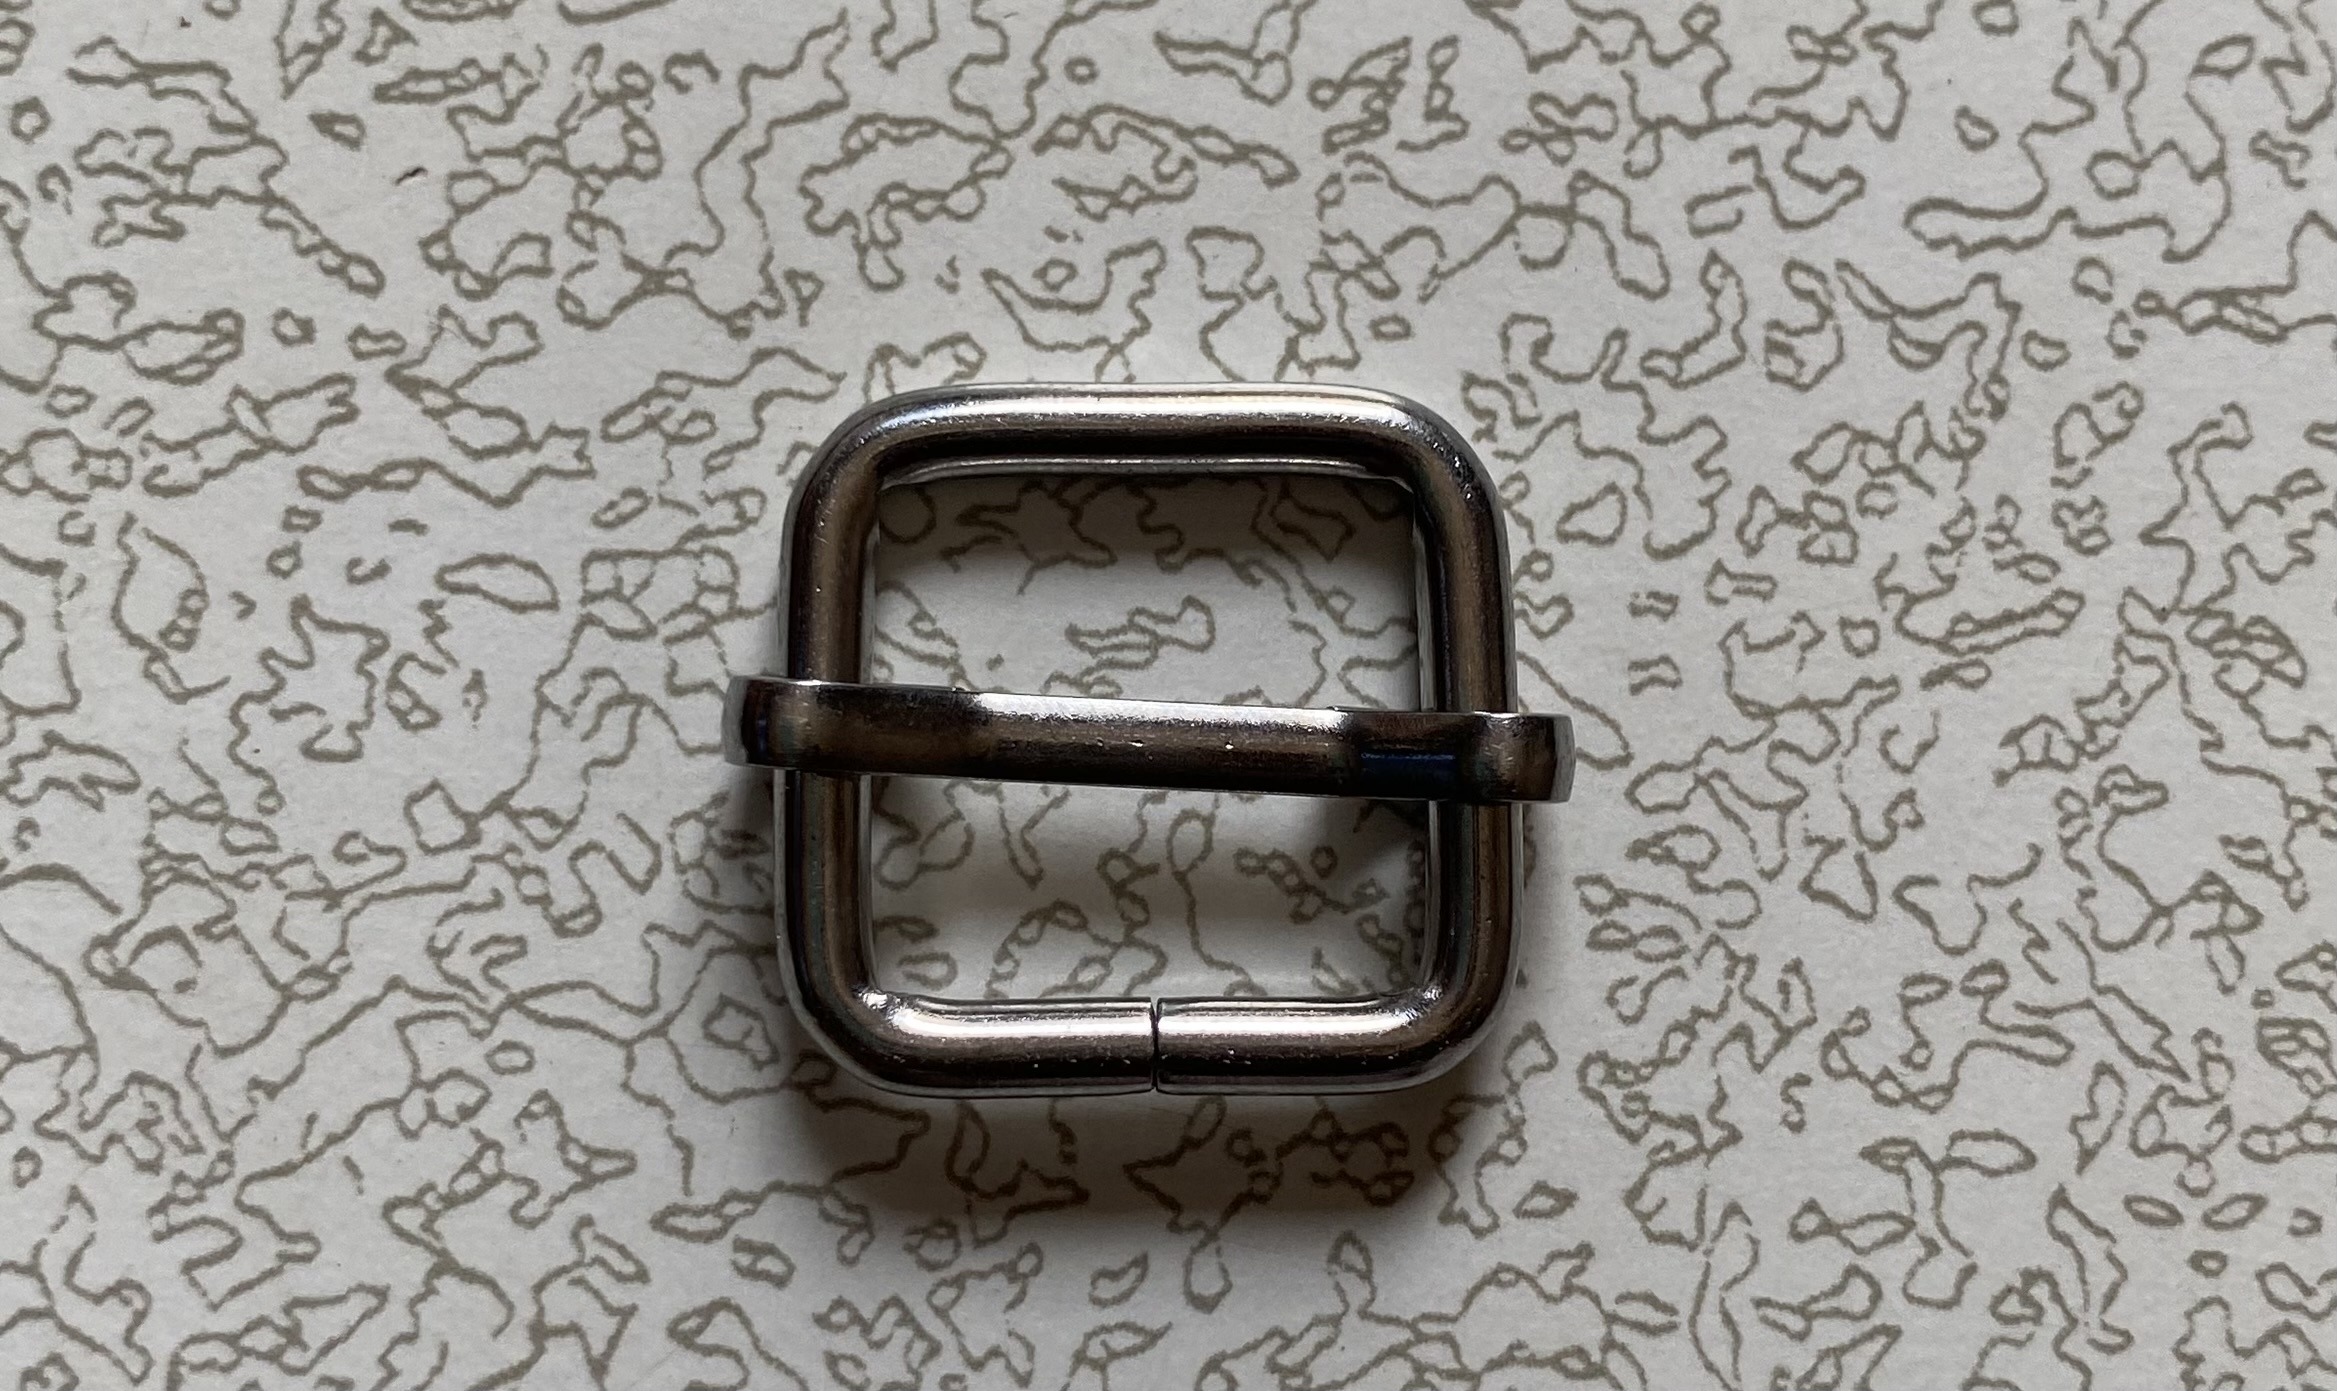
- Strap Slider: (1) To make the strap adjustable.
- Super Glue (Optional): To secure the handle covers.
- Edge Finish: Your soldering iron (or Edge Coat).